How to Avoid Bubbles and Wrinkles in Mural Wallpaper
A preparation and installation guide covering smoothing, repositioning, paste timing, tension and seam handling.
Article focus: installation and removal
What the installer needs to know
The right installation method depends on the chosen material and wall condition, so prepare the wall before ordering and follow the material-specific instructions.
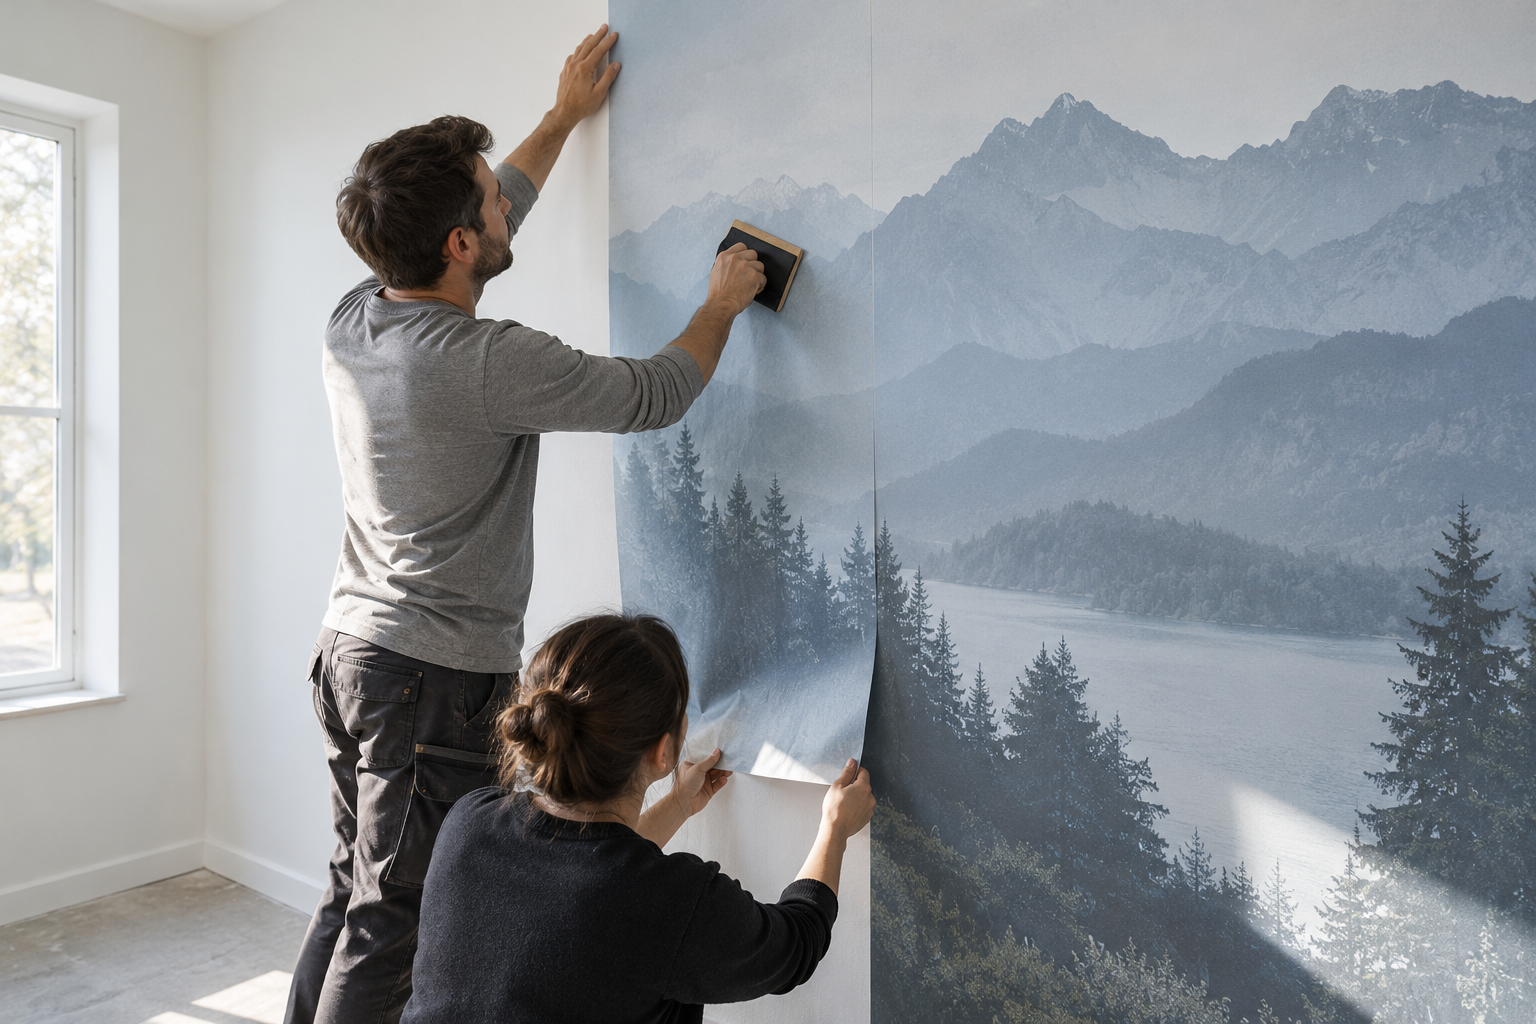
Example application: Any room with a suitable, prepared wall · installation and removal
Most bubble and wrinkle prevention happens before a panel is fully attached. The wall needs to be ready, the first edge needs a true vertical reference, and the loose part of each drop needs support while it is smoothed. This is an installation-day sequence, not a guide to repairing an old blister. Follow the instructions supplied with your precise mural finish: self-adhesive and pasted wallcoverings do not offer the same working time or the same permission to lift a misplaced section.
Before opening the adhesive, inspect under side light
Turn on the light the room will normally use, then hold another light across the wall if available. Raking light reveals filler ridges, old seams and rough paint that a front view can hide. Remove loose coatings and dust, repair uneven patches and allow them to dry according to the preparation system specified for the mural. A firm raised lump beneath a finished print cannot be smoothed out like an air pocket. The Wallcoverings Association's preparation guidance calls for a clean, dry and sound substrate.
Check the wall again after moving furniture; the floor and panel staging area should also be clean. Dust carried onto the adhesive face or pasted back can create a raised point. If the wall is deeply textured, unstable or damp, do not begin in the hope that smoothing pressure will overcome it. Resolve the surface problem first. A sample may help test compatibility where the maker offers one, but a sample does not repair a weak coating or active moisture.
Dry-lay every numbered panel. Verify the complete image, top direction and intended crop before paste or backing is exposed. A wrong panel sequence can be mistaken for a wrinkle problem when the installer tries to pull one printed edge into alignment with the wrong neighbour. No amount of tension can correct a missing or reversed panel.
Position the top, then release only the section you can control
Draw a light plumb line where the first panel should begin, with the supplied trim allowance at the ceiling and floor. Do not use a room corner as a guaranteed vertical edge. Support the lower length while positioning the top; a loose full-height panel can swing into dust, twist or crease before smoothing even starts. A helper can hold that free section while the lead installer watches the guide line.
For peel-and-stick, expose backing gradually as the product instructions direct. Releasing the entire liner at once gives a broad adhesive face more chances to fold onto itself or touch the wrong place. For pasted material, apply the specified adhesive using the correct paste-the-wall or paste-the-paper method, and respect any booking and working times. York Wallcoverings' installation guide illustrates why techniques differ by product; its instructions are examples, not a replacement for the directions packed with your mural.
Smooth from the aligned area toward the free edge in controlled passes. Keep the tool clean, and use the pressure recommended for the finish. The Wallcoverings Association cautions against stretching a strip while smoothing. If you push from both outer edges towards an unsmoothed centre, you can close the escape route for air. Pause after each section to see whether a soft pocket can be moved towards an open edge while the material remains workable.
Control the free length before it controls you
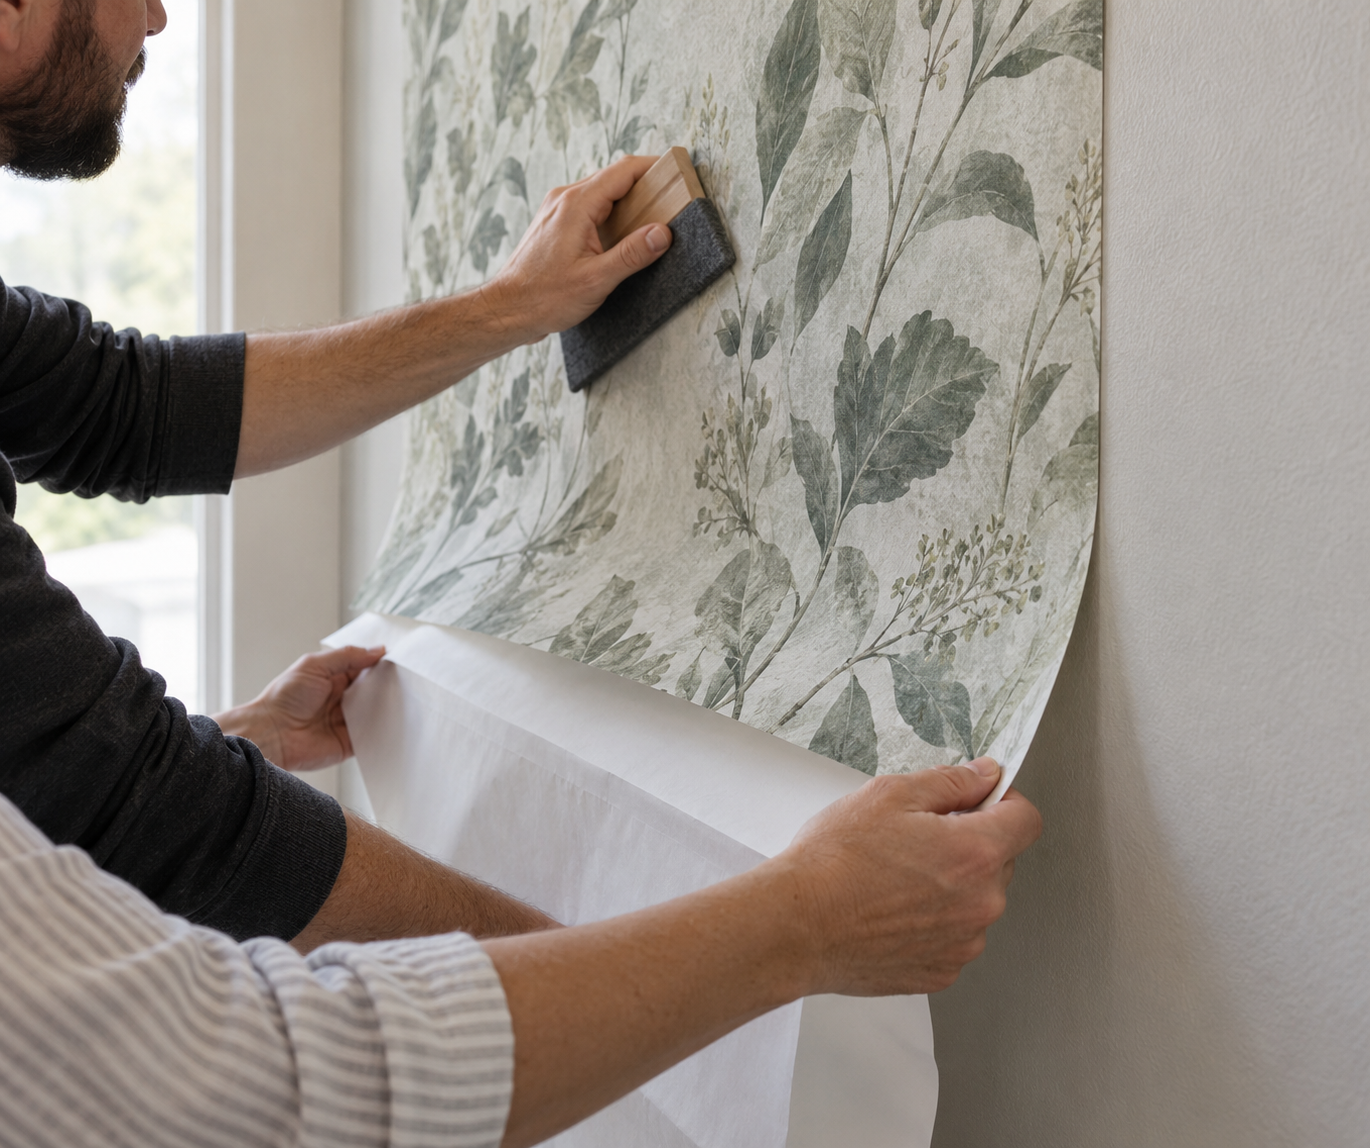
A full-height panel has two jobs happening at once: the attached portion must stay aligned, while the unattached length needs clean support. Give one person responsibility for the vertical guide and the leading edge. A second person can hold the free length away from dusty furniture, the floor and its own exposed adhesive. Agree on a pause word before starting so that neither person keeps smoothing while the other sees a fold forming below.
Position your tools and staging space so the helper can move down the wall without pulling sideways on the print. Do not let a self-adhesive liner bunch underfoot or allow a pasted sheet to drag against a sharp furniture corner. Work in sections that the chosen material's instructions permit and change body position before stretching to reach the bottom. If the top begins to shift as the lower length is supported, stop and correct it only within the material's stated adjustment window.
At the next panel, compare the printed image at several heights before its full length is committed; that brief seam check is a gate, not a reason to tug both sheets into agreement. If they cannot meet without diagonal tension, recheck orientation and the starting line. Confirm the supplied butt or overlap method, but keep the installation-day priority on controlling the loose length. Two helpers pulling in opposite directions can create precisely the wrinkle they were meant to prevent.
Use a stop signal, not more pressure
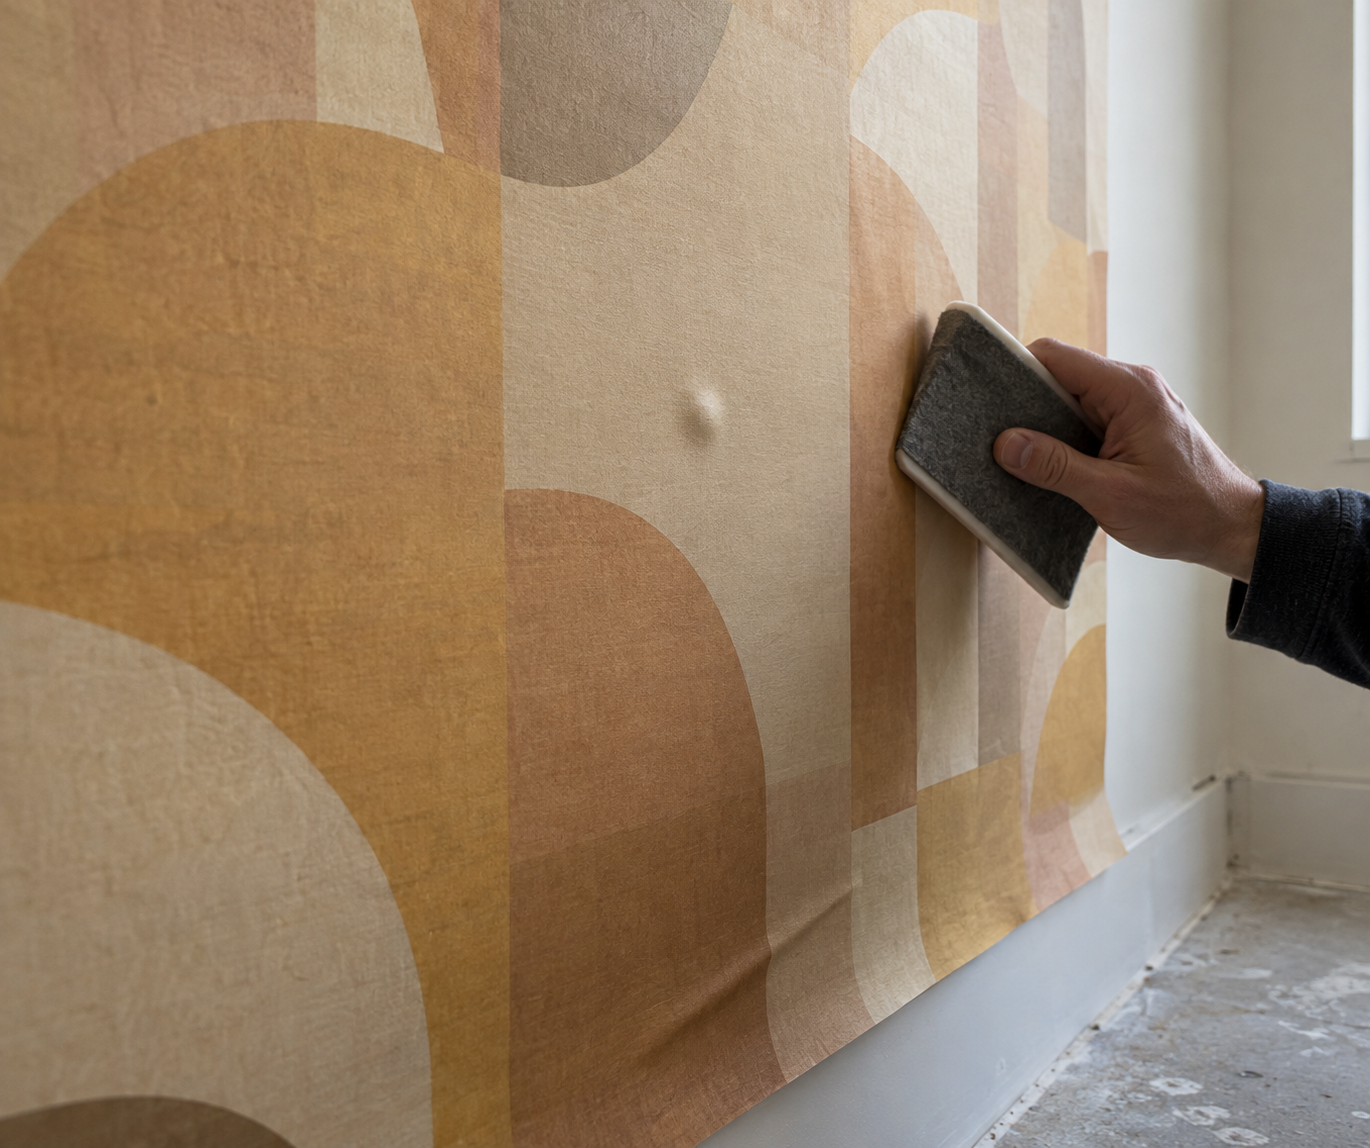
Diagnose what you can feel as well as what you see. A soft pocket that moves under gentle pressure may be air trapped while an edge remains open; guide it towards that edge only by the maker's approved method and within the working time. A hard dot that stays put suggests grit or a wall protrusion, so stop and inspect rather than pressing harder. If the product permits lifting a section, follow its stated method; repeated removal is not automatically harmless.
A wrinkle is different from a pocket of air. Check whether the loose length has folded, whether the panel was pulled diagonally or whether it is crossing an uneven wall. Avoid rubbing a true crease into a permanent line. If the maker's instructions do not permit repositioning, photograph the problem and seek product-specific advice before continuing. Puncturing the face or injecting paste is an irreversible intervention, not a standard preventive step.
When a problem starts at a join, look for an old wall ridge, trapped dust or an incorrect edge method before trying to flatten it. Do not soak or aggressively roll a seam simply because it looks raised. The right correction depends on what is beneath it and on the finish's instructions. If the first few panels show mismatched colour or print, the Wallcoverings Association advises stopping rather than continuing across the wall.
Give each panel a bubble-and-fold check before continuing
Before covering the next length, look across the newly attached panel in side light. A soft pocket that changes shape under approved gentle smoothing may still have an open route for air; a fixed sharp point suggests grit or a wall ridge. Look down the loose lower section for a diagonal crease before it becomes trapped beneath adhesive. Check again from the room's normal viewing distance, where a broad wrinkle can be easier to see than it is close to the wall.
If the pocket cannot move by the finish's permitted method, a fold is already set, or the surface begins to lift or tear, stop rather than adding more pressure or exposing the next panel. Photograph the location and compare it with the supplier's fitting instructions while adjustment is still possible. Do not trim the perimeter to declare the drop finished until those physical faults are understood. Matching the printed image across the neighbouring join is a separate registration check, not a reason to stretch a wrinkled sheet into place.