How Much Extra Mural Wallpaper Should You Allow for Trimming?
Understand measurement tolerance, installation trim and why accurate wall dimensions still matter when ordering made-to-measure panels.
Article focus: pricing and measurement
What to settle before pricing
Start with accurate wall measurements; the final custom mural price depends on area, material and any finishing options.
Example application: Any room with a suitable, prepared wall · pricing and measurement
How much extra print should sit beyond a mural wall before the installer makes the final cuts? For this site's made-to-measure murals, plan approximately four inches (10 cm) beyond the measured width and four inches (10 cm) beyond the measured height. The extra is added once to each overall dimension, not to every edge or every numbered panel. It gives room to set the first panel plumb and trim against the real ceiling, skirting and side boundaries; it is not a cure for an incorrect measurement.
What the allowance is actually for
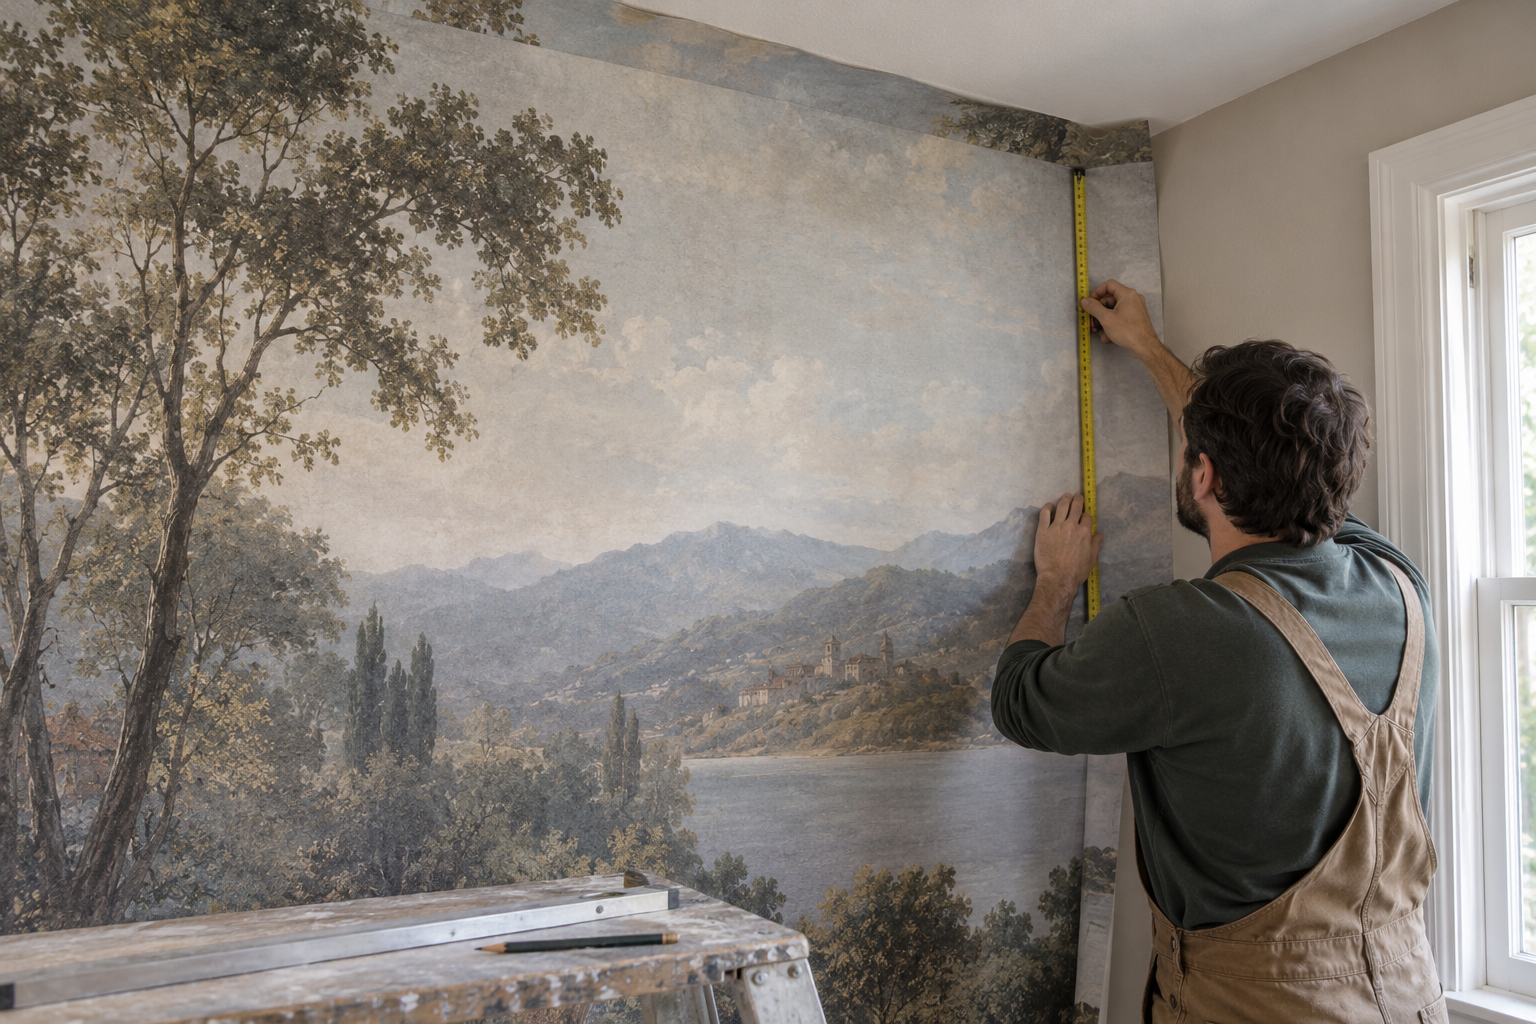
Rooms are not perfect drawings. A ceiling may dip slightly, a corner may lean, and a skirting board may not run precisely level. Even if your measurements are accurate, the first panel must be placed plumb rather than simply following a crooked corner. That positioning can consume a little print at one edge. Extra material lets the installer settle the composition and then cut the outer edges to the actual room. Without a surplus, a minor difference between planned and installed position could expose a strip of bare wall. The feature photograph shows this stage before the surplus is removed; it is an illustrative installation scene, not a measurement template.
The allowance is not a reserve of spare panels. It does not compensate for a wrong wall measurement, an omitted recess or a dramatic change of crop. Nor does it mean the full extra width will necessarily be split evenly between left and right. The approved image position and the straight starting line determine where the excess lands. Think of it as controlled room for final trimming, not as a reason to order by estimate.
Calculate the total print dimensions
Write down the largest reliable width and height of the surface to be covered. Then add the allowance to those two numbers. If a wall measures 300 cm wide and 240 cm high, 310 by 250 cm is the approximate planning size under the 10 cm guidance. The extra 10 cm in width is total, not 10 cm at the left plus 10 cm at the right. Likewise, the extra 10 cm in height is total, not 10 cm at the ceiling and another 10 cm at the floor.
In imperial units, a wall measuring 120 inches wide by 96 inches high would have an approximate planning size of 124 by 100 inches if the four-inch allowance is used. Inches and centimetres here are rounded equivalents, so do not mix both systems while entering final figures. Use the units shown by the product configurator, recheck the converted dimensions if necessary, and keep the same notation on your sketch and order record.
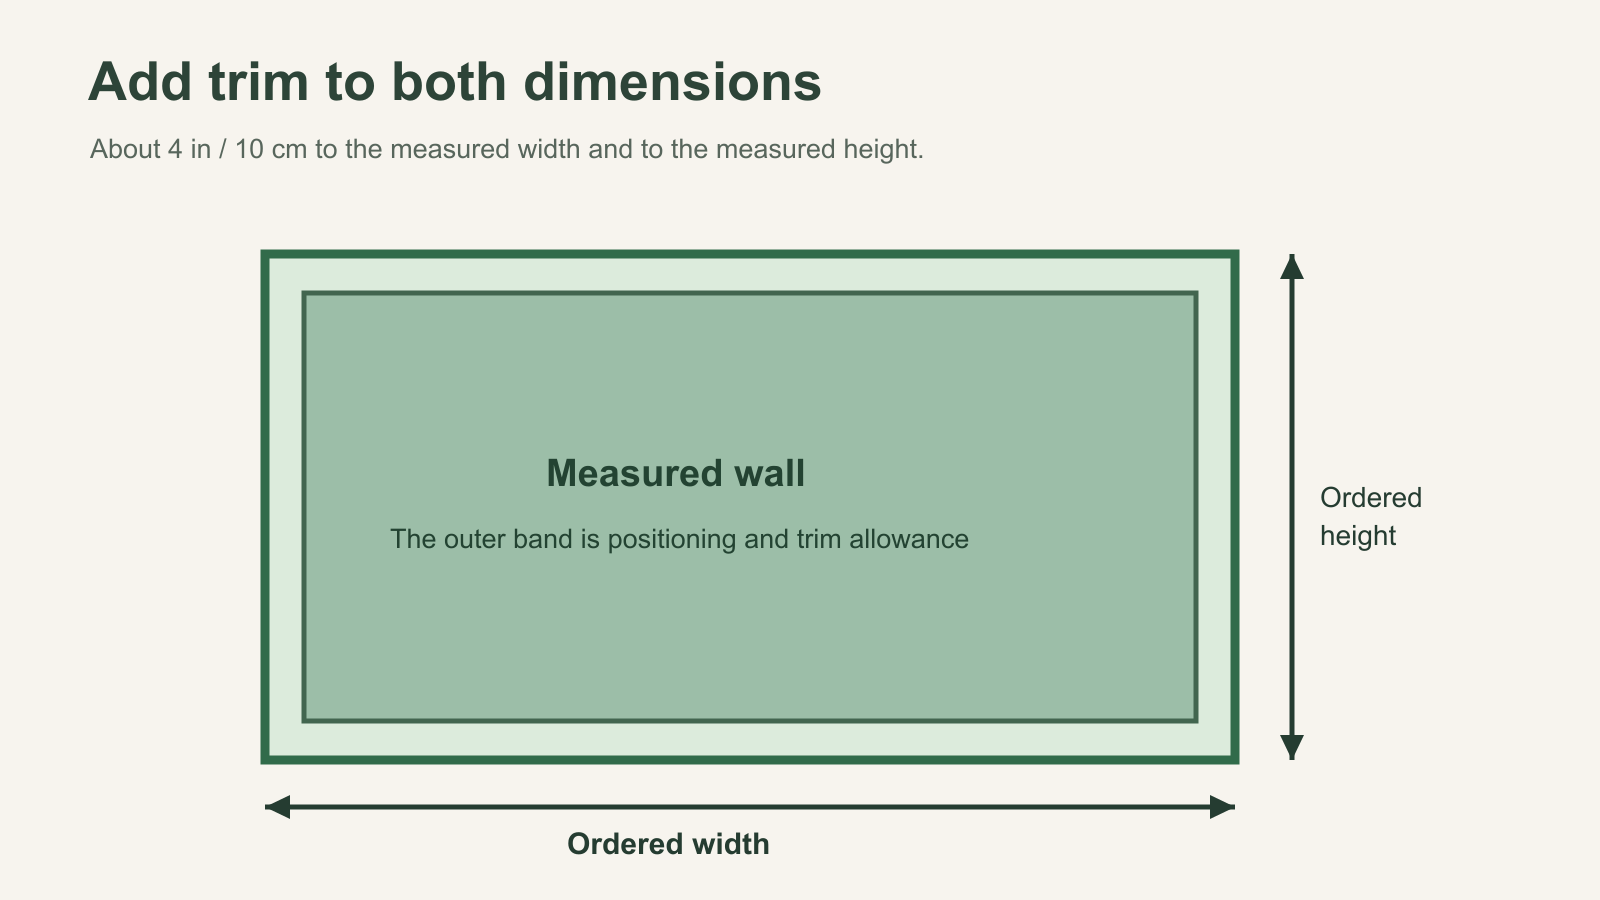
A useful cross-check is to write the calculation in full before checkout: measured wall width + 10 cm = order width; measured wall height + 10 cm = order height. If you measure in inches, use +4 in for each. Enter the resulting overall rectangle in the size fields, then inspect the crop preview. Do not multiply the allowance by the number of panels: panel widths are determined by the print layout, whereas the trimming surplus belongs around the outside of the entire mural.
The diagram shows the measured wall as the darker inner rectangle and the print allowance as the lighter outer band. It is a calculation aid, not a prescription to centre the artwork with an identical border on all four sides. The installer may need more of the extra at one edge to maintain a level composition.
Measure the intended surface, not only what you can see
Measure wall-to-wall and from the relevant upper to lower boundary, even if a sofa, bed or cabinet will hide part of the mural. Furniture may move, and a hidden lower edge can still affect panel alignment. On a wall with a window or door, the full printed rectangle may be needed to maintain the scene around the opening; do not subtract the hole from the order dimensions unless the supplier specifically prepares a different layout. Mark the opening's position separately so a focal element can be placed intelligently.
Check the width at more than one height and the height at more than one horizontal position. Use the greatest reliable readings where a wall is slightly out of square. If the difference is large, document it rather than expecting 10 cm to absorb an unknown amount. A sloping ceiling, arch, staircase or alcove needs a dimensioned sketch and sometimes a custom crop review. The general allowance is a starting rule for trimming, not a replacement for those measurements.
Note where you placed the tape. Width measured along a skirting board can differ from width measured higher up if a corner leans. Height from the top of skirting differs from height measured to the floor. Pick the finished boundaries before adding any surplus, and keep the raw readings separate from the proposed print size. That makes it possible to revisit the calculation if a socket cover, cornice or planned joinery changes the installation edge.
What about pattern placement?
Extra print can be removed, but a cut-off subject cannot be brought back. Before ordering, use the site's crop preview to see where the image falls at the chosen size. A large blossom, horizon or architectural feature near an outer edge may lose a little more during onsite trimming than the clean digital preview suggests. Keep a safe margin around important parts of the picture, especially where the ceiling is uneven or furniture frames the view tightly. If the crop is critical, ask the supplier for help before approving it.
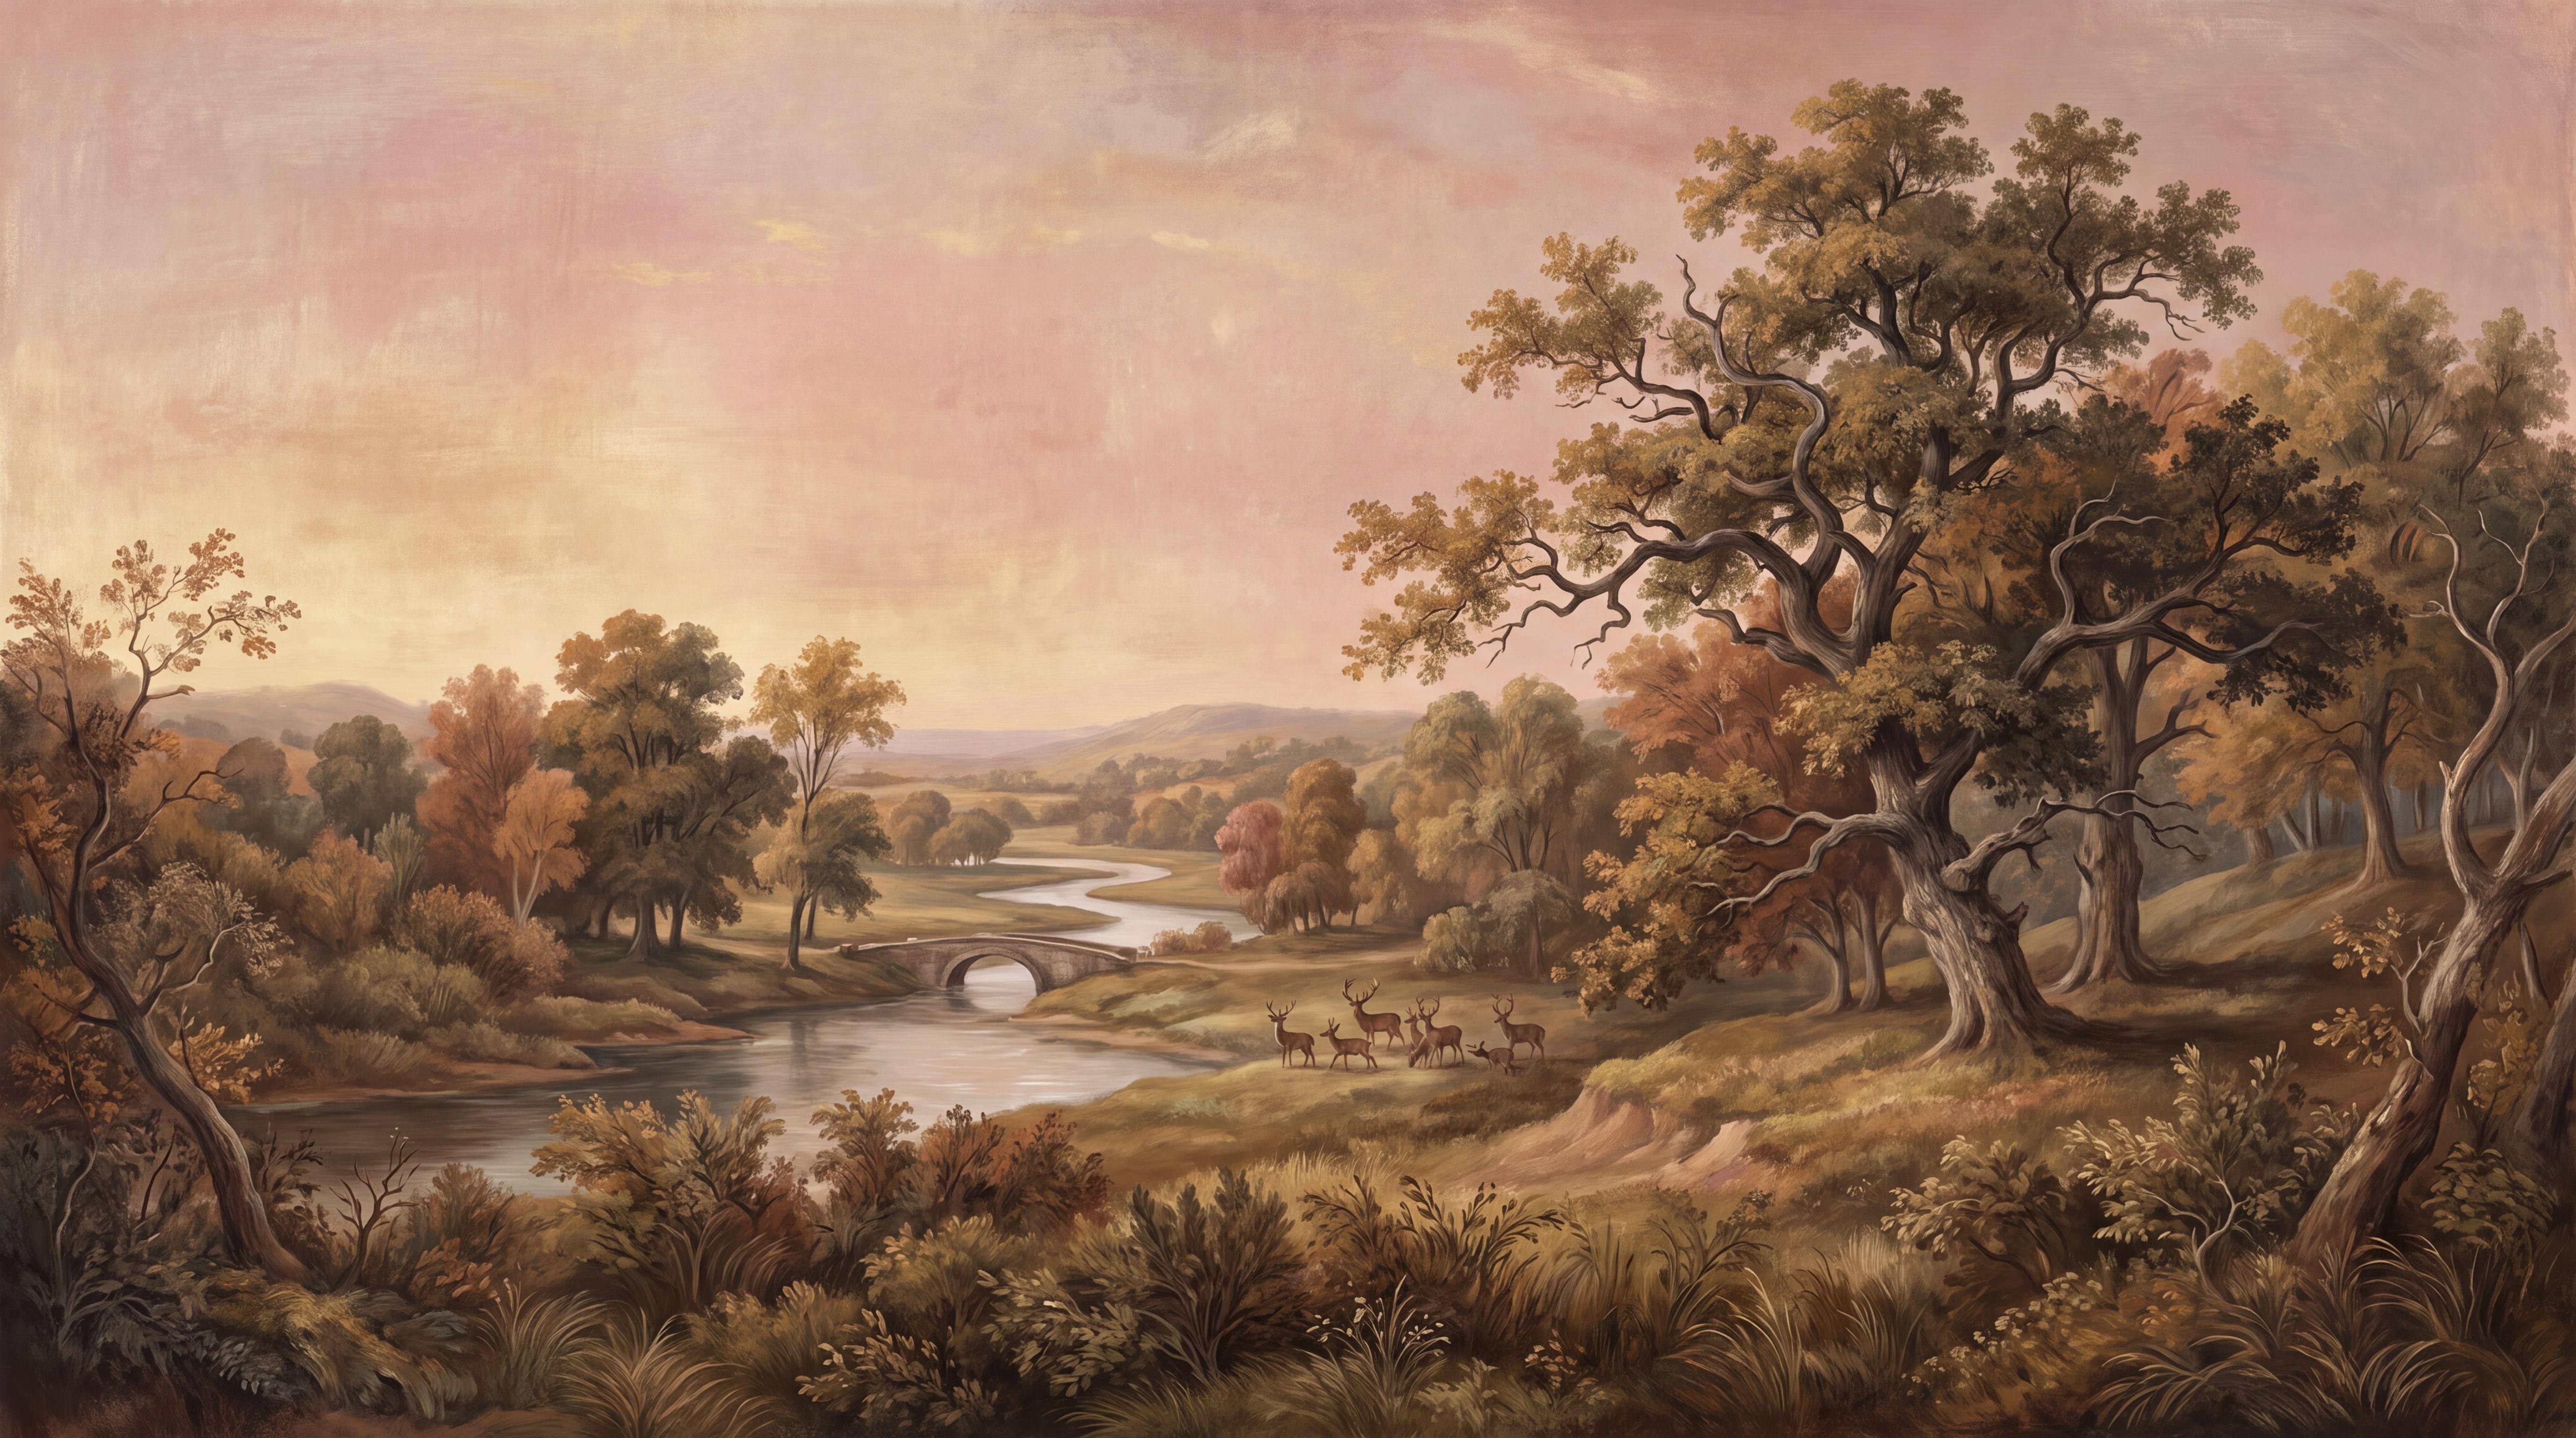
The flat landscape artwork below has a large tree near the right edge and a low river scene stretching across the centre. If its trunk is placed directly against a side boundary in the digital preview, onsite trimming may remove part of it. The design view illustrates a crop decision, not a physical border printed onto the delivered panel. Shift the crop in the ordering preview, or ask whether the supplier can review a critical focal placement before printing.
Check the difference between your smallest and largest readings
The maximum wall measurements determine the rectangle that must be covered, but the spread between readings tells you how irregular the boundary is. Suppose the width is 300 cm at the skirting and 304 cm at the ceiling. Use 304 cm as the wall width; under this site's general rule the approximate order width is 314 cm. The four-centimetre difference between readings is not another allowance to add after that calculation. It is a warning that the installer may trim more print at one height than at the other.
Now imagine a wall that is 300 cm wide at one end of a stepped ceiling but 318 cm across a higher section. Do not treat the same 10 cm as a magic margin that covers an unmeasured step. Draw the full outline with the position of each change, mark the maximum rectangle and show where the chosen artwork must remain visible. A standard rectangular print might still work, but the crop and installation route need an order-specific check. The same applies to deep returns or a corner that leans enough to move a focal subject toward the cut.
For an ordinary wall with small discrepancies, keep the measured maximum, proposed print size and actual edge differences on three separate lines. This lets a supplier or installer see whether the standard trim guidance is being applied once or whether the wall calls for another layout. Cutting the surplus happens after alignment under the product's installation instructions; it should not be used to conceal a missing measurement.
When might the standard amount not be enough?
A significantly crooked wall, unusually deep returns, a stepped ceiling or an installation plan that deliberately shifts the crop can require a different approach. More excess is not automatically better: it can alter the preview, waste material or move focal artwork out of its intended position. Provide exact dimensions and photographs, then ask for an order-specific recommendation. If the supplier provides a different allowance in the instructions for the chosen material or layout, use that confirmed figure rather than treating the general site guidance as universal.
It is also important to distinguish a trimming allowance from a pattern repeat. A made-to-measure scene is cropped to a wall-size rectangle; the extra 10 cm is space to finish its outside edges. A roll wallpaper with a repeating motif may require additional length to match one drop to the next. Do not apply a roll-paper repeat calculation to a numbered mural without checking how that particular print is supplied.
Before you place the order, confirm four things on one note: the finished wall width and height, the allowance added to each overall dimension, the chosen crop, and any obstacles or irregular edges. If the configurator asks for finished wall dimensions rather than print dimensions, follow its specific instructions and do not add the same allowance twice. The order confirmation should make clear which dimensions the printer will produce.