What to Do During the First Day After Mural Wallpaper Installation
Allow the installation to settle according to product guidance and avoid unnecessary touching, cleaning, heat or disturbance.
Article focus: installation and removal
What the installer needs to know
The right installation method depends on the chosen material and wall condition, so prepare the wall before ordering and follow the material-specific instructions.

Example application: Any room with a suitable, prepared wall · installation and removal
During the first day after a mural is hung, finish the installer-approved checks, keep the room within the product's stated conditions and make a record of anything that changes. Do not test the bond by pulling at a corner. Pasted and peel-and-stick murals have different setting behaviour, so the exact aftercare sheet controls cleaning and handling. The first 24 hours are a useful observation window, not a universal declaration that the wall is dry or ready for furniture.
Immediately after the last panel
Before the installer packs up, check the numbered sequence, image joins and finished edges at the ceiling and skirting. Follow a recognisable horizon or branch across each seam, then step back to view the full picture. If a small air pocket is found while the material remains within its approved working window, ask the installer to use the specified smoothing method. Do not apply a later repair technique simply because the join looks different under severe side light.
For pasted material, clean any adhesive residue in the manner specified for that print. The York Wallcoverings installation guide advises carefully removing remaining paste with a clean damp cloth or sponge according to the wallcovering's care recommendations. Do not assume a matte printed mural can tolerate aggressive scrubbing. If a stain does not lift by the approved method, record it and consult the supplier rather than rubbing the image away.
Walk the wall with the installer while the panel plan and tools are still available. Note any unfinished detail and who will handle it, then take a full-wall photograph in even daylight. Make close photographs of specific concerns with a wider view that shows their location. That baseline is more useful than a dramatic side-lit image that exaggerates tiny surface changes. Record the finish, adhesive if used, completion time and aftercare contact before the installer leaves.
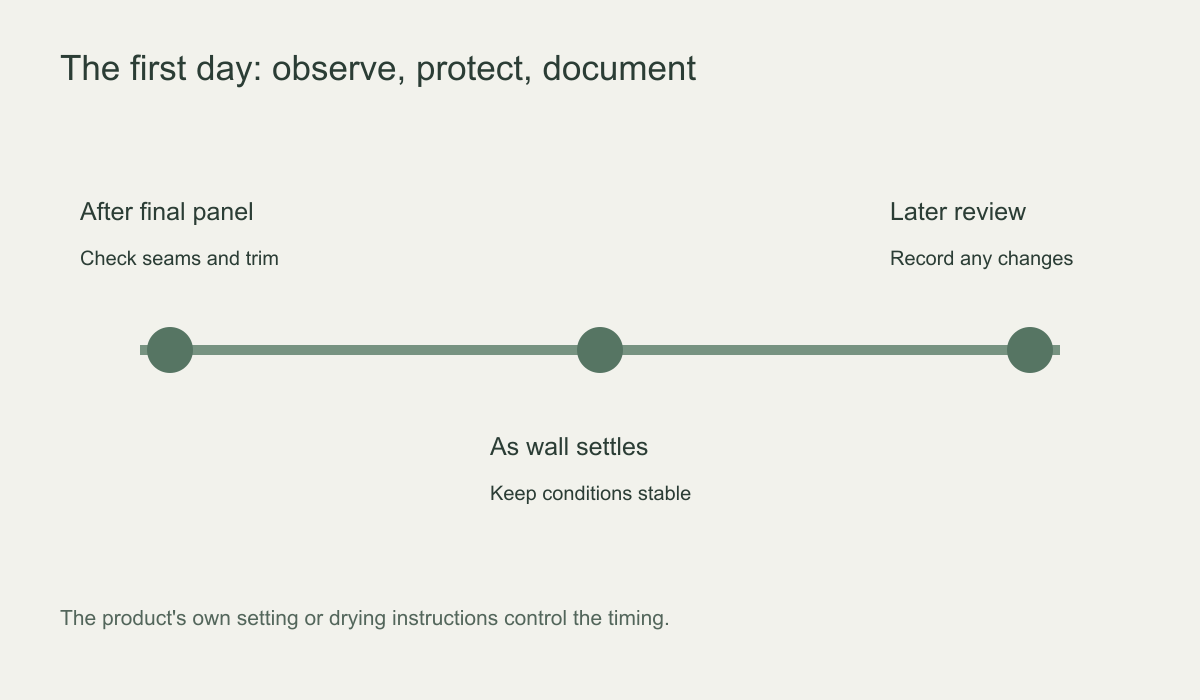 Separate immediate finishing checks from observations made as the installation settles.
Keep temperature and airflow reasonably stable
A room does not need to be sealed, but sudden temperature changes and forced drying can be unhelpful. York advises letting an installation dry naturally while avoiding excessive heat or rapid temperature changes. Follow your own wallcovering and adhesive specifications if they set a narrower range. Do not aim a fan heater directly at a fresh seam to make it look dry sooner.
Use ordinary ventilation that keeps the room within the product's specified conditions. A wide-open window in wet weather may add moisture, while a heater directed at one seam can create an uneven local environment. ROMAN notes for GH-34 paste that drying varies with temperature, ventilation and humidity. If a nearby shower will steam up the room, agree with the installer how the space should be used while the mural settles. A prior damp-wall problem is not cured by waiting through the first day; new staining, soft paint or a damp smell needs investigation.
Give the mural some physical space
Keep furniture from scraping the new surface, especially near a join or exposed edge. The feature photograph shows a sofa close to a woodland mural in a finished room; it does not tell us when that sofa was returned after installation. Ask the supplier when headboards, cabinets, shelves or artwork can go back, and allow clearance from rubbing chair backs or door handles. Do not tape protective sheets onto the print or press an object against a visible pocket to flatten it.
What changes are worth recording?
Describe a change before diagnosing it. Is a suspected bubble fixed in one place or visible only as a glossy reflection? Is a seam open along its length or is one corner catching passing traffic? Did a lighter band exist in the baseline photograph or appear after wiping? Record the panel number, location and time, then photograph the concern straight on and at room distance. These distinctions help the supplier decide whether the issue is print, handling, bond or substrate without an attempted repair obscuring the evidence.
Do not treat every mark with extra glue, heat or repeated lifting. If several areas change together, paint releases beneath the print or the wall feels damp, contact the installer or supplier and investigate the wall. A small, stable mark can be documented for product-specific advice, but a widening seam or spreading bubble warrants a prompt report.
Pasted versus peel-and-stick during the first day
With a pasted mural, moisture introduced during installation still needs to leave the assembly. A matte-looking surface is not proof that the adhesive has fully set. Follow the exact adhesive and wallcovering instructions before cleaning or bringing heavy furniture close; the separate drying-time guide explains why a generic hour count is not clearance for every material.
With peel-and-stick material, there is no fresh paste to dry. The key issues are whether the wall was properly prepared and whether the sheet has made even contact without stretched areas or trapped debris. Some products permit repositioning shortly after application; others may be affected by repeated lifting. Follow the precise instructions supplied, and do not add wet paste unless the product maker expressly recommends it.
Do not transfer a remedy between systems. A damp sponge permitted for one conventional print says nothing about cleaning a different peel-and-stick surface; trying to lift a pasted panel as though it were repositionable may damage it. Identify the exact material before touching an uncertain mark or edge.
When should you ask for help?
Report a printing defect, widening seam, spreading bubble or several lifting areas promptly, giving the panel number, finish, completion time and dated close and room views. Water ingress, softened wall material, damaged wiring or a suspect fitting needs the relevant qualified tradesperson before any wallpaper repair. Do not postpone an active fault until a supposed 24-hour settling period ends.
Make the next-morning check comparable
The following morning, return to any marked location and photograph it from the same position in similar light. Compare it with the completion-day baseline rather than trusting memory or a new camera angle. If an edge has lifted or staining has appeared, send both dated views with the product details to the installer or supplier. Leave the area untouched while they advise. A first-day check is valuable because it captures change early, not because it supplies a universal drying deadline.