Can Mural Wallpaper Be Installed on Textured Walls?
Understand the risks of applying mural wallpaper over textured walls and the preparation options that improve adhesion and seam quality.
Article focus: pricing and measurement
What to settle before pricing
Start with accurate wall measurements; the final custom mural price depends on area, material and any finishing options.
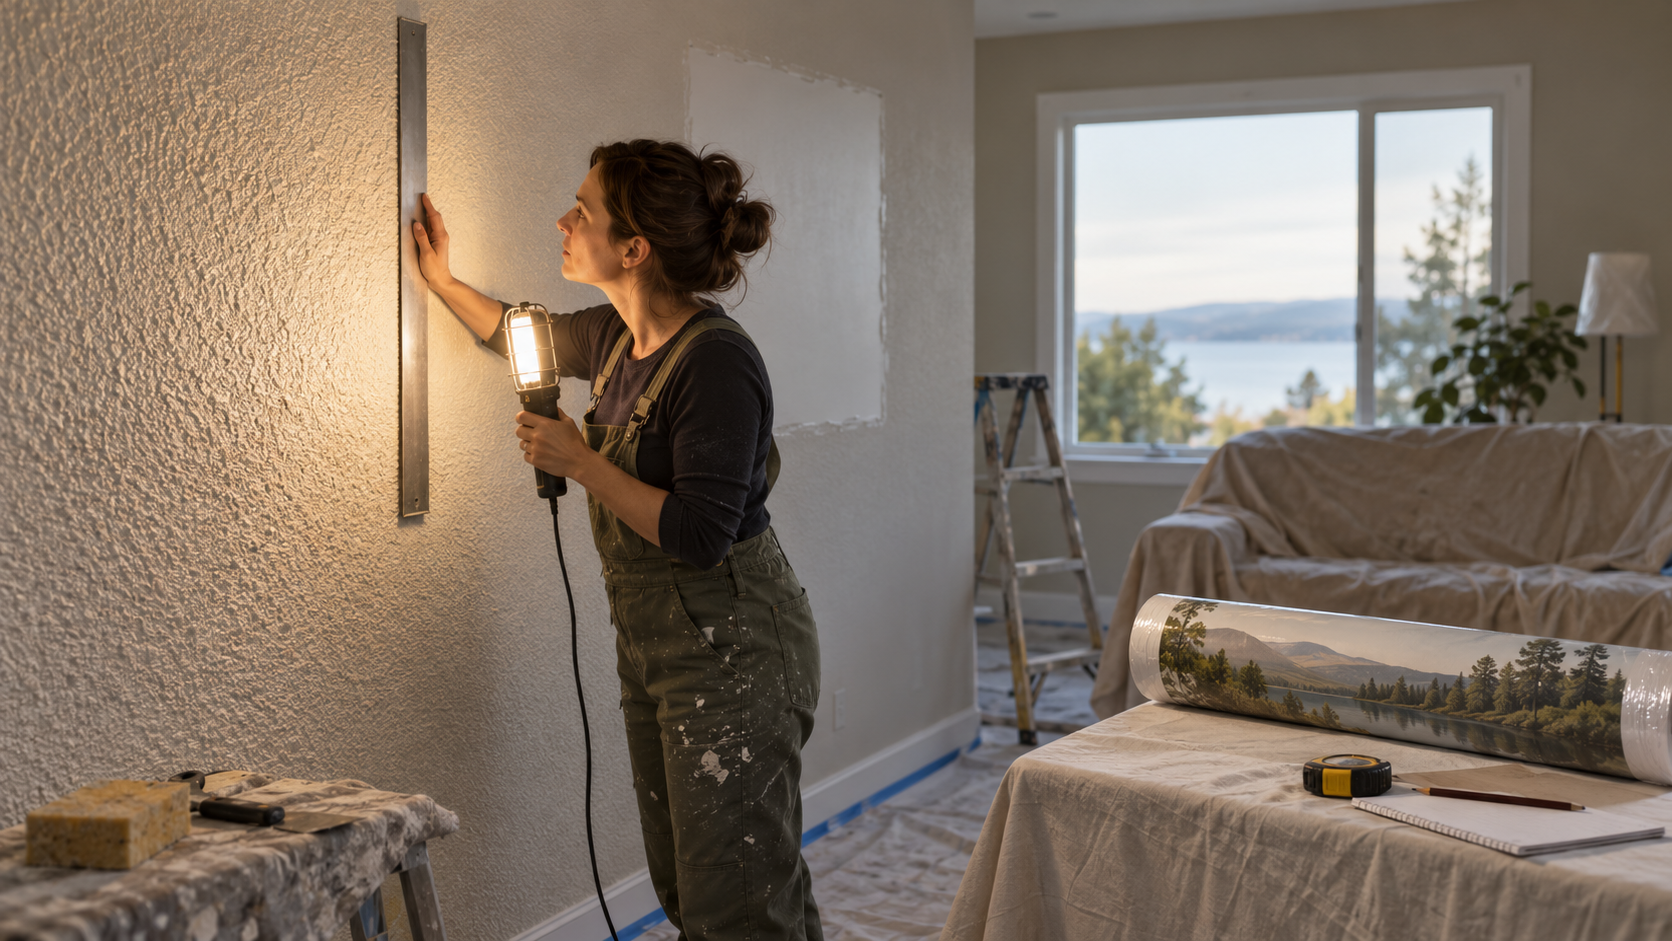
Example application: Any room with a suitable, prepared wall · pricing and measurement
Sometimes—but the answer depends on the depth and stability of the texture and on the exact mural finish. Faint roller stipple and deep knockdown plaster are both called “textured”, yet raised peaks can show through a print while valleys reduce contact and disturb seams. A mildly textured wall might pass a supplier-approved test; deep or crumbling relief usually needs levelling or another wall. Side lighting and a representative sample reveal more than a straight-on photograph.
Identify the texture before choosing the workaround
“Textured wall” can mean anything from a faint roller stipple to deep knockdown plaster, orange-peel spray, sand paint or raised decorative finish. Dragging a hand across it tells you about sharpness, but not how much of the wallpaper will contact the wall. Shine a movable light parallel to the surface. If the shadows are strong at several angles, the relief is more likely to telegraph through the print and interrupt adhesive contact.
Look for loose grains or flaking peaks. If texture rubs off onto a cloth or hand, it is not a stable base. Even a very strong adhesive cannot keep a mural attached to material that separates from the wall. If the texture is part of a cracked or damp plaster system, solve that underlying issue before talking about primers or liners.
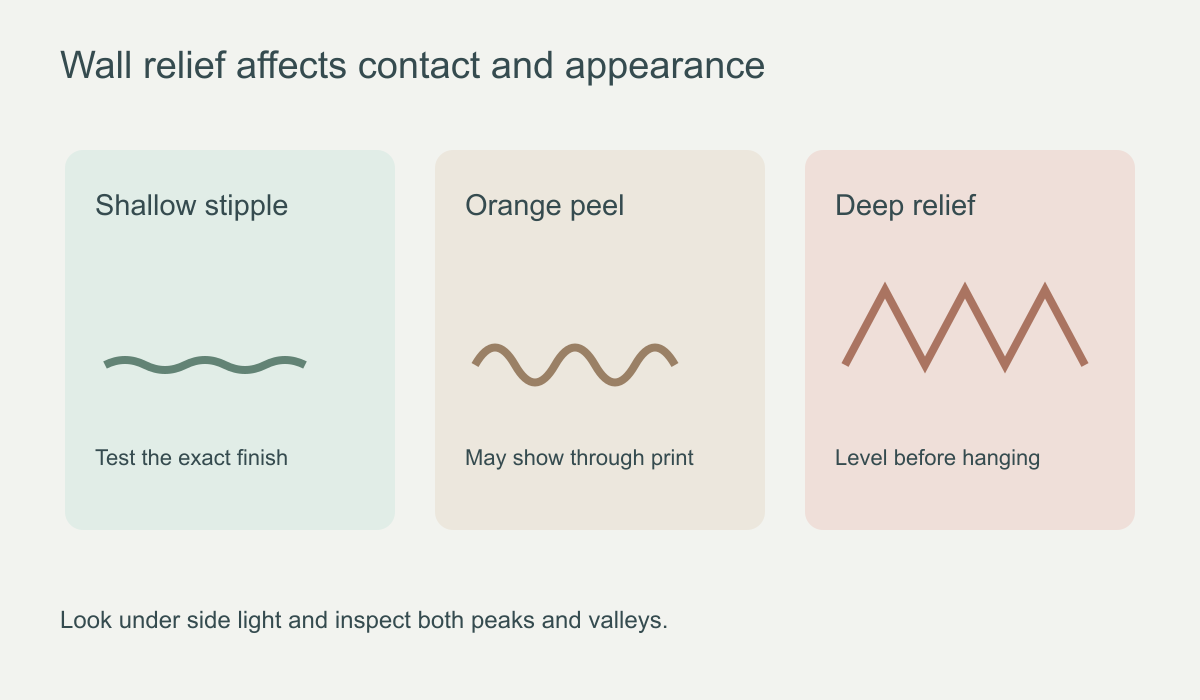 Texture depth affects both the visual finish and the amount of adhesive contact.
What tends to go wrong?
On raised peaks, a thin sheet can adopt every bump. A soft landscape may look mottled in side light, while a straight architectural line can appear wavy. In the valleys, air pockets or incomplete contact may cause lifting. Seams are particularly sensitive: two panels can sit on different peaks, producing a slight ridge or gap even when the printed image is correctly aligned.
A pressure-sensitive peel-and-stick sheet may grab isolated high points first. Repeatedly pulling it up to chase the valleys can stretch a panel or weaken paint. Pasted materials have different application behaviour, but they still need an appropriate, prepared wall and product-approved adhesive. The material name alone does not establish that deep texture is acceptable.
For murals, image continuity matters more than it does for many repeating wallpapers. If a branch or horizon crosses a seam, even a small texture-driven misalignment is noticeable. This is one reason to prepare the entire run evenly rather than smoothing only the area behind the first panel.
When might a light texture be workable?
Shallow stipple that is sound and dry is a different proposition from sharp, deep relief, but depth alone does not settle the choice. A finish might make adequate contact yet still reveal a stippled shadow through a pale sky or a straight architectural line. View the wall under the room's usual side lighting and decide whether that visible texture would be acceptable even if adhesion were possible. If the pattern already dominates the proposed artwork, preparing a smoother plane is a design decision as well as an installation one.
Ask whether the exact mural finish is approved for the existing surface or needs levelling or lining first. Do not infer tolerance from a broad material name such as “vinyl” or “non-woven”. A supplier-approved sample can reduce uncertainty, but one piece cannot show how two panels join across the same relief. The two-piece trial below checks that mural-specific question; brief initial grip alone is not evidence of lasting suitability.
Make a two-piece trial answer the mural question
Ask the supplier whether the chosen finish may be tested on this particular texture and how to prepare the test area. Use spare samples of that finish, not pieces cut from the numbered order. Place one over a representative raised patch, then a second beside it so their meeting edge crosses the same relief the full mural would encounter. Mark the trial location and the direction of the room's normal side light. A single sample on the smoothest corner cannot show what happens at a seam halfway across the wall.
Check two different results at the time intervals specified by the supplier. First, does the material make stable contact across peaks and valleys without an edge lifting? Second, does the printed image look acceptable from the room's usual viewing distance and under evening lighting? A piece may adhere yet make an architectural line visibly wavy; another may look smooth from across the room but show an open join nearby. Record both observations rather than calling the trial simply a pass.
Inspect the trial without repeatedly pulling it off to improve the appearance. Lifting and reapplying a self-adhesive sample may change its grip, and pressing harder will not flatten deep relief. If the two pieces no longer align at the meeting edge, measure whether the wall surface itself varies there. Ask the supplier how to interpret the result for the exact finish; a brief trial cannot establish long-term performance on every part of a wide mural.
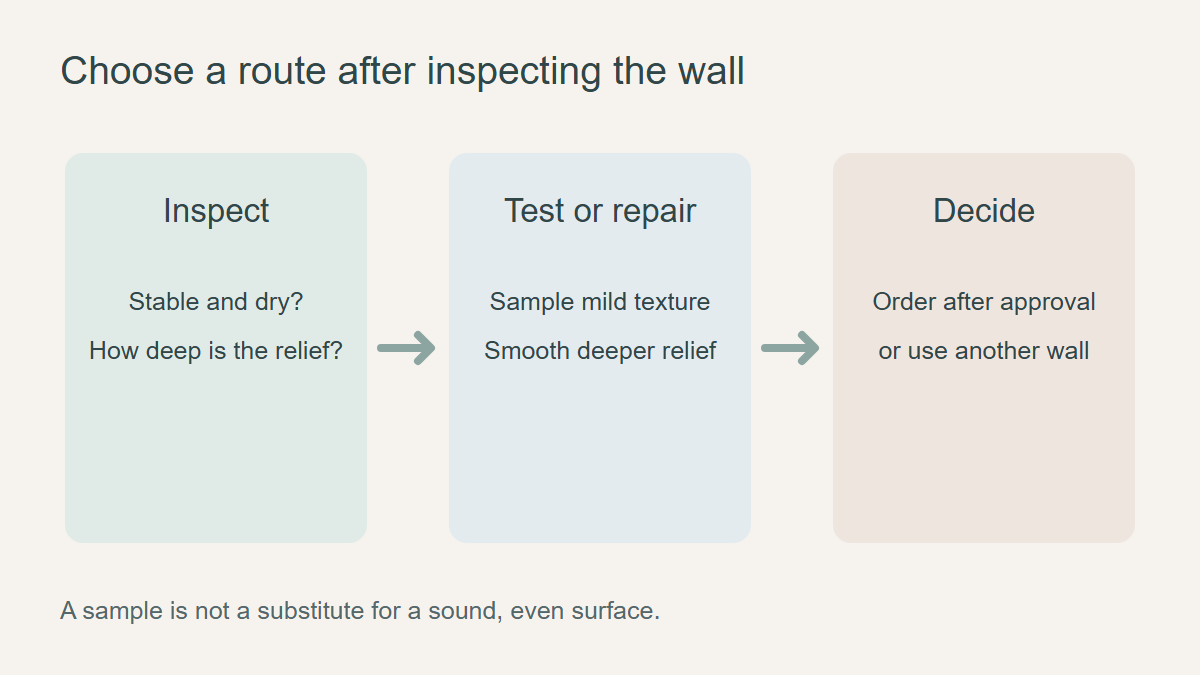 Test mild, stable texture; repair substantial texture before printing a full mural.
What a failed trial tells you
Edge lift, visible voids or an uneven join mean this wall-and-finish combination has not demonstrated a suitable result. The next decision is not to add extra paste or press the printed sheet harder. Ask whether the whole mural footprint can be made into a compatible, level plane through an approved preparation method, and test that finished surface again. If the required work is disproportionate, choose a smoother wall or another display method before ordering a custom crop. A trial that fails because the underlying plaster sheds dust also calls for substrate repair, not just a change of adhesive.
The Wallcoverings Association's preparation guidance calls for a clean, dry and sound wall, but it does not approve a particular mural over all textured finishes. For a comparison of orange peel, knockdown, plaster, brick and embossed paper and their different preparation routes, see the textured-substrate guide. This trial is narrower: can the selected print lie, join and remain attached acceptably on the prepared surface you will actually use?
Map the whole mural before ordering
Keep a record of the tested locations and the finish used. Approval based on a smooth corner does not extend to a rougher middle section. If levelling or a compatible lining system is required, complete it across the full image area, allow the preparation to reach the specified condition, then measure the finished wall. If that work is disproportionate, use another wall rather than ordering a custom crop for an unapproved surface. The deciding question is whether this print can make consistent contact and keep its panel joins aligned on the wall that will actually receive it.