Can Mural Wallpaper Cover an Entire Wall?
Explore full-wall mural planning, trim allowance, openings, furniture coverage and how to review a complete wall crop.
Article focus: pricing and measurement
What to settle before pricing
Start with accurate wall measurements; the final custom mural price depends on area, material and any finishing options.
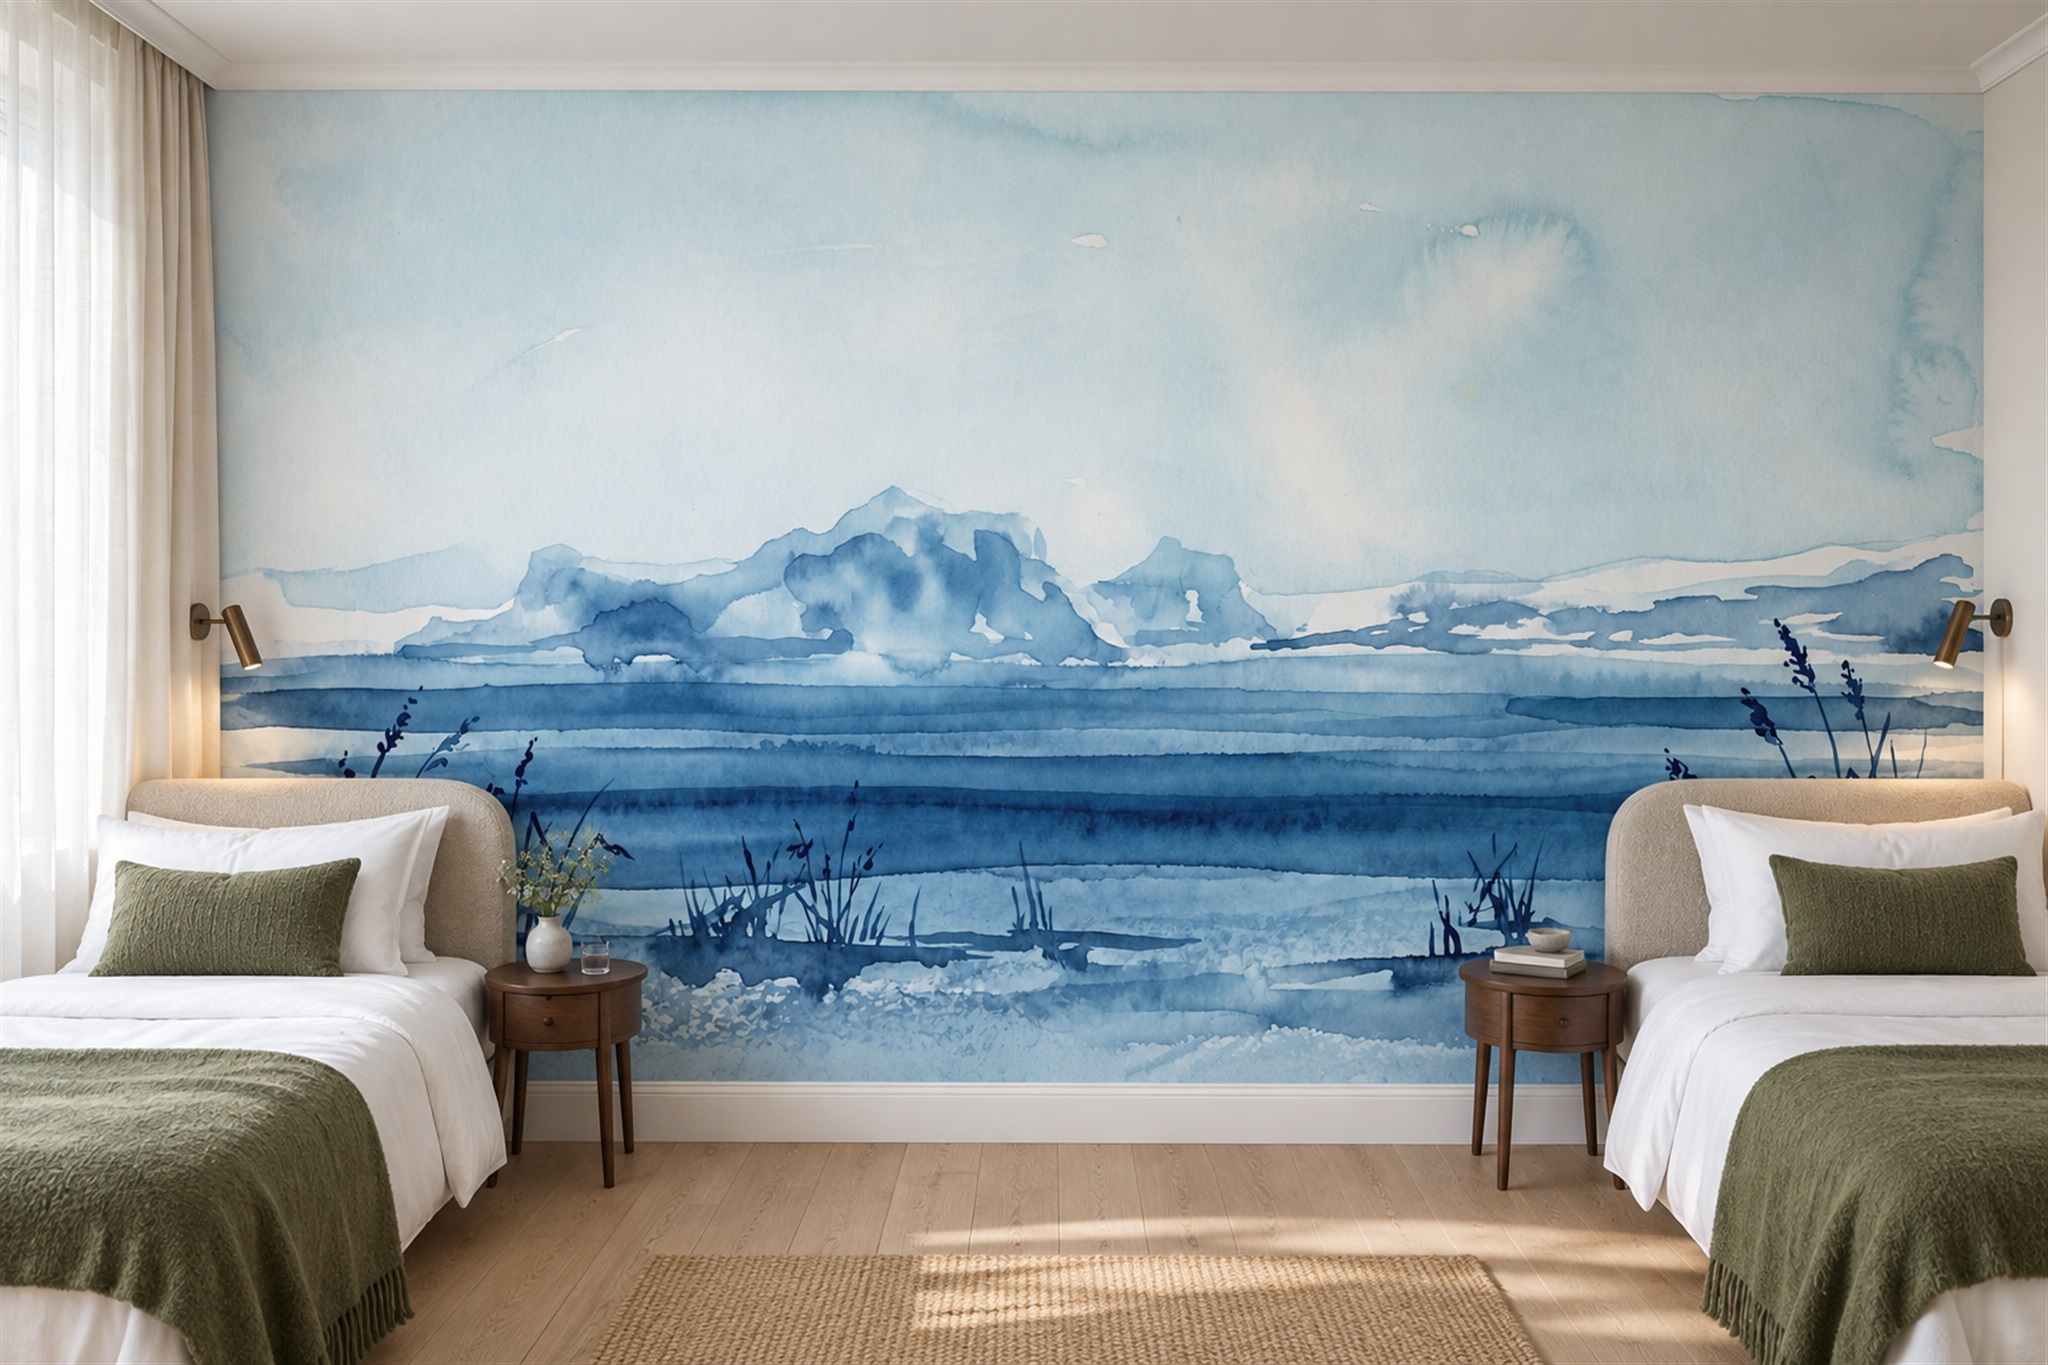
Example application: Any room with a suitable, prepared wall · pricing and measurement
Yes, a mural wallpaper can cover one complete wall, from its left boundary to its right and from the chosen ceiling edge down to the skirting. The difficulty is defining that “complete wall” precisely enough for a print order. A ceiling may slope, a door may interrupt the image, and a large wardrobe may hide the subject you wanted to see. Treat the project as a measured wall elevation with an approved artwork crop, not merely as a request to make the catalogue picture larger.
Draw the four edges you mean to cover
“Entire wall” may end above existing skirting, beneath coving or at a ceiling line that is not quite level. Decide whether a chimney breast, recess or short return around a corner belongs to the same printed area. Mark the four visible boundaries on a straight-on photograph and label any separate return. Without that drawing, a supplier could reasonably interpret “whole wall” as a flat rectangle that does not include your alcove.
Measure the width near the ceiling, at mid-height and above the skirting; measure height at the left, centre and right. Record every reading, not just the largest. The largest gives a safe planning extent while the smaller values show how far the wall tapers. Solowalls' current product instructions ask customers to add approximately 10 cm (4 in) to both overall dimensions for installation trim. Add that allowance once to the measured maximum; do not add it again at each side.
Keep important artwork away from the cut zone. A face, word or fine architectural line positioned exactly at a sloping ceiling cannot be preserved merely by precise trimming. Draw the finished visible rectangle inside the larger ordered print rectangle on your own sketch, and ask the supplier to review it if the placement is delicate. The site's standard crop preview does not automatically plot an uneven ceiling or furniture.
Separate the main plane from adjoining surfaces
Trace the continuous plane that is meant to be printed. A projecting chimney breast creates front and side faces; a deep window reveal has returns; an alcove has a back and two sides. Those faces cannot all be represented by one flat width-and-height pair without deciding where the image turns or stops. Label each face on a plan and on the straight-on wall elevation. Ask the supplier or installer whether the return needs its own print layout rather than silently adding its width to the main wall.
Now mark the room's fixed interruptions on the main plane. A door removes a section of visible artwork, but the image may need to continue above it and on both sides. A fitted wardrobe can hide a large area without changing the wall's physical boundary. Keep a coverage mark for each condition: printed then cut away, printed but concealed, or excluded because it is a separate plane. This prevents “complete wall” from meaning one thing to the customer and another to the installer.
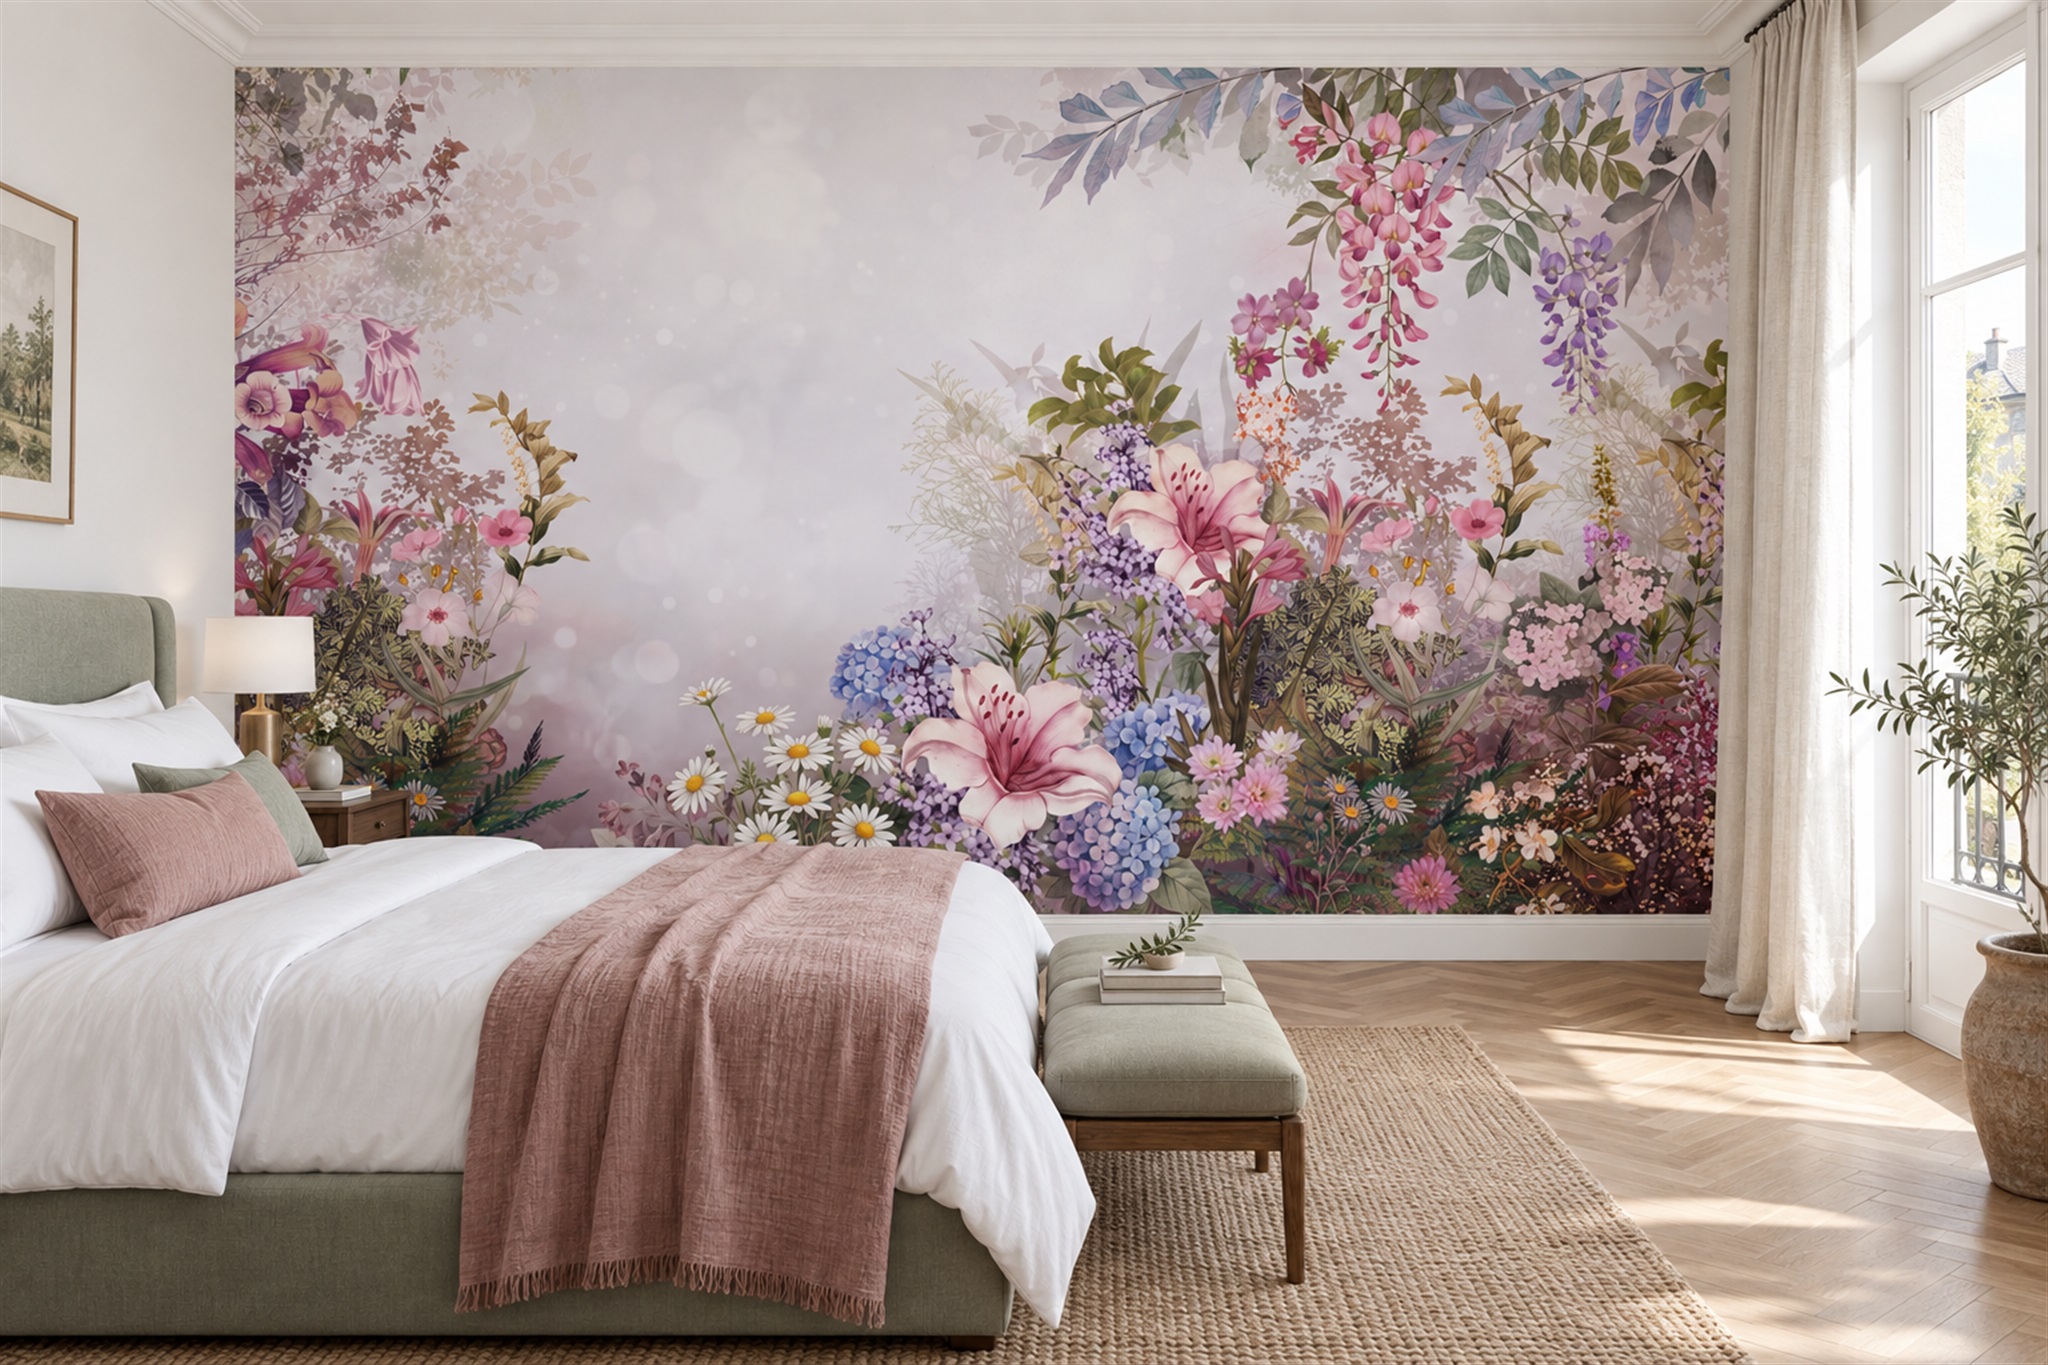
Use the measured rectangle and the annotated coverage drawing together. The rectangle establishes enough material for the outer bounds and the supplier's stated trim; the drawing explains where the visible composition survives. A bedhead can conceal the lower centre of a garden scene even though the print reaches the skirting. If the garden's only arch disappears there, change the crop or select a scene with interest above the furniture before approving production.
Check the proposed full-wall image from the doorway and the main seat. A window or wardrobe may make a mathematically centred subject appear displaced. The Wallcoverings Association's hanging guidance emphasises planning focal points, doors and windows together. The decision is therefore about a complete physical boundary and a coherent visible picture, not a square-metre calculation alone. For a panel that intentionally ends before the room's edges, see the partial-wall guide.
Show openings on the elevation without shrinking the wall
A window or door removes visible wallpaper from part of the finished wall, but it does not automatically reduce the overall printed width and height. The scene must still align across the portions on either side and above the opening. Measure each frame's outer edges from the same fixed corner and record its height from the floor or skirting on an annotated copy of the crop or a separate elevation. A lake horizon can disappear behind a window and continue beyond it; a central animal hidden entirely in a door cut-out is a crop problem to solve before printing.
Record sockets, radiators, picture rails and fixed cabinets separately. They may require careful trimming or leave a narrow strip of print beside a frame. Discuss any tricky areas with the installer, especially if a seam would land close to an opening. Do not omit an opening from the drawing because you assume the installer can “work around it”; that assumption gives the designer no way to protect the focal image.
Inspect every square metre that will be covered
A full-wall project can fail at a neglected edge even when the central painted area looks sound. Check near skirting for loose paint, at external corners for dampness, and around windows for old adhesive or filler ridges. Repair defects and let the wall dry according to the chosen system before applying the mural. The Wallcoverings Association's surface guidance calls for a clean, dry and sound substrate. A printed scene is not a repair for unstable paint or moisture.
Read the installation instructions for the selected material. Self-adhesive and pasted wallcoverings can require different preparation, priming and handling; do not assume one method suits all four finishes. If the wall is unusually high or includes a stair landing, plan access and installer expertise before ordering. Full-wall coverage means the outer edges and the hardest-to-reach area are part of the same job as the easy centre.
Check image quality at the intended print size. A small source photograph may look convincing on a phone but soft across a broad wall. Ask for a print-scale detail preview where the supplier provides one, especially for faces or fine lines. A well-measured wall cannot correct an unsuitable image file, just as a beautiful file cannot correct an unprepared surface.
Approve coverage and composition as separate tests
Before approving the order, compare three records: the measured outer boundary with its fitting allowance, the plan that labels every return or recess as a separate plane, and the crop annotated with doors, windows and furniture. The first answers whether the print reaches the intended edges. The second prevents an unplanned gap on a neighbouring face. The third tests whether the subject remains visible after openings and furniture conceal parts of the image. Passing one test does not automatically pass the others.
On delivery, confirm the chosen finish, dimensions and numbered panel sequence before applying adhesive. Establish a true vertical starting line and retain the perimeter excess until the image is aligned and ready for final trimming. If a chimney breast, recess or corner return was included in the brief, check its separate panel plan as well; “entire wall” does not automatically mean an unmeasured adjoining plane. Full-wall coverage is complete only when both the physical boundary and the visible composition match what was approved.