How to Combine Mural Wallpaper with Paint
Use undertones, contrast, trim and sightlines to connect one mural wall with painted surrounding walls.
Article focus: pricing and measurement
Budgeting this wall with confidence
Start with accurate wall measurements; the final custom mural price depends on area, material and any finishing options.
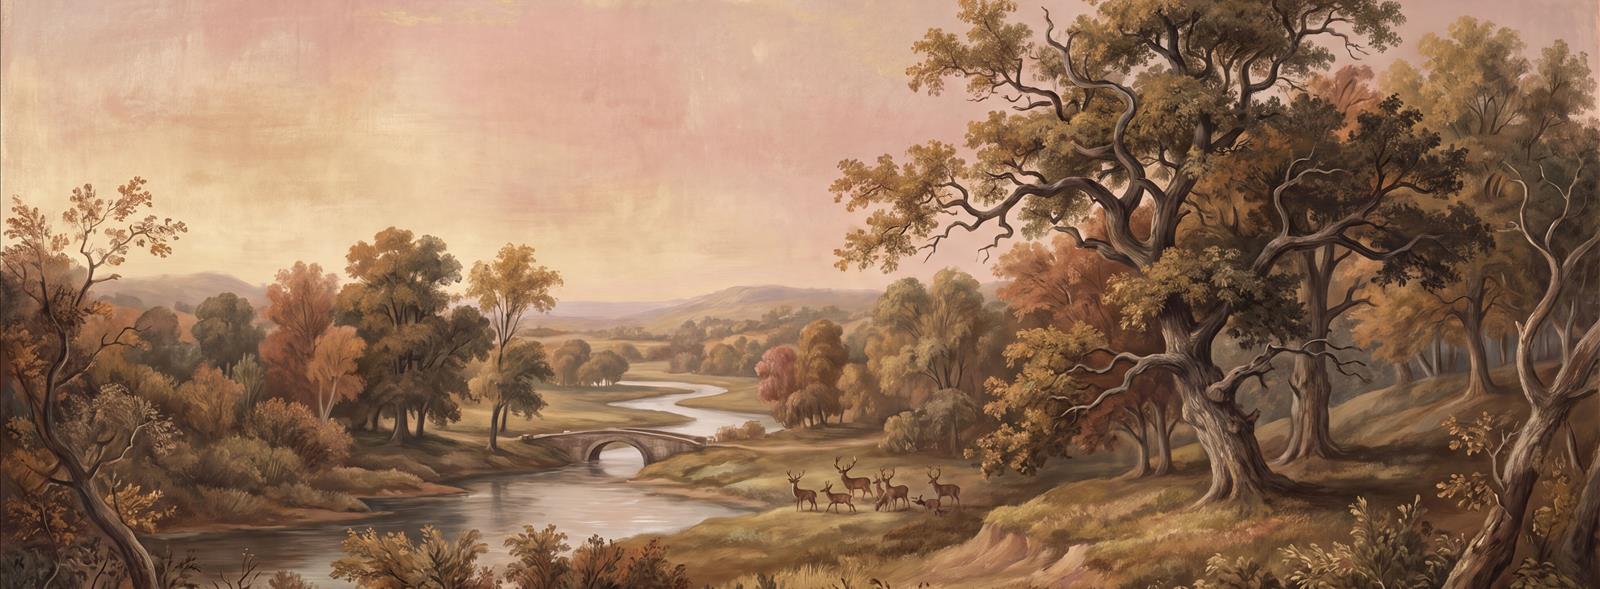
Example application: Any room with a suitable, prepared wall · pricing and measurement
A mural and painted walls need a relationship, not an exact colour match. Decide first whether the paint should recede, extend a background tone in the artwork or create a visible frame around it. Then look at the real places they meet: inside corners, ceiling, skirting and any panelling. Those junctions matter more than a paint colour sampled from a single pixel on a screen. Printed colour, paint finish and room light can all change the apparent match.
Lock the printed area before planning the paintwork
If the mural is the focal surface, decide exactly which wall plane it will cover before painting begins. A product photograph cannot tell the painter whether the print ends at the inside corner, stops above panelling or returns into an alcove. Mark those boundaries on the wall elevation and on a room photograph. Order the mural for that measured area with the supplier's fitting allowance; do not let an approximate paint line become the dimension used for a custom print.
Next agree which trade prepares each surface. The printed wall may need a particular primer or finish under the selected adhesive, while neighbouring painted walls need their own preparation and drying schedule. The painter should know where the installer expects a clean edge, and the installer should know whether moulding will cover the print's cut edge. Resolve these questions before anyone masks a corner or applies a final coat. An attractive colour combination will not hide an accidental narrow strip of unfinished wall.
Only after the boundary is fixed should you test paint candidates against a physical sample of the chosen mural finish, at the junction where they will meet. This article follows the layout and work sequence; the paint-colour guide examines ground tones, contrast, undertones and how much of the room each hue will occupy. Keep the chosen paint brand and sheen with the print order so both installers can check the same approved scheme.
Map every painted and printed plane
Draw a simple elevation of each wall, not just a front-on image of the mural. Mark the printed area, the painted side walls and ceiling, the skirting and any lower panelling. If shelves divide the wall into several openings, label whether the print continues behind them or stops at their edges. This exposes thin leftover strips and ambiguous returns before the painter and installer begin. The drawing need not be elegant; it needs to show which finish belongs on each surface.
Decide what happens when a full-height mural reaches a lower painted panel. The print may stop at a moulding, or the panel may have to be prepared as part of the printed wall; the choice affects the image height ordered. Around a fireplace or built-in cabinet, a small painted recess can read as an intentional frame if its width is consistent. If the recess varies because of uneven plaster, check the measured dimensions instead of assuming a catalogue mock-up predicts the edge.
From the doorway, note which boundaries appear together. A mural meeting painted walls at two corners may read as one feature plane; a continuation of its colour onto cabinetry changes that impression. The ceiling line is just as visible above a tall print. Record whether woodwork stays consistent with the rest of the home or becomes part of the feature-wall composition. These are decisions about where finishes meet, distinct from choosing the exact paint hue; the adjacent paint-colour guide compares colour roles and undertones.
In the scene below, painted shelves and lower panelling surround the river landscape while the mural occupies the upper central plane. The edges are legible because the joinery creates a deliberate boundary; they do not depend on matching every colour in the image. A similar scheme on a wall without built-ins would need another clear stopping point, such as the inside corner or a properly planned frame.
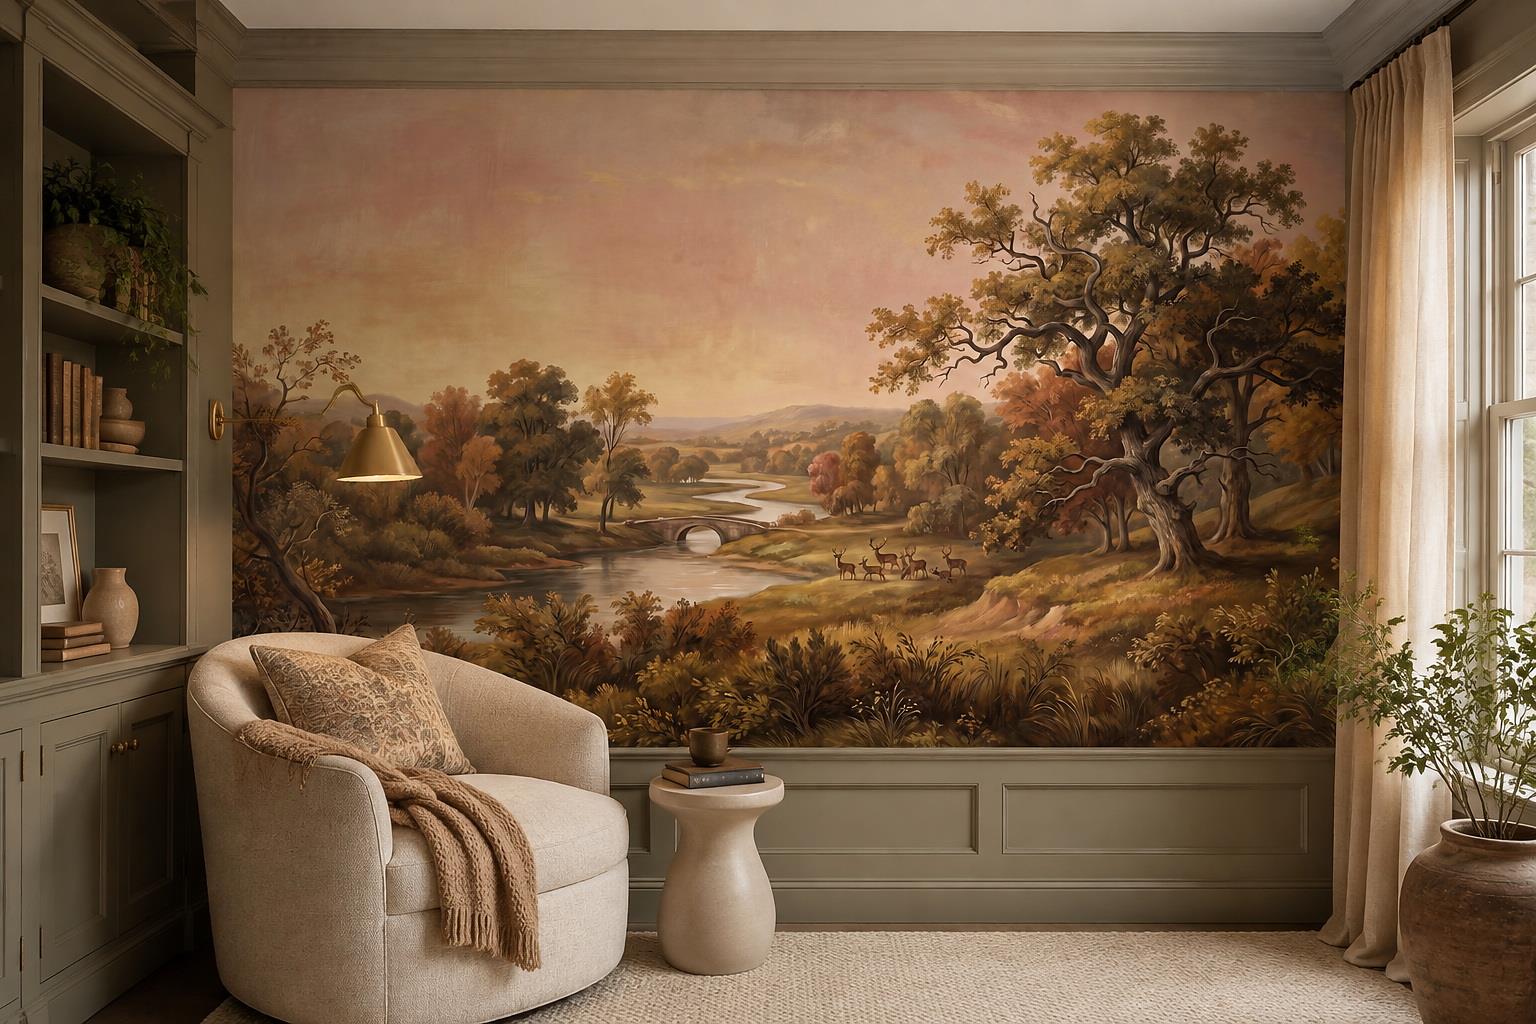
Choose whether the painted junction blends or frames
Once the finish boundaries are fixed, compare two deliberate colour relationships at the actual corner. A paint drawn from a quiet ground in the mural can let the image continue visually onto the adjacent wall. A clearly deeper or contrasting paint makes the printed plane read as a framed feature. A near-match is the least forgiving choice: if the printed cream and painted cream differ slightly, the junction can look accidental. Hold the print sample against painted swatches at that meeting point rather than sampling a colour from a screen.
For a partial mural, the surrounding paint becomes a visible border on several sides. Check whether its width and tone support the artwork from the doorway, not just in a close-up sample photograph. In a room with painted shelves or panelling, one subdued colour can connect those larger surfaces to the mural without copying every accent in its image. Decide which plane should lead and let the other support it.
Finish affects the choice as well as hue. A matte print beside glossier paint can reflect side light differently even when their colours are close. Place both samples upright at the intended junction, then inspect them in daylight and under the lamps normally used in the room. Choose a transition that still looks intentional under both conditions, and record the paint colour and sheen with the selected mural finish.
Get the work sequence right
Repair and prepare all wall surfaces first. Paint the surrounding walls and prepare the mural wall according to the print supplier’s system; the two surfaces may need different primers. Allow coatings to cure for the period specified by their makers. Dry to the touch is not the same as ready for wallpaper adhesive. The Wallcoverings Association’s surface-preparation guidance stresses a clean, dry, sound wall and notes that glossy paint needs particular preparation. Check the chosen mural material’s instructions rather than assuming every painted wall is immediately suitable.
Discuss the sequence with painters and installers. Cutting in around an already installed mural can put tape or wet paint on its edge. If paintwork must be touched up after wallpapering, protect the print using methods approved for that material. Avoid attaching strong masking tape directly to the mural face unless the maker says it is safe. A little planning can prevent a perfect print from being marred during the final paint stage.
Keep a note of the paint colour, brand and finish alongside the mural order details. If a future repair is needed, having both references is better than trying to reconstruct the scheme from photographs.
Test the scheme as a whole
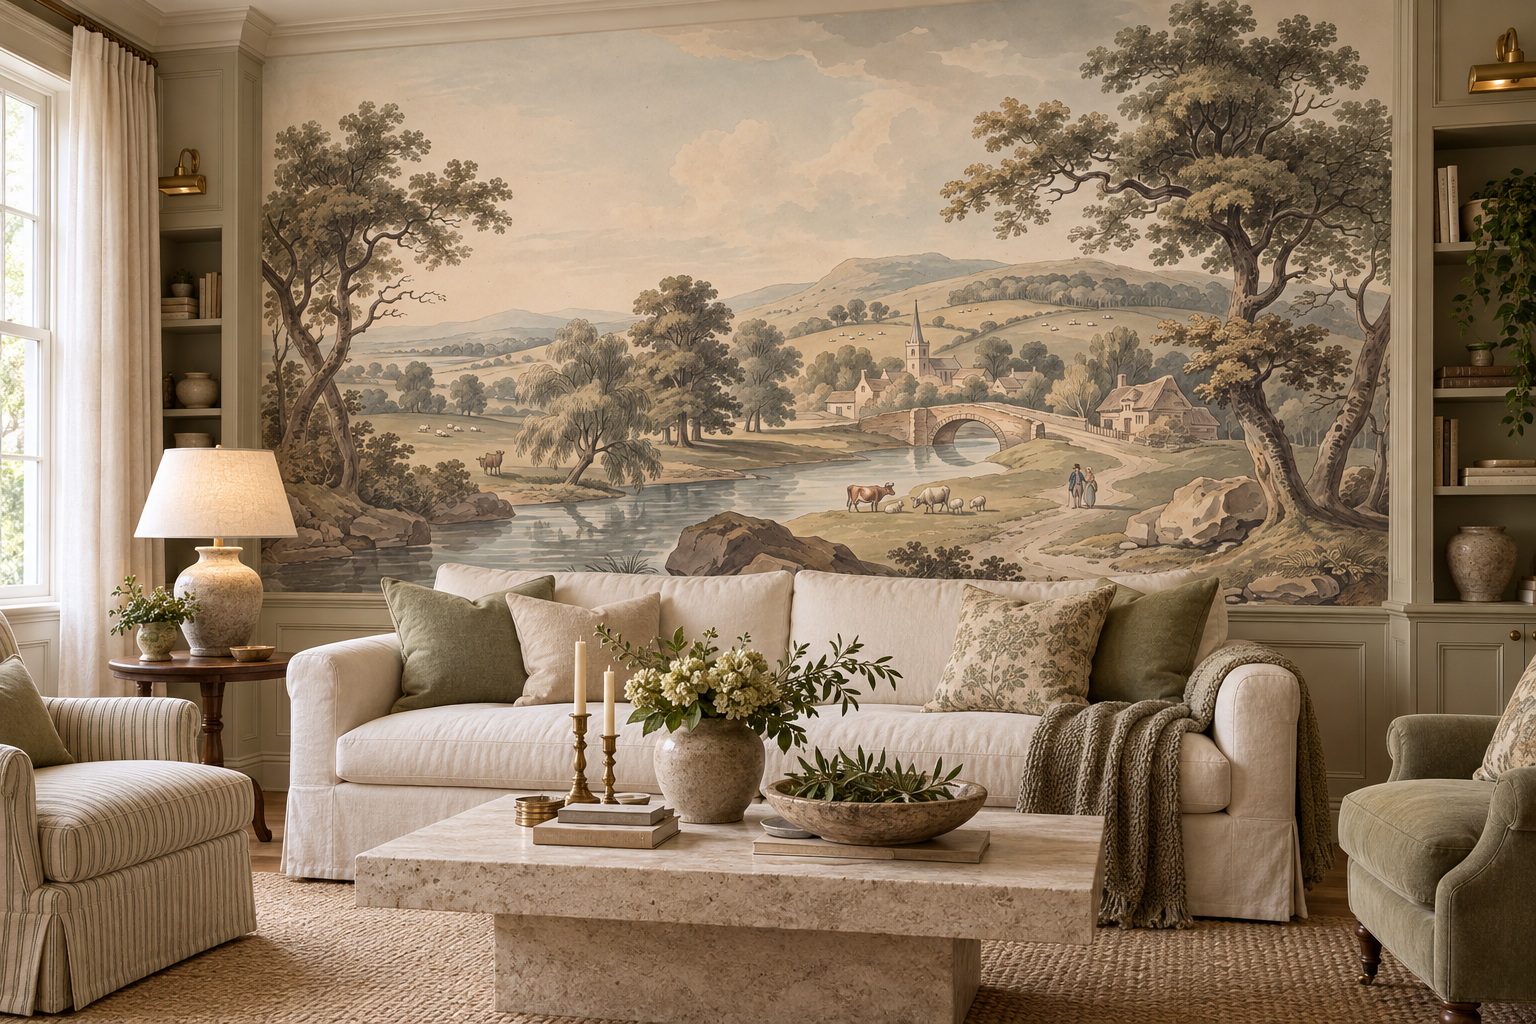
Before signing off, inspect the actual meeting point rather than placing samples in the middle of separate walls. If the mural has a pale stone ground, a nearly matching painted return may reveal a narrow mismatch at the corner; a clearly deeper painted return will make that line intentional. Look from the doorway and main seat with the ceiling, skirting and built-ins visible. Choose the quieter transition only if it still reads well where the materials touch.
Make the handover unambiguous: mark the painted side of each junction and the printed side on a room elevation, then note whether moulding or panelling covers the edge. Record the paint brand, colour and sheen, the approved mural crop, the selected print finish and each maker's required curing or preparation interval. The painter and installer can then check the same boundary before either cuts in or trims the print. This is more reliable than an attractive swatch board that never specifies where one finish ends.