Can You Install Mural Wallpaper Yourself?
Assess the wall, panel size, tools, confidence, time and need for a second person before choosing a DIY installation.
Article focus: installation and removal
What the installer needs to know
The right installation method depends on the chosen material and wall condition, so prepare the wall before ordering and follow the material-specific instructions.
Example application: Nursery or children’s room · installation and removal
Can you install mural wallpaper yourself? Often, yes, if the wall is sound and reachable, the panels are manageable and you can follow the instructions for the exact material delivered. The real test is whether you can control the first panel and keep the image aligned across every seam. Start with a dry layout and a vertical reference, then check each stage before the next becomes difficult to reverse. An awkward stairwell, uncertain substrate or unexplained print mismatch is a reason to pause, not a challenge to solve by pulling harder.
Set a clear entry condition for the DIY attempt
This walk-through begins only after the wall has passed a separate surface check: it is sound, clean and dry, and any paint or primer has met the product makers' curing instructions. Dampness, flaking paint or unsafe access stops the project before the first panel. The installation overview covers preparation and the whole fitting sequence; the task here is to rehearse how two people will handle this particular print. Do not let an attractive dry layout persuade you to hang it on an unready wall.
Mark the planned starting line and the approximate boundary of panel two on the bare wall. Without exposing adhesive, have one person hold the protected first panel near its intended position while the other checks reach, sightlines and where the loose length can rest. Do not crease or mark the printed face. Can the upper edge be controlled without leaning sideways? Can the second person see both the plumb reference and the next image join? If not, change the work arrangement or ask an installer to assess it before the irreversible stage begins.
Photograph the rehearsal position with the panel numbers visible. That image is a reference for the team, not a production proof or permission to attach a panel to an unsuitable substrate. If a door frame, tall ceiling or fixed cabinet blocks a safe standing position, name the obstruction and solve it explicitly. More pressure on a smoothing tool will not recover a drop that could not be supported from the start.
Dry-lay the mural before exposing any adhesive
Confirm whether the supplied product is paste-the-wall, paste-the-paper or self-adhesive. These methods are not interchangeable. Read the manufacturer's notes on panel order, edge treatment, adhesive, booking time if applicable, smoothing and cleaning. Do not transfer a technique from a different wallpaper simply because both products have a printed face.
On a clean floor, arrange the numbered panels in order with their top edges facing the same way. Compare the complete picture with your order preview: are the expected subjects present, is a panel missing, are any edges damaged or visibly different in colour? Check that a horizon or other continuous line carries across adjacent panels. Mark the approximate positions of doors, sockets and furniture on a wall sketch so you can see whether a focal point falls where you expected. Photograph any discrepancy while the panels are still loose. The Wallcoverings Association's installation guidance advises stopping when a discrepancy appears.
Keep the packaging and panel labels until the wall has been checked. If the panels are printed for a custom width, swapping two strips because their backgrounds look similar can shift every later subject. Compare the left and right edge of each pair while they lie flat. A bold line that fails to connect in the dry layout is not something a seam roller will repair once the adhesive is wet. If the printed image differs materially from the crop selected for the order, contact the supplier before cutting anything.
Assign roles and agree on a pause signal
Choose a lead person to control the panel's upper edge and a support person to manage the loose lower length. The support person's second job is to look along the marked vertical and report drift before more of the panel is committed. Agree on a plain signal such as “stop at the seam” that means both people release pressure and reassess within the material's permitted adjustment method. Two people pressing in different directions can introduce tension rather than prevent it.
Decide where the next numbered panel will wait, still protected and away from paste, dust or exposed adhesive. Keep a clear step-back lane so one person can inspect the image from the room's normal viewing distance. Place the tools specified for the actual finish within reach, with spare blades separate from printed panels. Stable access remains mandatory; a helper does not make an unsafe ladder on stairs acceptable. Isolate electrical power before removing outlet covers, and leave unfamiliar electrical work to a qualified person.
Rehearse the transition between the first and second drops while both are still loose: one person points out the image landmarks at the top, middle and bottom; the other confirms the panel numbers and joining method in the supplied instructions. Set aside time for that check after the first strip is positioned. If the finish's working time cannot accommodate a calm pause, ask the supplier or an installer how the team should sequence the work rather than speeding up blindly. Keep children and pets out of the work area while blades, adhesive or backing are exposed.
Place panel one against a true vertical line
Walls and corners are rarely perfectly vertical. Use a level to draw a light pencil line where the first panel is meant to begin, allowing the trim specified by the mural maker at the ceiling and floor. The Wallcoverings Association explains why this independent reference matters: if the first length follows a leaning corner, later lengths can drift with it. Check the distance from the line to a recognisable point in the artwork before attaching anything.
Position the upper part of panel one against the line. Have your helper support the remaining length rather than letting it swing against the wall. Smooth progressively using the pressure and direction recommended for your material; do not stretch the image to make it reach an edge. Step back and inspect the vertical alignment before committing the entire length. If the panel starts square but bows by the bottom, pause while adjustment is still permitted by the product instructions.
Watch the printed edge, not just the panel's top. A strip can begin neatly at the ceiling and still drift away from the guide lower down. If that happens, do not compensate by stretching panel two; you will transfer the problem along the wall and may distort the image. Check the wall line, the first strip's position and whether the surface is uneven. Reposition only if the supplied material instructions explicitly allow it; otherwise stop and ask the supplier or an installer how to proceed.
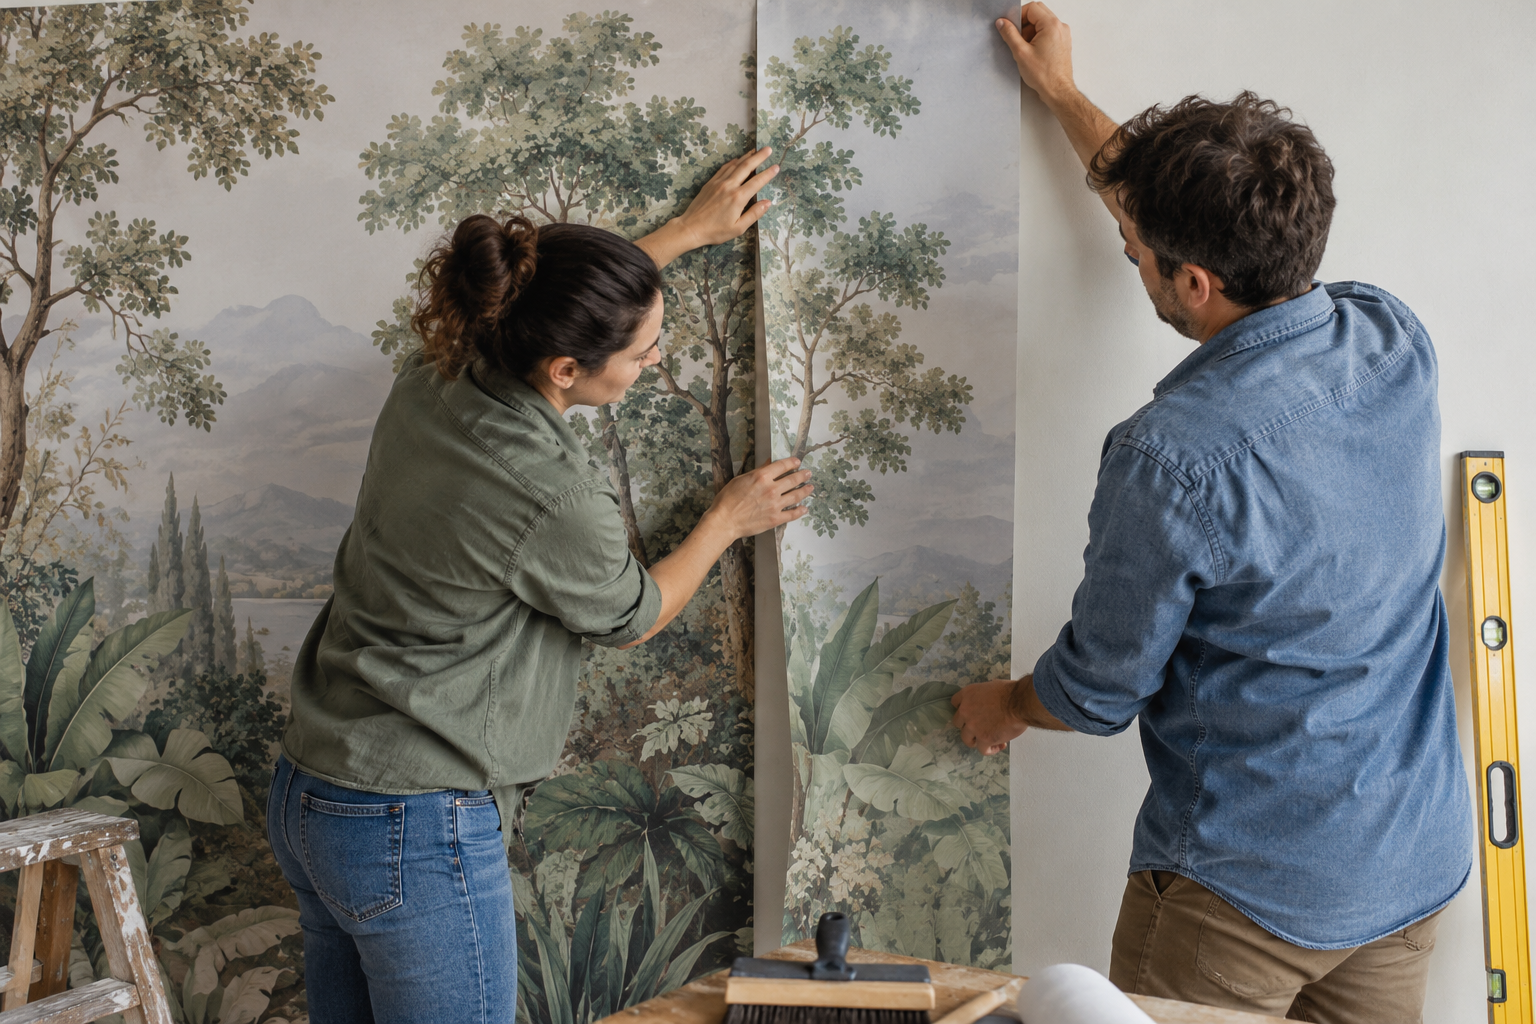
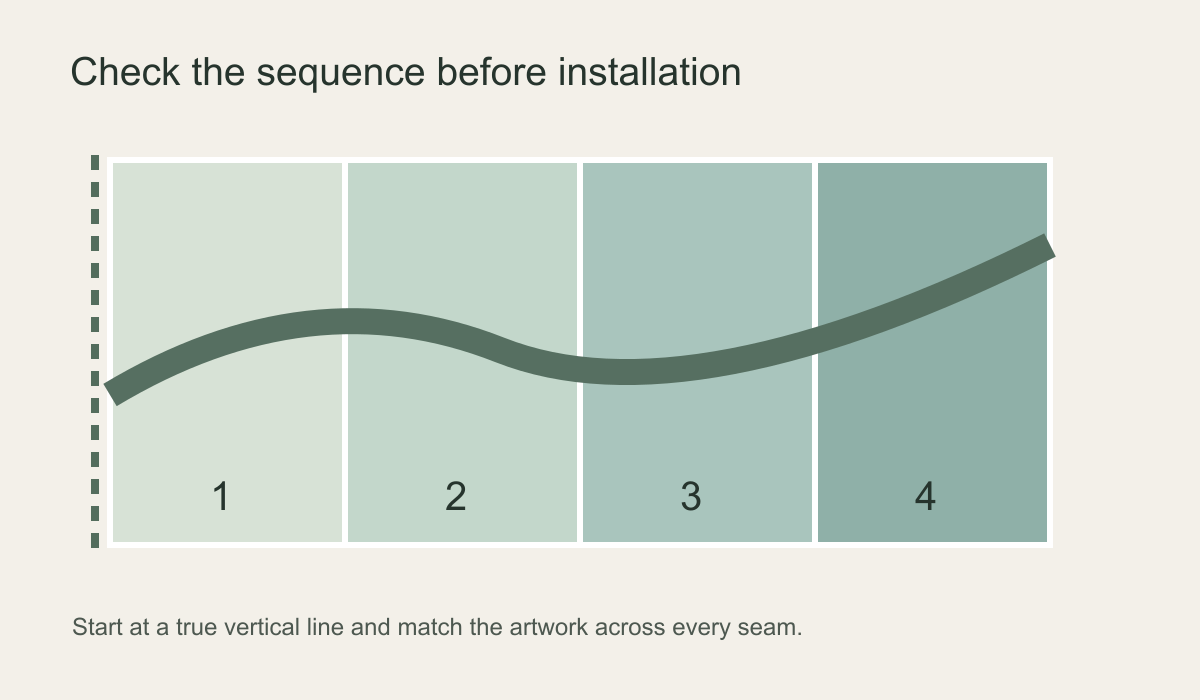
The editorial feature visualisation shows two people aligning a scenic panel. It illustrates cooperation and seam checking; it is not a step-by-step record of a Solowalls product being installed, and it does not determine whether paste or self-adhesive backing is appropriate for your order. The diagram below shows the order in which panels should be checked. Follow the actual numbering supplied with your mural, as printer layouts can vary.
Match panel two before smoothing the whole length
Bring the second panel to the wall and compare several points along the shared image edge, not just the top. A branch, horizon or geometric line that connects at eye level but breaks near the floor signals that the panel needs adjustment. Follow the supplied instruction for a butt join or overlap; never invent an overlap because a gap appears. Do not stretch one panel to force a picture match. Work along the seam with controlled pressure and check for trapped air as you go.
After the first few panels, stand back under the room's normal lighting and compare colour and alignment. The Wallcoverings Association's standard installation advice calls for checking the first three strips and stopping if an objectionable variation appears. That is a useful checkpoint for a mural too, although the supplied instructions govern the exact application method. Take a photograph from the same viewpoint as your dry layout if you need to discuss an issue with the supplier.
Only after a panel is correctly placed should you trim at the ceiling, skirting or an opening with a sharp blade and firm guide. Replace a dull blade instead of dragging it through the print. Clean any adhesive from the face only as directed for that finish. Do not rub a ridge aggressively or lift an attached panel unless the manufacturer's instructions permit repositioning. Keep cutting tools away from live electrical components.
Around a door or socket, confirm the image position before making a relief cut. Remove only the material needed to work around the obstruction and leave final edge trimming until the panel is smoothed in place. Never cut into an electrical box or disturb wiring as part of wallpaper hanging. If a fitting must be moved or the substrate behind it repaired, arrange the appropriate trade rather than trying to work around an unsafe opening.
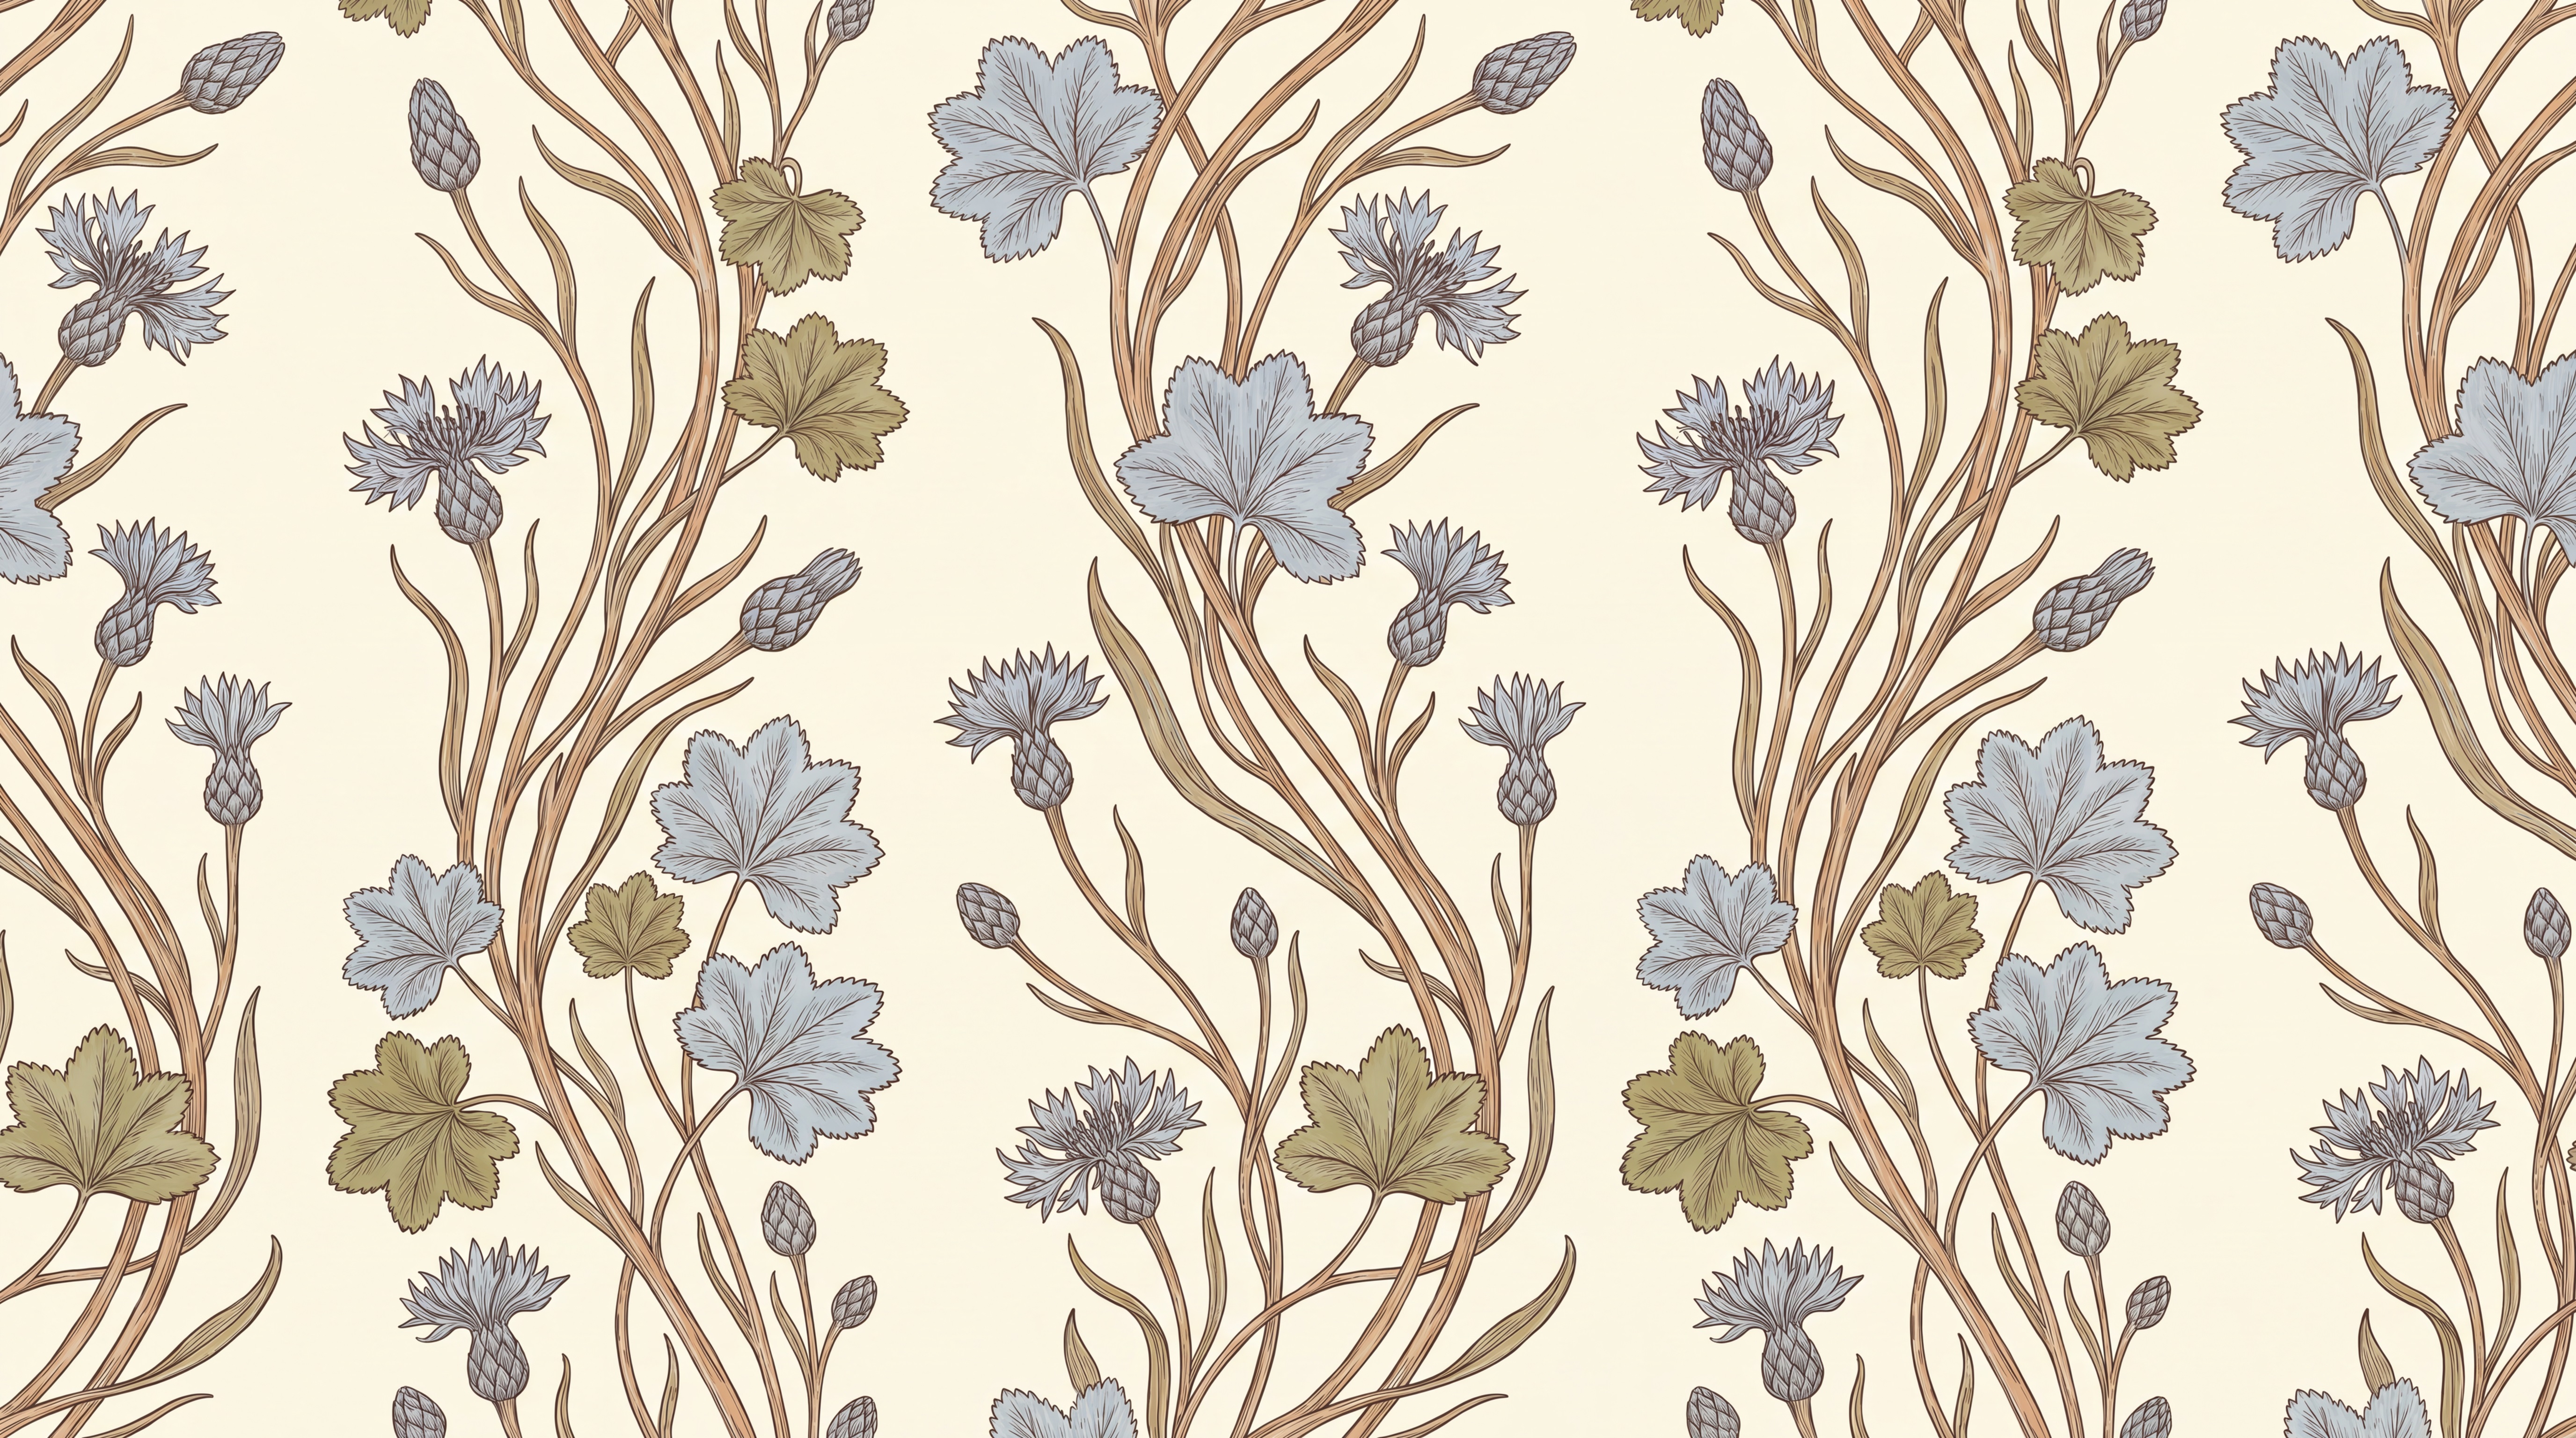
The flat floral artwork below has slender brown stems linking pale blue blossoms across a cream ground. If a stem breaks at a join, the mismatch is easier to see than in a diffuse wash. This is a design example, not an installation photograph. Before ordering, consider whether your chosen motif has continuous details that make the first few panel positions especially important.
Pause at the right checkpoint, not after the whole wall
There are three useful stopping points. Before installation, stop if the loose panels fail to form the ordered image. After panel one, stop if the wall surface lifts, the material will not follow the specified method or the vertical reference cannot be maintained. After the first few panels, stop if a seam, colour or scale mismatch is visible in normal light. Photograph the affected area, keep the panel labels and contact the supplier before proceeding.
When is an installer the better choice?
Consider professional help for a stairwell, a very tall wall, a narrow space where full panels cannot be supported, or a wall with several doors and fittings. The same applies when the surface has unresolved dampness, crumbling paint or a preparation requirement you cannot verify. A high-contrast panoramic design with long continuous lines leaves less room for alignment error than a diffuse pattern. A professional still needs the correct product instructions and a sound wall; hiring one does not make an unsuitable substrate suitable.