How to Clean and Maintain Mural Wallpaper
A safe maintenance routine for mural wallpaper, including dusting, spot cleaning, kitchen marks, bathroom humidity, and products to avoid.
Article focus: installation and removal
Planning the work and the exit
The right installation method depends on the chosen material and wall condition, so prepare the wall before ordering and follow the material-specific instructions.
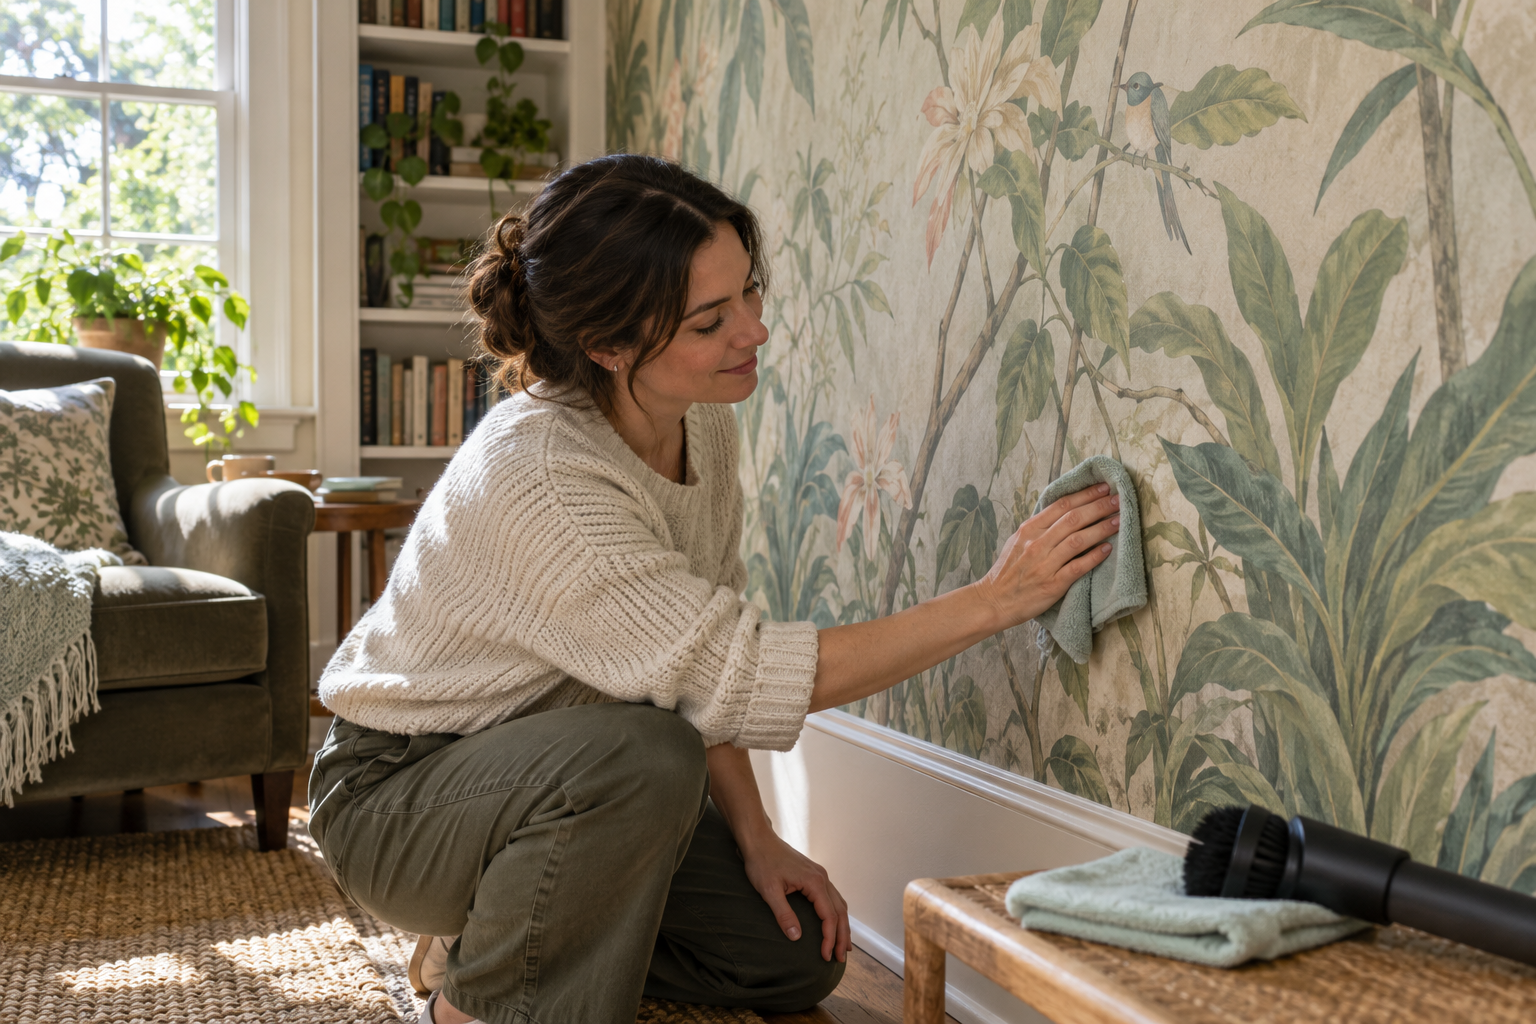
Example application: Bathroom or powder room · installation and removal
Clean a mural according to its exact finish and the mark you are treating. Loose dust may be removed gently while dry; a fresh splash, oily stain or recurring brown patch needs a different response. Before using moisture or detergent, find the material's care instructions and test only a permitted method on an offcut or discreet spot. The word “Vinyl” is not a care code, and aggressive cleaning can make one patch of a continuous image conspicuously different.
Keep the product details where you can find them
Save the order confirmation, material option and any care sheet. Note whether the mural is peel-and-stick, a pasted non-woven or another finish. If you have spare offcuts, keep a clean piece for a hidden cleaning test. The picture alone does not reveal its protective coating or ink system, and a method safe for a different wallpaper in another room may be wrong for this one.
The Wallcoverings Association defines “washable” as tolerating occasional sponging with a prescribed detergent solution and “scrubbable” as tolerating a stronger specified process. Neither term means unlimited soaking or arbitrary household cleaner. If the product does not state a cleaning classification, ask the supplier instead of assigning one from its appearance.
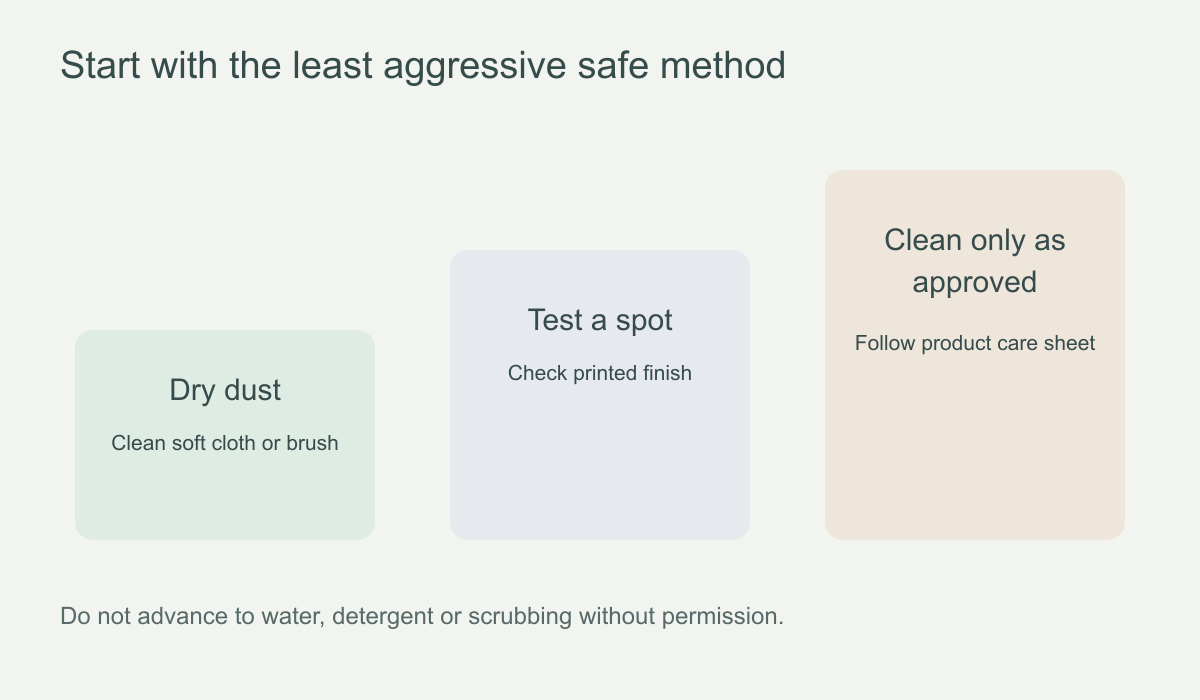 Move to a stronger method only when the chosen mural's care guide permits it.
Routine dusting without rubbing the print
Where the product permits dry dusting, start at the top with a clean, soft microfibre cloth or suitable soft vacuum brush used gently. The cloth-wiping scene in the accompanying image illustrates a cleaning task; it does not establish that this finish, or every mural, can be wet-wiped. Work down so dust does not settle on areas already cleaned. Avoid dragging a gritty cloth across dark colours; abrasion may change a matte surface's sheen. Use a fresh part of the cloth as it collects dust instead of increasing pressure.
Pay extra attention near skirting boards, corners and radiators, where dust gathers and air movement can mark the surface. Do not tug at panel edges with a vacuum attachment. If a seam is lifting, treat it as an installation or adhesion issue to investigate, not something to flatten by cleaning harder.
What to do when a new mark appears
First identify the contaminant rather than reaching for a damp sponge. Loose dust can often be lifted dry; a fresh splash may need careful blotting if the finish permits it; an oily mark needs the maker's specific advice before any cleaner is applied. A brown patch that returns after cleaning may be moisture coming through the wall, not surface dirt. Photograph an unfamiliar stain and check the care guide before applying liquid. Rubbing aggressively can spread grease or disturb the print.
Test any approved cleaning method in a hidden place or on a spare offcut. Look for colour transfer to the cloth, shine change, softened print, swelling or adhesive movement at an edge. Stop if any appears. The Wallcoverings Association's cleaning advice also recommends manufacturer-specific instructions and an inconspicuous test before treating a whole wall.
If a finish is expressly washable, follow its specified cloth, solution and drying directions. Use only the amount of moisture allowed. Do not soak a seam or assume that warm water and mild soap are safe for every digital print. For a dry-clean-only finish, introducing water can turn a small spot into a tide mark.
Methods that commonly create new damage
Abrasive sponges, scouring powder, steel wool and forceful brushing can remove the printed surface or change its sheen. Strong solvents can dissolve ink, adhesive or coating. Bleach and all-purpose disinfectants may alter colour even when the wall looks clean at first. Steam cleaners add heat and moisture where seams and paste may be vulnerable. Unless the maker explicitly approves one of these methods for this exact product, do not experiment on the mural.
A magic eraser is also abrasive despite feeling soft. Test results on painted drywall are not evidence for a printed mural. Likewise, advice about cleaning commercial Type II vinyl should not be applied to an unverified residential mural. The substrate, coating and inks may be completely different.
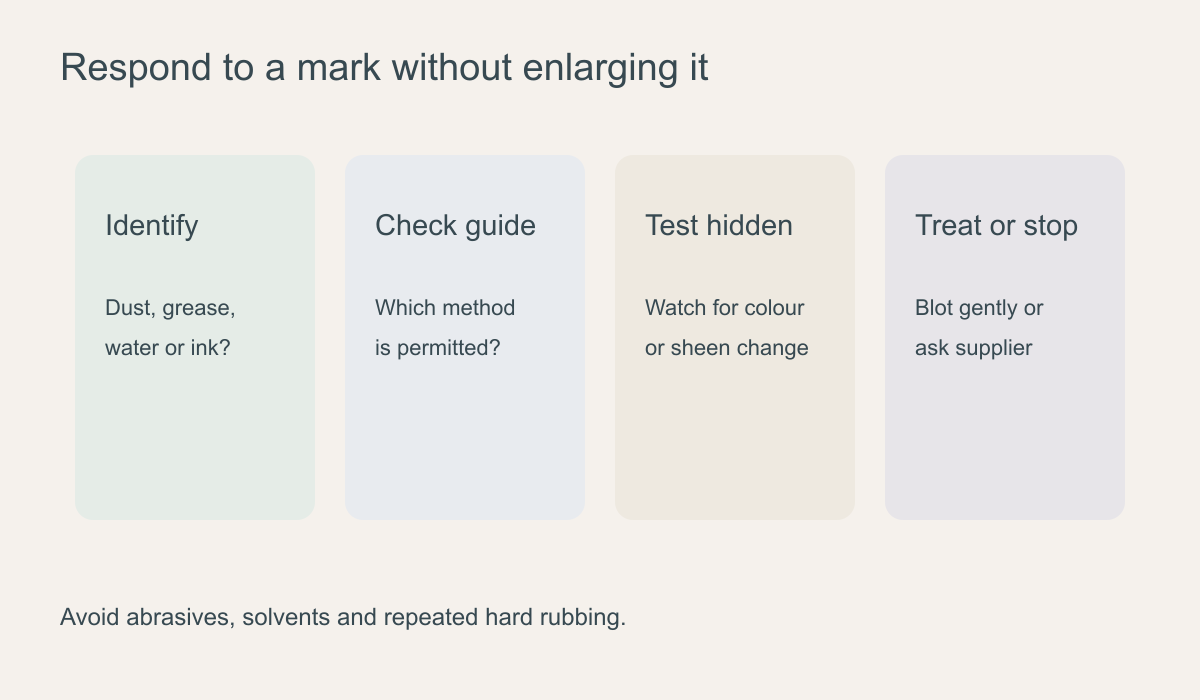 Identify the mark first; an indiscriminate cleaner can make it larger.
Watch the room, not just the wall
Prevent repeated marks where practical. Move furniture slightly away from the mural if chair backs or headboards rub it. Use a suitable splashback instead of expecting a kitchen mural to take daily grease and water. Control condensation and investigate leaks. A repeated brown stain or musty odour may indicate building moisture, which surface cleaning will not solve.
Sunlight and heating can change a room over time, but do not assume a particular fade-resistance or durability rating unless the product specifies one. If one panel looks different, compare lighting, dust and surface condition before trying to clean the whole wall. A change in colour may be a print or exposure issue rather than removable dirt.
When a seam or edge needs attention
Do not flood a lifting edge with water in an attempt to clean beneath it. The cause might be moisture, unstable paint, insufficient adhesive or incompatible wall preparation. Photograph the issue and consult the product's installation guidance or an experienced decorator. Pushing a loose seam repeatedly with a damp cloth can stretch or fray it.
For a pasted mural, any repair adhesive must be appropriate for the paper and substrate. For peel-and-stick, an edge that will not stay attached may signal contamination or wall-condition problems. A small cosmetic touch-up is not a substitute for diagnosing a larger failure. Keep spare offcuts until you are confident the installation is stable.
Give the supplier a useful record of an unresolved mark
If the permitted cleaning method fails or a mark returns, stop repeating it and gather the order's exact material name, the care sheet, a whole-wall photograph and a close view in even light. Note when the change first appeared, whether it is growing, and precisely what has already touched the surface. Include any offcut test result, especially colour transfer or a change in sheen. Ask whether the evidence suggests a surface mark, coating damage, seam movement or a wall condition requiring separate inspection. This record helps the supplier advise on a treatment or repair for the actual finish without another speculative cleaning attempt.