How Should You Clean Mural Wallpaper?
Follow a gentle care routine based on the surface, finish, room conditions and the supplier’s cleaning instructions.
Article focus: installation and removal
The installation choice in practice
The right installation method depends on the chosen material and wall condition, so prepare the wall before ordering and follow the material-specific instructions.
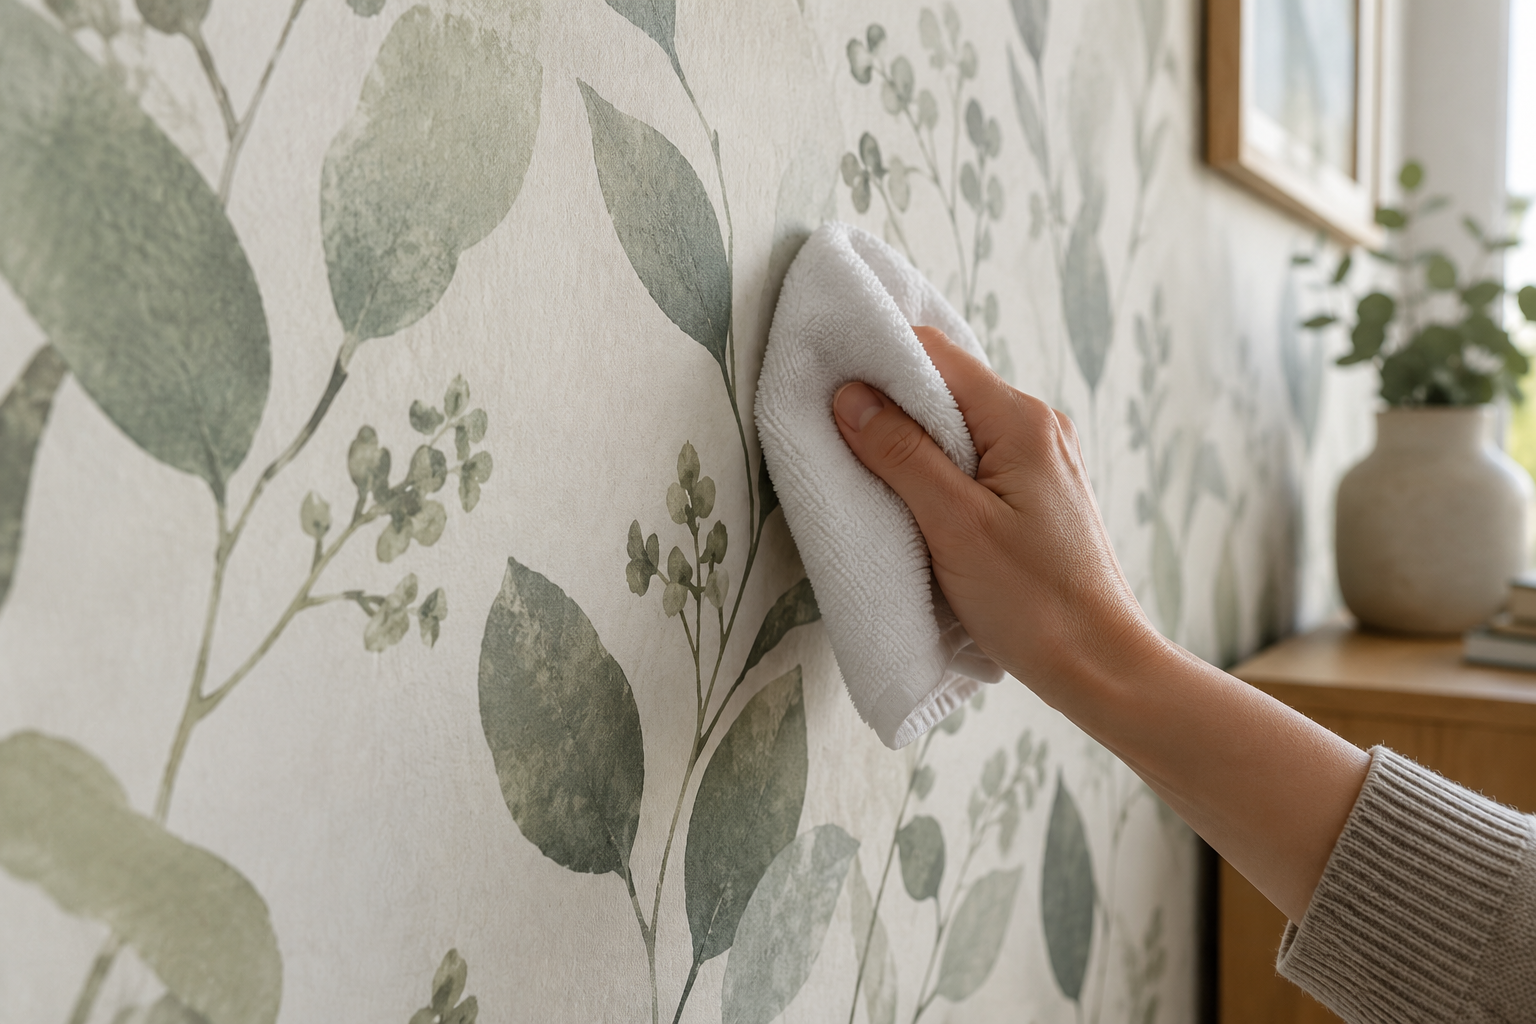
Example application: Kitchen · installation and removal
A new mark on a mural creates a decision before it creates a cleaning task. Is it loose dust, a spill sitting on the print, transferred dye, or discolouration coming from the wall behind it? The answer determines whether you should use an approved dry method, consult a stain-specific care instruction or stop cleaning and investigate moisture. Work from the exact finish supplied for your order; an impulsive spray or vigorous rub can turn a small visible mark into a wider change in colour, sheen or adhesion.
Find out which mural you are cleaning
Look at the order confirmation or packaging before touching the wall. Solowalls lists Non-Woven, Vinyl, Heavy and Peel and Stick among its fabric choices, but the option name is not a cleaning specification. Print finish, coating, adhesive and permitted solutions matter. The Wallcoverings Association advises consulting the manufacturer for the particular wallcovering and testing an inconspicuous spot before treating the whole wall. If your care sheet is missing, ask the seller for instructions tied to the exact order and material.
Note where the mark sits. A mark in the middle of a panel may be simpler to assess than one crossing a seam, edge or repaired section. If an edge is already lifting, rubbing it can make the problem worse. If the wall is damp from a leak or condensation, do not treat cleaning as the whole solution. Identify and resolve the moisture source first; a cosmetic wipe cannot repair an unsound wall beneath the print.
The photograph at the top of this article illustrates a gentle cloth touching a printed wall, not a blanket instruction to wipe every mural. Ask for the care information belonging to your actual order if you cannot find it. Keep the material name and order number together with any sample or leftover offcut; an offcut of the same print, if available, can be a more informative test surface than a different wallpaper elsewhere in the house.
Make the first response fit the event
If a drink has just splashed near the mural, stop more liquid reaching the wall and note whether it touched a seam or cut edge. Do not spread it across the print with a broad wiping motion. If the care instructions specify how to blot that finish, follow them; if they do not, photograph the mark and ask before applying another liquid. A dry cloth is not automatically harmless if it is used to rub pigment into a matte printed face.
If the mark appeared after drilling or sanding, distinguish gritty debris from ordinary settled dust. Pressing grit into the image with a fingertip or polishing it repeatedly can abrade the surface. Check which dry-removal tool the finish permits and keep it from catching a loose edge. If the discoloration appeared without an identifiable event—especially near a pipe, window or damp corner—treat it as a possible wall-condition problem, not a stain awaiting a stronger cleaner.
The decision chart below separates a low-risk dry-care question from a spill or unexplained mark that needs material-specific advice. It is intended for the moment someone notices a problem, before a guest or cleaner reaches for the nearest spray bottle. Routine dusting and long-term prevention are covered separately in the general care guide.
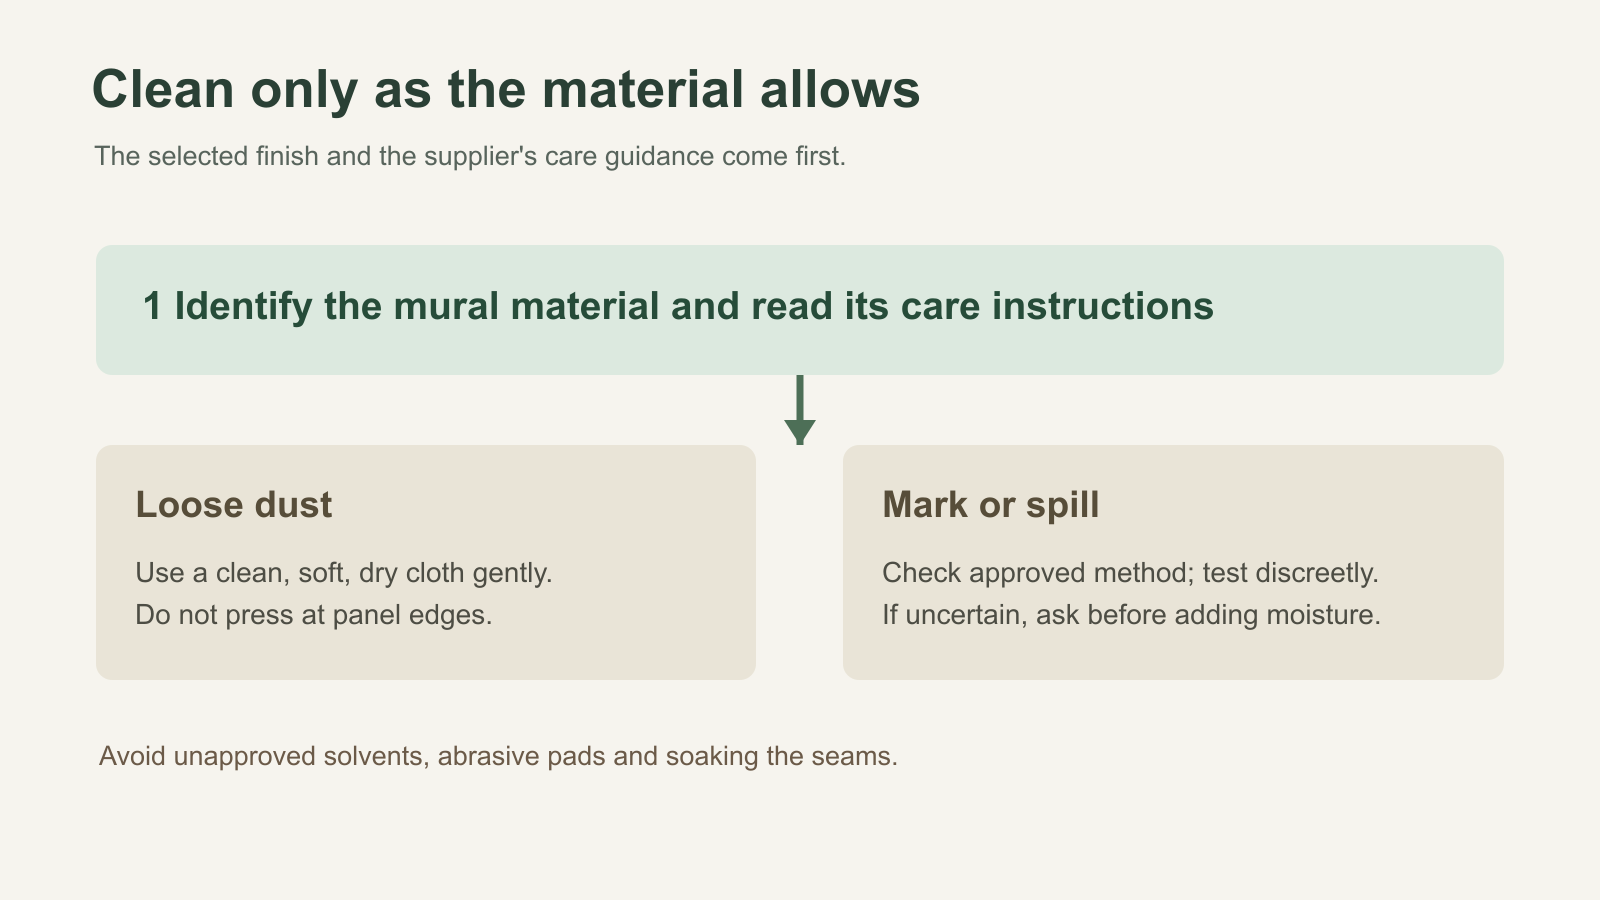
Test only a method approved for the finish
Test areas matter because colours and finishes can change when rubbed or wetted. Choose a place hidden by furniture or at a low edge only if it has the same printed finish as the area you need to clean. Allow the test to dry fully before judging it. A temporary darkening while damp is not the only concern; after drying, look for a changed sheen, softened ink, abrasion or an adhesive edge that has lifted. If the test alters the surface, stop and seek product-specific advice rather than trying a stronger solution.
Match the next step to the kind of mark
For loose surface dust, follow the approved dry-care method and avoid grinding particles into the print. For a fresh liquid, first prevent any more liquid reaching the wall, then consult the finish’s spill guidance before treating the print; do not move moisture across a seam or behind a lifting edge. A greasy handprint is not a reason to reach for kitchen degreaser, and transferred dye or marker is not a reason to try alcohol: either treatment may affect the printed colour as well as the mark. If the supplier cannot identify a permitted method for that stain, leave the surface undisturbed while you ask about a repair or replacement option.
Record whether the mark is spreading, sitting on the surface or showing through from beneath. A small handprint in the middle of a sound panel is one problem; the same mark on a lifting edge is also an adhesion issue. Repeated discolouration below a window or pipe may indicate condensation or a leak rather than removable dirt. If you cannot tell whether the mark is on the print or coming from the wall behind it, stop surface cleaning and investigate the source. A treatment that seems to lighten the visible spot while the wall remains damp has not solved the underlying problem.
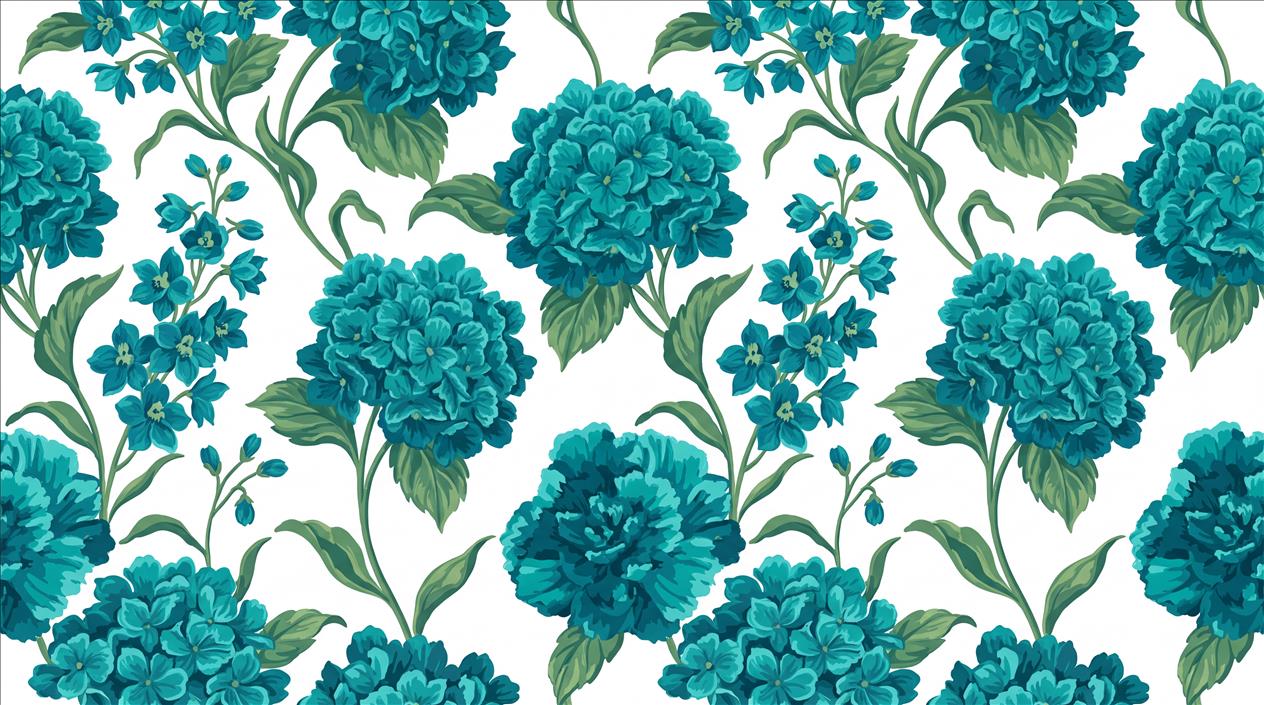
A pale background can make a handprint or scuff conspicuous, but visibility is not proof that the print tolerates scrubbing. The flat botanical design below has white areas around strong blue flowers. A dark mark on that ground would attract the eye quickly; forcing it out with an abrasive pad could leave a larger, permanently different patch. The image shows the design, not a cleaned panel or evidence of its cleaning performance.
Products and habits to avoid without approval
Do not assume a kitchen degreaser, bleach, alcohol, solvent, abrasive sponge or steam cleaner is safe for a decorative wall print. Such methods can affect colour, finish, seams, adhesive or the wall beneath. Avoid spraying liquid directly onto joins or pushing moisture behind an edge. Even water can be a poor choice if the material or installation instructions do not allow it. A vacuum brush should be used only if the supplier says it is suitable and the attachment is genuinely soft and clean; suction and hard plastic edges can catch a raised seam.
Do not transfer a cleaning tip from another wallcovering to this one merely because both products have similar labels. A commercial wallcovering's stated cleanability, for instance, does not establish how a particular decorative mural print will respond. Likewise, a successful test on painted plaster beside the mural tells you nothing about the printed surface. Use instructions for the exact finish and test on matching print where possible.
Likewise, do not peel back a panel to clean underneath it. That changes the installation and may damage the print or paint. If a seam is lifting, ask for guidance on the correct repair method for that material. If the mark came from a building problem such as a leak, photograph it and address the underlying problem before deciding whether the mural can be cleaned or needs replacement.
When the care sheet does not answer the question
Send the supplier the material option, order number, a wide photograph showing where the mark sits and a close photograph in natural light. Describe what caused it, when it appeared, whether it is wet or dry, and whether a seam is affected. Say exactly what you have already tried. “Can I use a damp cloth?” is more answerable when the supplier knows whether the mark is grease on a vinyl option or ink on an uncoated print. Do not mix methods while waiting for advice; that makes both the stain and the cause harder to assess.
Suppose a child leaves a small marker line across a pale flower. The urge to scrub is understandable, but an alcohol wipe could spread the dye or remove printed colour. Record the mark in natural light, check the exact finish's care sheet, and test only a method the supplier permits. If that test transfers ink, dulls the surface or lifts an edge, stop. A small visible line is preferable to a wide rubbed patch; ask whether the supplier recommends a specialist repair, a replacement panel or simply leaving the print undisturbed.