How to Measure Your Wall for a Mural Wallpaper Order
A practical measuring guide for custom mural wallpaper, including uneven walls, trim allowance, doors, windows, corners, and unit conversion.
Article focus: pricing and measurement
What to settle before pricing
Start with accurate wall measurements; the final custom mural price depends on area, material and any finishing options.
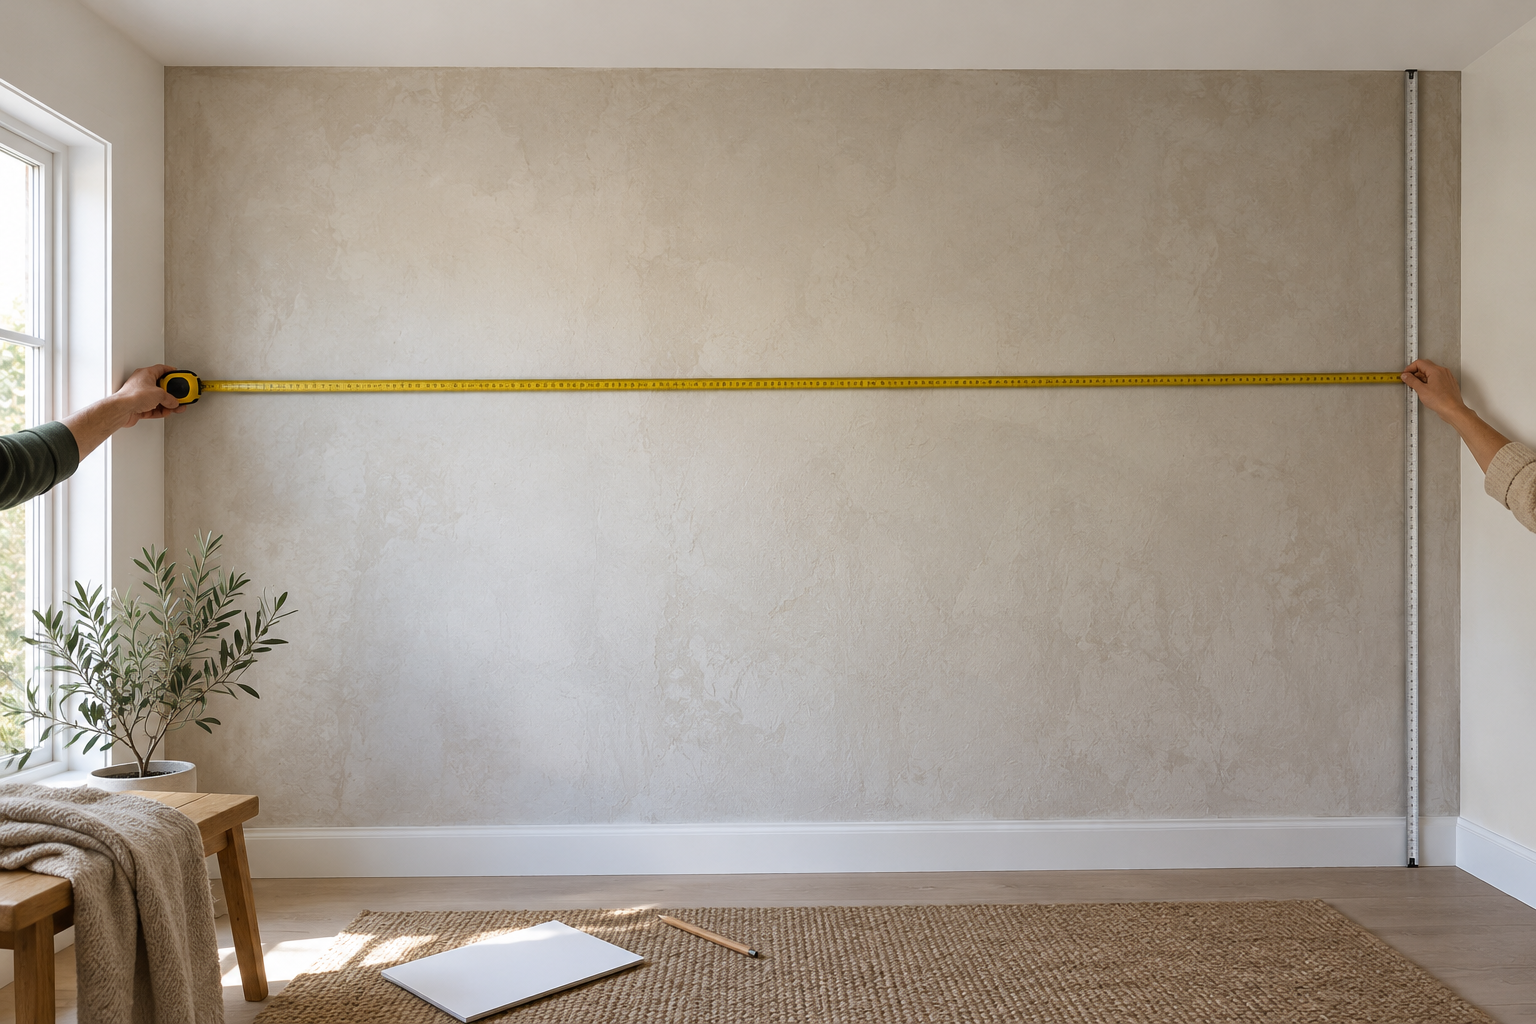
Example application: Any room with a suitable, prepared wall · pricing and measurement
Measure a mural wall as a documented surface, not as a single quick span of tape. Take width readings at the top, middle and bottom, and height readings at several points. Record the largest width and height, then mark doors, windows, slopes and furniture on a simple elevation. For a Solowalls order, add about 4 inches (10 centimetres) to both the measured width and measured height for installation trim. Keep those order dimensions separate from the raw measurements so the allowance is applied once.
Gather the right information first
Use a reliable tape measure or laser measure and a second person for long walls if possible. A pencil, paper and level help record the results. Write down which units you are using—centimetres, inches or feet and inches—and stay with one system through the calculation. Many ordering errors are unit-conversion errors rather than failures to hold the tape straight.
Make a quick sketch of the whole wall. Label the ceiling, floor, left and right corners, and each opening. Mark outlets, radiators, vents, fitted wardrobes and any fixed lighting. The sketch is not an architectural drawing; it records where the artwork will remain visible after installation. Keep a straight-on photograph with it, and share both with the supplier if the rectangular online preview cannot represent the wall.
Before measuring, decide precisely which surface the mural will cover. If the skirting and cornice will remain, measure the exposed wall between their inner edges rather than including the trim itself. If either will be removed or replaced, wait until the finished boundary is known. Write the top and bottom measurement points on the sketch. A careful number taken from the wrong starting line is still the wrong size for the print.
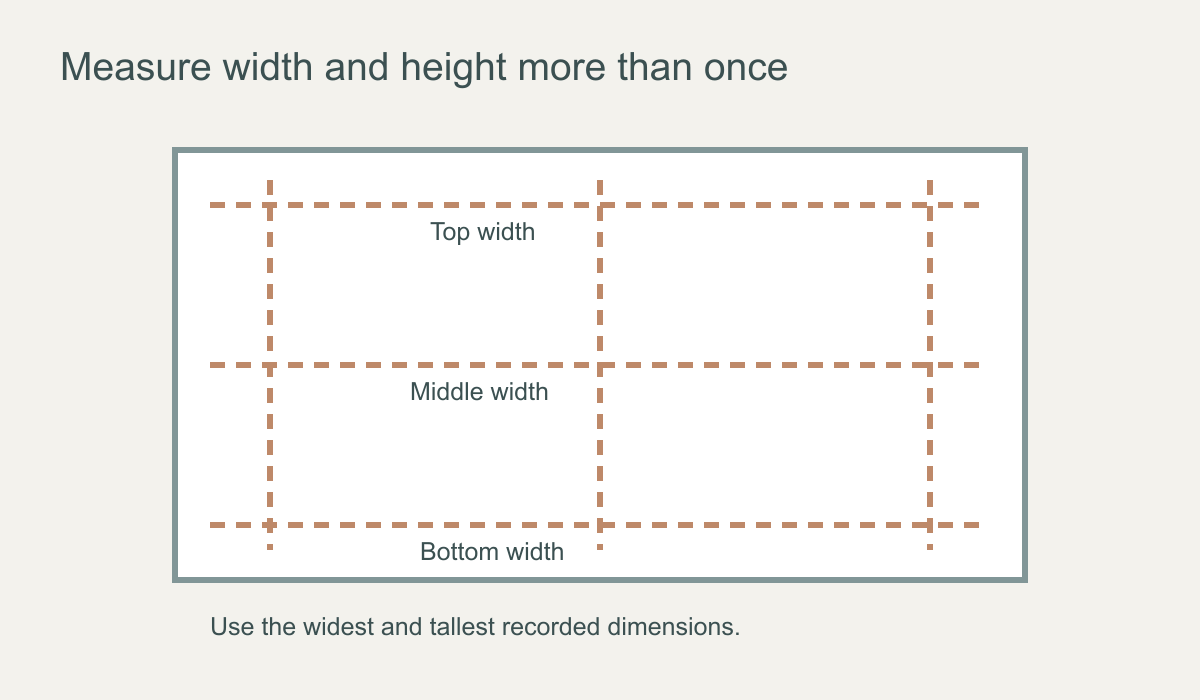 Take several measurements because walls and ceilings are seldom perfectly square.
Measure width at three heights
Measure from one finished corner to the other near the ceiling, around the middle and near the skirting board. Record all three results. If the wall widens slightly towards the floor, use the greatest width as the base measurement. Do not average them; the mural must still cover the widest point. Note any skirting or trim that changes where the print will actually end.
For a wall that continues around a corner, measure each face separately and indicate the corner on the drawing. Do not treat two walls as one flat rectangle without discussing the image transition. The art may need a different crop or panel layout. Likewise, an alcove or chimney breast may create several surfaces with different depths. Ask the supplier how those surfaces should be represented rather than guessing a single width.
Measure height in several places
Take vertical measurements between the finished upper and lower edges of the surface to be covered: for existing trim that remains, this is normally from the top of the skirting to the underside of the cornice or ceiling. Measure at the left edge, centre and right edge, plus any point where the ceiling changes. Use the tallest height as the base measurement. A sloped or angled ceiling needs a more detailed sketch with heights at each change and the horizontal distances between them. A rectangular print may need extra material that is trimmed to the slope, but the crop must still keep the focal subject visible.
Keep the tape vertical rather than following a leaning corner. A level or plumb line can help reveal whether the wall is out of square. Do not assume a nominal “eight-foot ceiling” is exactly eight feet at every point. Measure the finished surface that will receive the mural, not an old drawing or the dimensions of a neighbouring room.
Record every height from the same lower edge. If one reading begins at the floor and the next begins above the skirting, the apparent difference may be the trim rather than an uneven ceiling. A laser measurement is useful for a tall wall, but confirm what its device is measuring from and check an accessible span with a tape. Keep the raw readings so an installer can see where the maximum came from.
Add this site's trim allowance once
Suppose the three widths are 119½, 120 and 119¾ inches, while the heights are 95¾, 96 and 95½ inches. The base rectangle is 120 by 96 inches: use the greatest reading on each axis, not an average. Under Solowalls' guidance, add about 4 inches to the total width and about 4 inches to the total height, making the approximate order size 124 by 100 inches. In the product page's default ft/in fields, enter that as 10 ft 4 in wide and 8 ft 4 in high. Write both rectangles on the sketch. Adding 4 inches at every edge would double the intended allowance.
Other retailers may handle allowances differently. Graham & Brown's own mural FAQ, for instance, describes an automatic allowance in its process and recommends measuring maximum dimensions. Do not import another seller's automatic allowance into a Solowalls order. Follow the instructions shown on the exact product page at checkout.
The 4-inch and 10-centimetre figures are approximate equivalents, not two separate additions. If your worksheet is in centimetres, add the site's centimetre allowance once to each measured dimension; if it is in inches, use the inch instruction once. Do not switch units midway through an order entry. For feet-and-inches input, write the converted total beside the original reading and check it aloud before confirming the crop.
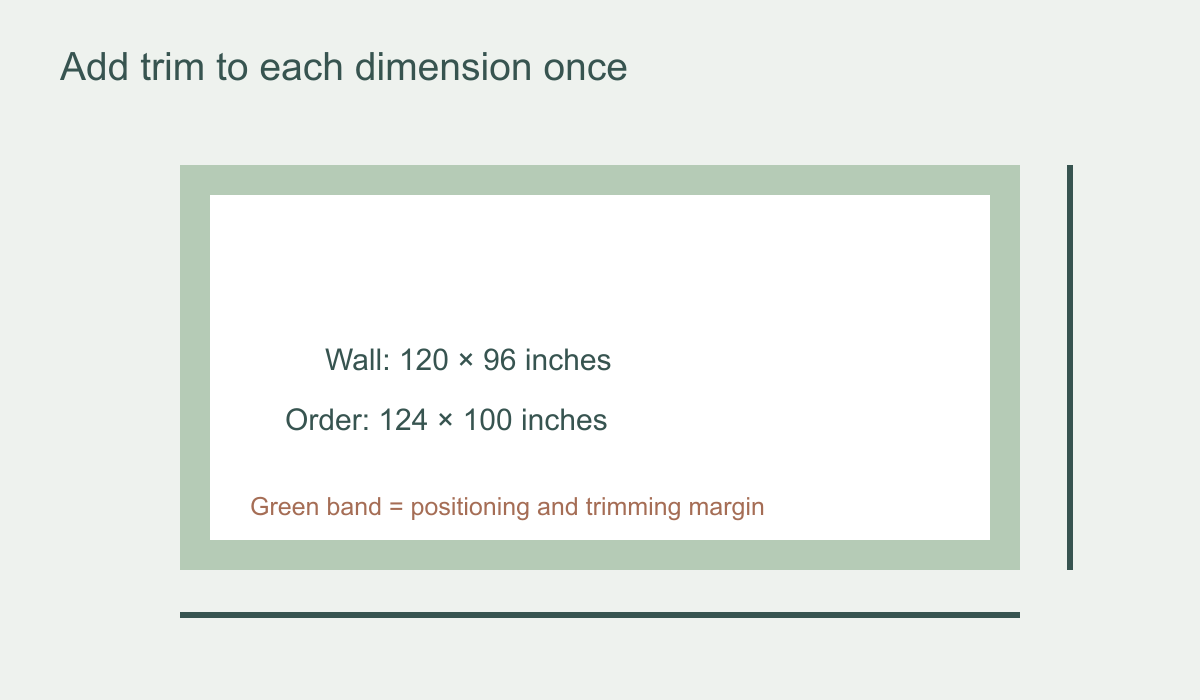 Keep wall size and order size in separate boxes on your worksheet.
Make the measurement record easy to check
Write each width and height reading where it was taken rather than keeping only the largest numbers. On the same page, show the finished wall rectangle and the larger dimensions you intend to enter at checkout. Label every number with its unit. If a second person measured with you, have them read the worksheet back while you check the wall; a transposed digit is easier to catch before a custom print is ordered than after it arrives.
Check the arithmetic separately from the physical measurement. First confirm which width and height are the maxima; then add the site's trim allowance once to each. For the 120-by-96-inch example above, 124 by 100 inches is the entered print size, not the wall size. If you convert to centimetres or feet and inches, perform the conversion on a separate line and compare it with the original reading. Do not silently switch units in the online form.
Know when the basic rectangle needs another drawing
Doors and windows do not automatically reduce the rectangular print order; the artwork may need to continue across the opening and be trimmed on site. A slope, alcove or wall turning a corner also cannot be explained by width and height alone. Note these features on your sketch and ask the supplier how they will affect the print layout before ordering. The complex-wall measurement guide shows how to locate openings from a fixed corner and record their height from the finished floor.
Furniture belongs on the sketch for crop planning, not in the width-and-height arithmetic. A sofa may hide the lower scene without changing the wall's physical size. Check the chosen crop against furniture and fixtures after the dimensions have been verified. Keep the two decisions separate: measure the surface to establish the order rectangle, then position the artwork so its important subjects remain visible.
Check the surface before finalising dimensions
Measurement and wall preparation belong together. If thick repairs, new plasterboard, panelling or cabinets will alter the wall, wait and measure the finished surface. The Wallcoverings Association's preparation guidance calls for a clean, dry and sound wall. A custom print ordered before necessary building work may no longer fit after that work is completed.
Read every number back from your worksheet: raw widths, raw heights, maximum dimensions, selected units and the final order size after the allowance. Check the product page's inputs before using Customize & Buy to preview the crop. If the dimensions in the preview do not match your worksheet, stop rather than assuming the software has corrected them. A crop preview is not a measurement of your physical wall.
A final measurement checklist
Before checkout, have someone read back four labelled figures: maximum measured width, maximum measured height, entered print width and entered print height. Compare the last two with the live size fields and the crop preview. Save a photograph of the worksheet beside a screenshot of the configured order. If the numbers differ, resolve the discrepancy at the wall rather than assuming the preview has corrected it. For a wall divided by an opening, cross-check the opening's position with the separate elevation before approving where the artwork will fall.