How to Remove Mural Wallpaper Without Rushing the Wall
Compare removing peel-and-stick, non-woven and pasted mural wallpaper, including tools, heat, moisture and residue.
Article focus: installation and removal
Planning the work and the exit
The right installation method depends on the chosen material and wall condition, so prepare the wall before ordering and follow the material-specific instructions.
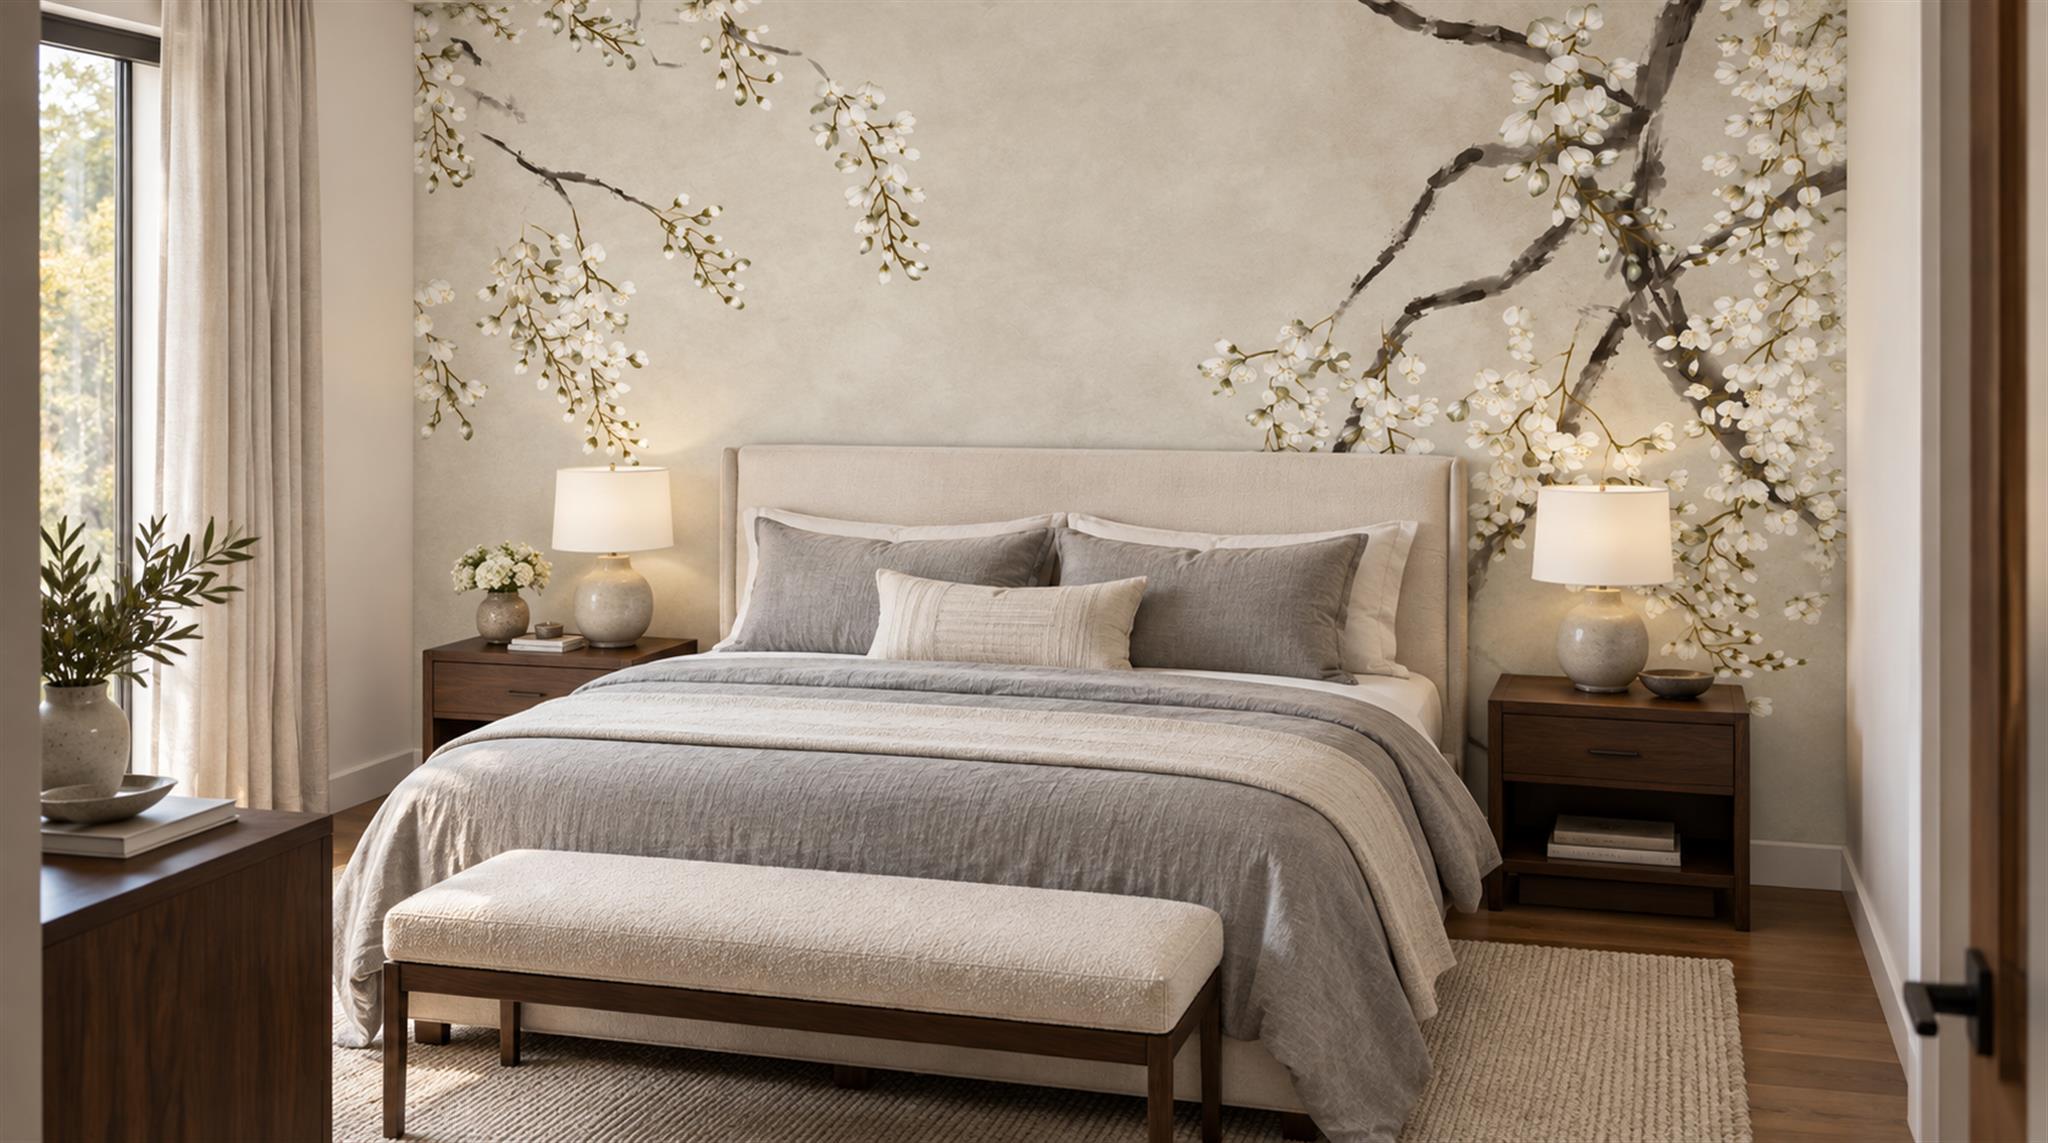
Example application: Any room with a suitable, prepared wall · installation and removal
Removing a mural carefully is not a contest to pull the largest panel off in one piece. Begin with a small test, then let the result determine the next step. A sheet that releases cleanly, a decorative face that separates from its backing, and a panel that takes paint with it are three different situations. The exact wallcovering and adhesive still matter, so locate the original instructions before using water, heat, scraping tools or a chemical remover.
Prepare the room, then choose a test edge
Before testing, decide what you will do if the wall finish comes away with the mural. Have a place to put removed material, a way to document the affected area and enough time to stop without leaving a half-stripped room in use. In an older property with uncertain paint or plaster, avoid sanding, scoring or disturbing suspect coatings until the relevant local safety advice has been checked. The first test is meant to limit damage, not to justify pulling harder across the rest of the wall.
Find the order, packaging, offcut or installation sheet. Record whether the mural is self-adhesive, a dry-strippable pasted covering, a peelable face over a backing, or an unknown construction. The Wallcoverings Association distinguishes strippable from peelable: the latter may leave a substrate layer on the wall. That distinction is more useful than a general claim that a wallpaper is “removable”. If you cannot identify the product, ask the supplier before committing to a wet or dry technique.
Move furniture, protect floors and keep discarded lengths away from walkways. Plan safe access to the top of each panel; do not stand on furniture or lean out over a staircase. Keep liquids away from electrical fittings, isolate power when appropriate and ask a qualified person to handle electrical work. Photograph the wall before touching it, especially where old repairs, patches or rental inspection concerns exist.
Choose an inconspicuous edge where you can observe both the wallcovering and the paint beneath. Follow the product's instructions for lifting that edge, without increasing force simply because the first few centimetres resist. Note what separates: the whole sheet, only a decorative face, the paper backing, adhesive residue or the wall's own finish. Test more than one kind of wall area if the room contains both old and newly repaired paint; a clean release in one spot does not prove every patch will behave alike.
If the whole covering releases as one layer
Identify why it releases before extending the test. A dry-strippable pasted covering and a self-adhesive panel may both come off intact, but their approved directions and forces need not match. Check the original installation sheet for the specified removal method and whether any adhesive or backing should remain. Do not transfer an angle or heating tip from another brand simply because both products appear to peel in one piece. The self-adhesive removal guide covers the controlled first lift for that specific construction.
On a pasted mural described as dry-strippable, test a short section using its own instructions and inspect the back of the released material. Is the entire backing attached to it, or has a thin layer remained on the wall? A change from whole-sheet release to tearing can signal a patched area, a different paint layer or adhesive residue. Pause at that transition and classify the exposed layer again; do not assume the rest of the room will behave like the first panel. Keep the free sheet supported so it does not tear sideways into adjacent covering.
After one complete section is removed, check the exposed wall under side light before repeating the method. Tacky adhesive, lifted paint and a remaining paper film require different next steps even though the decorative picture is gone in all three cases. Record the result by wall area. This article is a branch guide for choosing the next method, not a single pulling technique that every mural and substrate will tolerate.

If the printed face leaves a backing
Stop treating the remaining layer as ordinary bare wall. A peelable product may release its decorative face while leaving a continuous substrate; a pasted mural may behave differently again. Identify what the supplier says to do with that backing before wetting, scoring or scraping it. A generic removal video may show another construction and another wall type. Do not apply a technique to the backing merely because the top layer came away easily.
If the maker approves moistening, protect skirting, floors and electrical fittings and use only the specified amount and dwell time. Work a small area at a time. Too much water can affect plaster, wallboard and adjacent finishes. If an older wallpaper lies beneath the mural, removing the printed face may expose that second layer rather than the wall itself. Determine which layer you are working on before deciding whether to strip, repair or prime.
After the covering layers are removed, deal with the adhesive residue according to the wall and product guidance. The Wallcoverings Association's surface-preparation advice says old adhesive should be removed before a new covering is installed, followed by rinsing and drying where appropriate. A wall that looks clear from the doorway may still feel tacky or show a sheen under side lighting.
If paint or plaster comes away with the mural
Stop pulling that panel. Photograph the lifted coating and check whether the failure is local to a repair or spreading across the wall. More force may turn a small preparation defect into a broad area that needs filling or skim repair. Do not assume heat or solvent will spare a weak paint layer. Ask the supplier about the adhesive and a competent decorator about the substrate; they answer different parts of the problem.
Pause as well if the surface feels damp, mould is exposed, wallboard paper begins to tear or the wall is becoming excessively wet. A wallpaper removal task should not conceal a moisture issue or turn into unplanned demolition. Older or unusual historic finishes may need specialist advice before further disturbance. Once the underlying issue is understood, plan surface repair and drying before any repainting or re-papering.
Where only a small paint patch has lifted, record its location rather than continuing as if the wall is uniform. Other panels may cross similar repairs. The next removal section can be tested away from the patch, but do not resume wholesale stripping until you know whether the failure is isolated. A careful pause is part of the process, not a sign that the removal has failed.

Finish with a wall inspection, not simply an empty room
Separate the job into milestones: removing the printed face, identifying any remaining backing, removing adhesive only by an approved method, and assessing the exposed wall for its next finish. Photograph each distinct outcome before asking a decorator for a quote. A mural-free wall may still be tacky, damp from cleaning or marked by torn paint, so “take down the mural” and “deliver a paint-ready wall” are different scopes. If paint or plaster was lost, the wall-damage guide addresses diagnosis and repair decisions; do not let a successful removal of the print conceal a substrate problem.