Is Mural Wallpaper Easy to Install? What the Process Involves
A realistic guide to mural wallpaper installation, including wall preparation, panel order, tools, alignment, cutting, and professional fitting.
Article focus: pricing and measurement
Budgeting this wall with confidence
Start with accurate wall measurements; the final custom mural price depends on area, material and any finishing options.
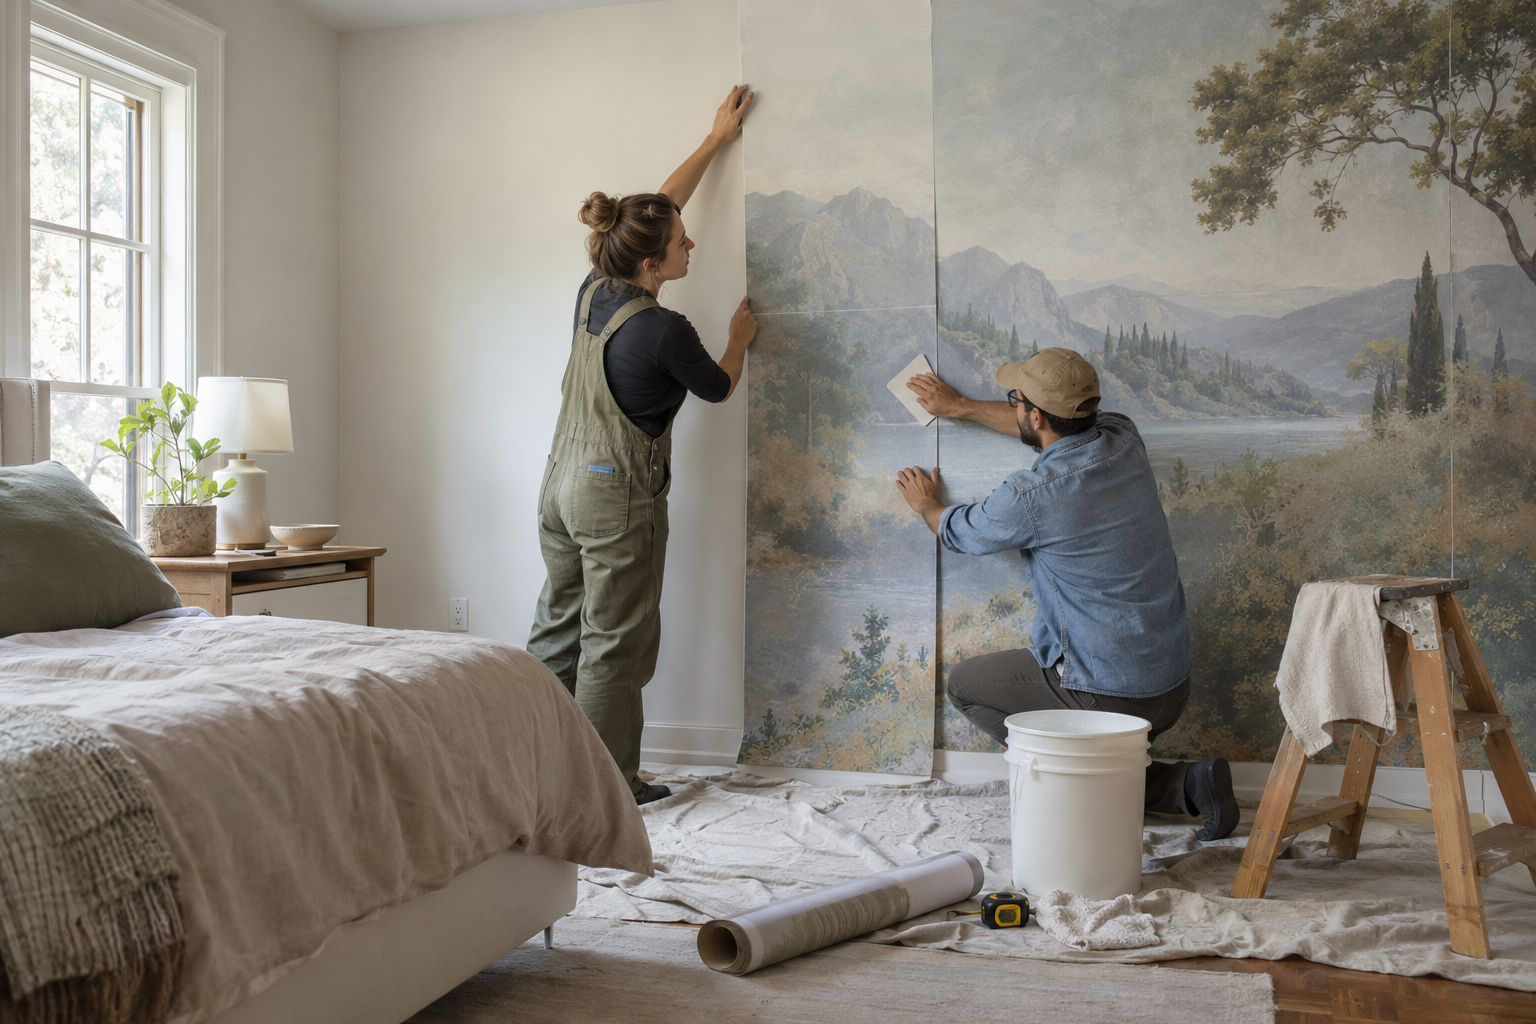
Example application: Any room with a suitable, prepared wall · pricing and measurement
Installing a mural can be manageable on a smooth, dry, unobstructed wall, but it is not automatically easy. The first panel must be plumb, the numbered image must join in sequence, and the method must suit the exact material ordered. Openings, sloping edges and fine lines crossing seams make errors harder to correct. The stages below show where a careful DIY installer can pause and when professional help may be the more sensible choice.
What makes a mural different from ordinary wallpaper?
A mural's panels form one continuous picture. If the first panel is slightly out of plumb, the error can grow as each subsequent panel is aligned to it. A repeating wallpaper may hide a small mismatch within its pattern; a horizon, face or architectural line across a mural exposes it. This is why checking the starting line and the numbered sequence matters more than rushing to get the first sheet on the wall.
There is no single installation method for every material. A peel-and-stick mural, a paste-the-wall non-woven mural and other finishes can require different handling, adhesive and wall preparation. Read the instructions supplied for the exact finish you ordered. Do not transfer a technique from an online video using a different substrate and assume it will behave the same way.
For a peel-and-stick panel, the practical challenge is controlling exposed adhesive: where its instructions permit, release the backing in manageable sections while a helper supports the loose panel. Pulling off the whole liner at once can make a long sheet harder to handle. For a finish supplied with paste-the-wall instructions, apply the specified adhesive to the area directed by the maker, then hang and smooth the panel before moving on. Neither route excuses weak paint, a damp surface or a crooked first line. Check the paint's required cure and the exact covering instructions rather than using a universal waiting period.
The work starts before you open the panels
Clear enough floor space to lay out the panels in order and compare them with the printed image or preview. Check that every panel is present, correctly numbered and visibly consistent in colour. If a panel is damaged or the image sequence looks wrong, stop before trimming or applying adhesive and contact the supplier. The Wallcoverings Association's installation guidance likewise recommends examining wallcovering goods before cutting or hanging them.
Next inspect the wall in oblique daylight. Loose paint, grease, old paste, poorly filled holes and residual dampness can all interfere with adhesion or show through the print. The surface should be sound, clean, smooth and dry. Repair defects, allow fillers and paint to cure, and use a suitable primer where the material instructions call for it. The Wallcoverings Association's surface-preparation guide gives more detail on painted and new-plasterboard walls. If you cannot identify the source of moisture, postpone installation rather than covering it.
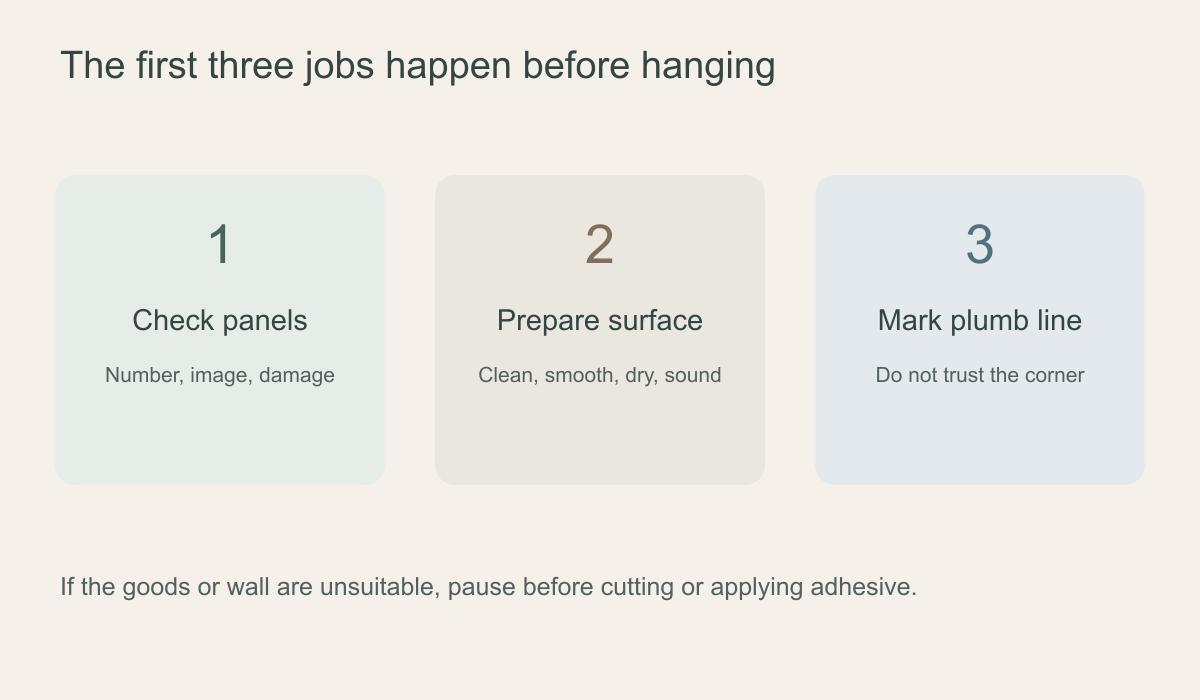 Panel check, surface preparation and a plumb start line come before adhesive.
Make a vertical reference you can trust
Measure the planned position of the first panel and draw a faint vertical plumb line with a level. Do not assume the corner is straight. It may lean while the panel itself must remain vertical, leaving a little material to trim at the edge. Compare the mural width with the wall and the intended crop before you place that line. If the composition has a central focal point, a poorly chosen start position can leave it off-centre even when every seam is neat.
Protect the floor and isolate electrical power before removing outlet or switch covers. If a fitting is unfamiliar or hard-wired, involve a qualified person. Prepare a clean smoother, sharp blades, straightedge, cloths and whatever adhesive or water the exact material instructions specify. Replacing a dull blade halfway through the final edge can turn a precise trim into a torn one.
What happens while each panel goes up?
Follow the supplied panel numbering and application method; many murals run left to right, but the package instructions govern the actual sequence. One person can manage a small panel, but larger panels are easier with someone supporting the loose length while the other aligns the top and seam. Keep the first panel on the plumb line, with the specified surplus available for final trimming. Smooth using the tool and pressure recommended for that finish, checking alignment before the panel becomes firmly attached.
Bring the next panel alongside the previous one according to the product's joining instructions; some systems butt edges, while others specify overlap and trimming. Never improvise a double-cut on a material that was designed for a butt seam. Match the image itself at several heights—not just at the ceiling—before committing the whole strip. A branch or architectural line that aligns at the top but slips lower down signals that the panel may be stretching or drifting.
Use the first join as a diagnostic pause. If a branch connects at the top but drifts apart lower down, check whether the first panel followed the plumb line and whether either sheet was stretched; adding a third panel will not correct that geometry. If the shapes align but the printed colour changes abruptly, compare the uncut next panels in the same light and document the discrepancy before continuing. If both image and colour are sound, step back to judge the overall composition, then proceed in the numbered sequence. This short inspection is more valuable than discovering a systematic error after the entire wall has been trimmed.
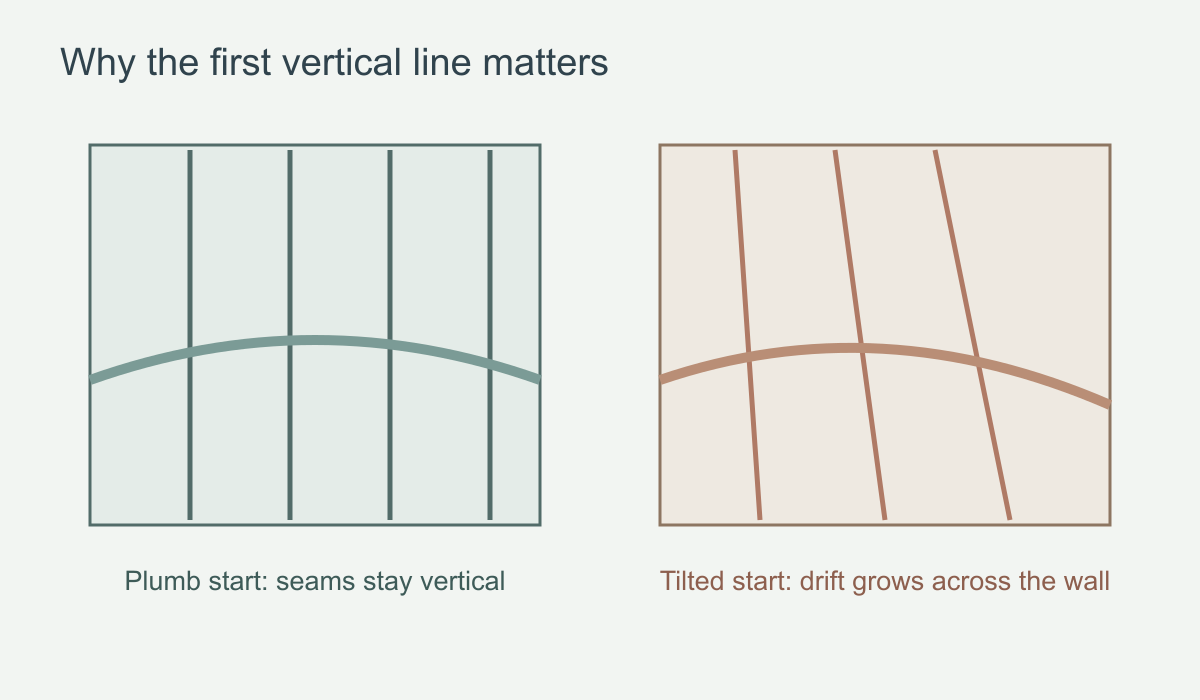 A few millimetres of early tilt can become conspicuous across a multi-panel scene.
Where do bubbles, wrinkles and seams come from?
A trapped air pocket often results from smoothing in the wrong direction or trying to attach too much of a panel at once. A wrinkle may form when a sheet is pulled unevenly, or when one portion is fixed while another is still being manoeuvred. Visible seams can reflect a gap, an overlap where none was intended, inconsistent pressure or poor image alignment. Their remedies depend on the material and adhesive stage, so follow the maker's instructions rather than repeatedly peeling and pressing at random.
Do not drag a sharp tool across the printed face to force out a bubble. Nor should you stretch a panel to make an image line meet; distortion can reappear as the material settles. If a seam looks wrong while the material is still workable, pause, confirm the numbering and compare the image across the full height. If the panel itself appears misprinted, document it with photographs before proceeding.
Trim last, and respect the surface
After the panels are aligned and smoothed, trim the excess at ceiling, skirting board and vertical edges as the material instructions require. Use a sharp blade against a straightedge or appropriate guard. Change blades often rather than sawing through damp material. Around outlets and doorframes, make careful relief cuts without cutting into live electrical fittings or the wall. Wipe away adhesive residue only with the method approved for the print surface.
Allow the wall to dry or settle under suitable room conditions. Avoid turning heating up aggressively in an attempt to speed the process; the appropriate conditions depend on the finish and adhesive. Inspect the result once it has settled, but do not interpret every temporary wet mark as a permanent defect. Conversely, do not promise yourself that a clear alignment error will vanish after drying.
Where should you pause rather than push ahead?
Stop before applying anything if the wall is damp, paint is loose, a panel is missing or the printed sequence does not join when laid out dry. Pause after the first panel if it cannot follow a true vertical reference; every later seam will inherit that tilt. At the first join, check image continuity at the top, middle and bottom before attaching the next sheet. If an alignment fault cannot be corrected within the material's stated working method, or a panel appears misprinted, photograph the problem and ask the supplier or an experienced installer for guidance. Trimming should wait until the full image is aligned. For a separate decision about whether this particular wall and material are suitable for a DIY job, see the DIY installation guide.