Is Peel-and-Stick Mural Wallpaper Removable?
Understand what removable peel-and-stick mural wallpaper really means, how wall condition affects removal, and how to reduce the risk of paint damage.
Article focus: installation and removal
The installation choice in practice
The right installation method depends on the chosen material and wall condition, so prepare the wall before ordering and follow the material-specific instructions.
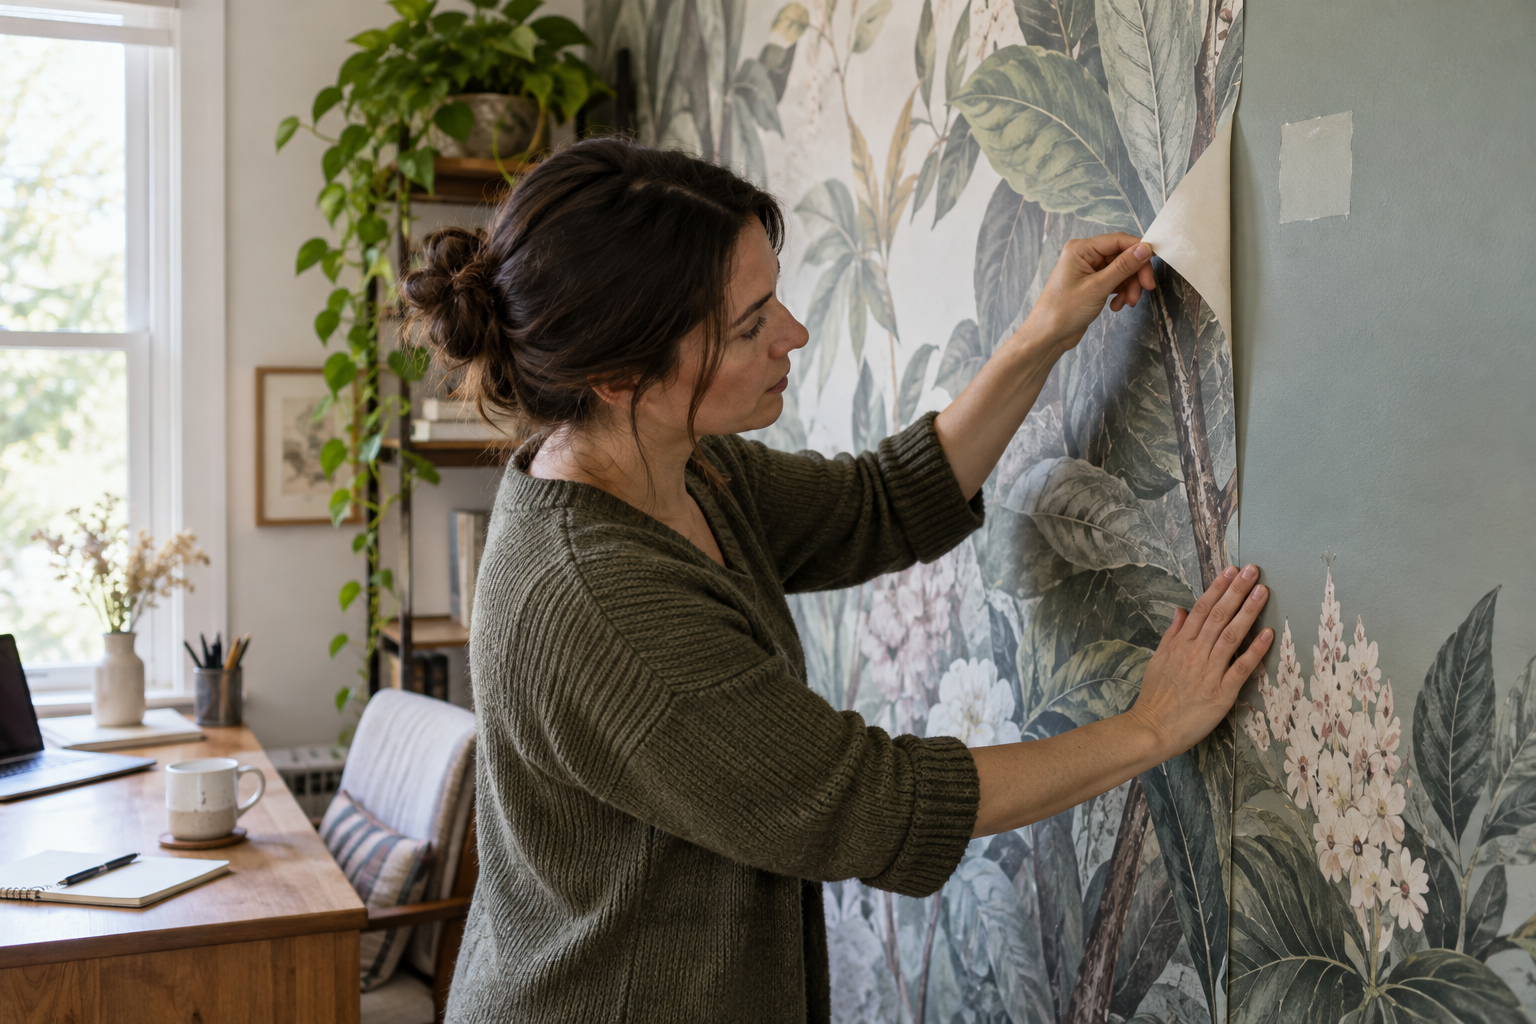
Example application: Any room with a suitable, prepared wall · installation and removal
Yes, a peel-and-stick mural can be taken off a suitable wall, but removing an installed sheet and leaving the paint intact are separate outcomes. Start with the instructions for the exact finish, clear the working area and lift a small accessible edge before committing to the whole panel. Changes in resistance, paint flakes or residue tell you when to pause. This guide follows the removal job and the decisions it raises; the separate removability-claim guide covers what to test before buying.
Removable from what, and under which conditions?
A panel can separate from a wall while taking paint flakes with it. The covering has been removed, but the substrate has changed. A sheet may instead come away intact while leaving some adhesive, or tear into smaller pieces. Record which of those outcomes is acceptable for your room before installation. Even a successful test on one patch cannot prove that a wall with several coats, repairs or primer types will behave uniformly.
Do not confuse peel-and-stick with “peelable” or “strippable” classifications for other wallpapers. The Wallcoverings Association distinguishes those terms according to whether a decorative layer separates, a backing remains, or the covering strips away with minimal residue. The words describe product behaviour under specified conditions, not an unconditional promise about the paint beneath.
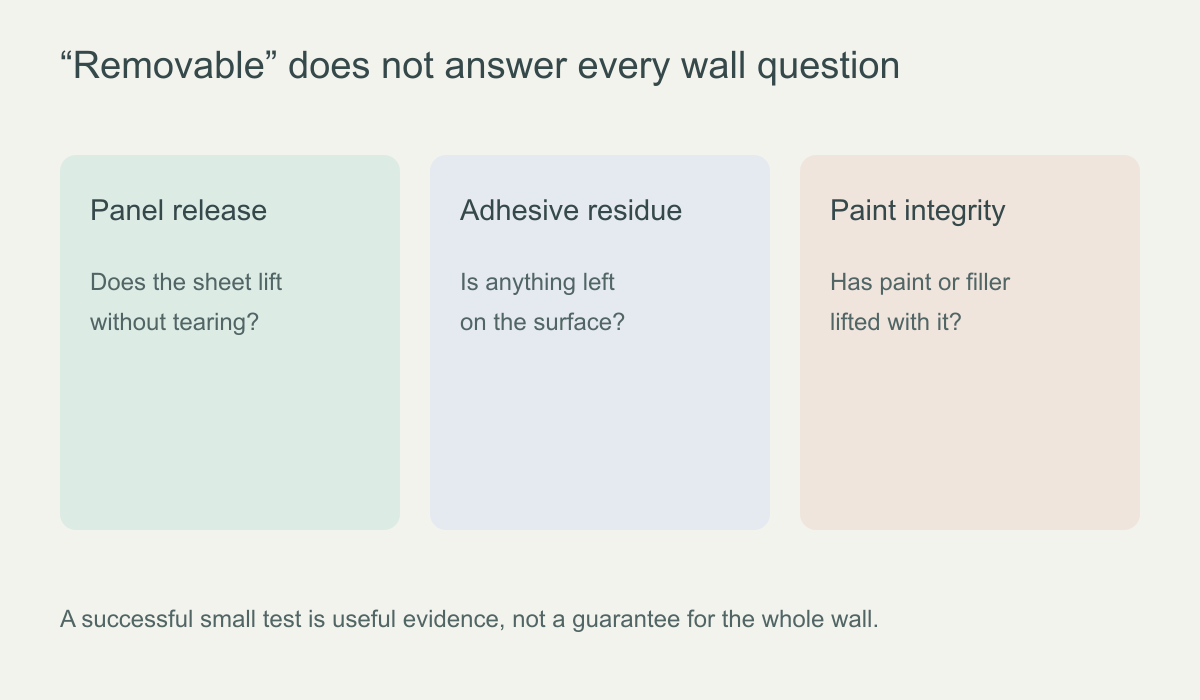 Check three separate results: panel release, remaining adhesive and paint integrity.
Read the wall before pulling a full panel
An installed mural may cover several paint histories: a repaired patch beside a window, older paint behind a cabinet and a newer coating near the door. Those areas can release differently. Note visible lifting edges, damp marks, loose filler and places where the sheet crosses trim or fittings. A painted surface that was poorly bonded before installation may come away even when the covering is lifted carefully. Do not assume the first easy corner predicts the entire wall.
Check the product's removal directions and identify its panel order. Find out whether anything was fitted over the mural after installation, such as shelving brackets or switch covers. Do not pull a sheet against a fixed obstruction or work around electrical fittings without making the area safe. If the wall shows active dampness or crumbling plaster, plan a repair assessment before treating removal as a decorating-only task.
The Wallcoverings Association's surface-preparation guidance explains why a clean, dry and sound substrate matters. It does not guarantee that an existing painted wall will survive removal. Where the mural covers unknown repairs, expect to inspect the exposed surface as each section comes away rather than deciding in advance that the whole wall will only need a quick wipe.
Prepare for a controlled first lift
Move furniture far enough away to support the free length of the panel, protect the floor from any falling paint or adhesive, and arrange good side lighting. Keep the product instructions and a camera nearby. Photograph the wall before starting, especially in a rental or where a disputed paint condition matters. If the room is occupied, choose a time when you can stop with one panel partly lifted rather than rushing to clear the entire wall.
Mark the places that may behave differently before you start: an old repair, a sunlit window edge, paint near a radiator and any area where a shelf or switch cover was fitted over the mural. Choose an accessible test edge away from electrical fittings. Arrange somewhere clean to lay down a released panel without letting its adhesive collect dust or stick to itself. If you may need to leave the job unfinished, keep the room usable and protect the exposed edge from accidental pulling.
Set a stopping rule in advance. Paint flakes, crumbling filler, a sudden increase in resistance or residue that the product instructions do not explain are reasons to pause and document the wall rather than pulling harder. Keep the supplier's contact details and the order's material name to hand; a generic removal video may describe a different adhesive. The actual first lift and panel-by-panel method belong to the next step, after these preparations are complete.
A careful removal sequence
Start by reading the exact manufacturer's removal instructions. Clear the floor, protect nearby furniture and locate an accessible upper corner. Lift only enough to get a secure grip, then pull slowly and steadily at the angle specified for that product. Support the wall-facing section with your other hand rather than yanking a large sheet away. If resistance changes suddenly, stop and inspect whether paint or plaster is moving with the adhesive.
Use the first small lifted section as a decision point. If the sheet comes away but paint flakes follow it, the covering is technically removable while the wall is being damaged; stop rather than testing the same technique across another metre. If adhesive remains, document the patch before trying any cleaner. Work panel by panel only when the wall-facing surface remains stable, because old repairs, sunlight and heat near a radiator can make the next area behave differently.
Some product instructions may recommend warming an adhesive slightly or using a specific remover. Do not apply heat, water or solvents unless that guidance fits both the mural and the painted surface. High heat can soften paint or damage a print, and excess water can affect plasterboard. When in doubt, ask the supplier or an experienced decorator before escalating beyond slow manual removal.
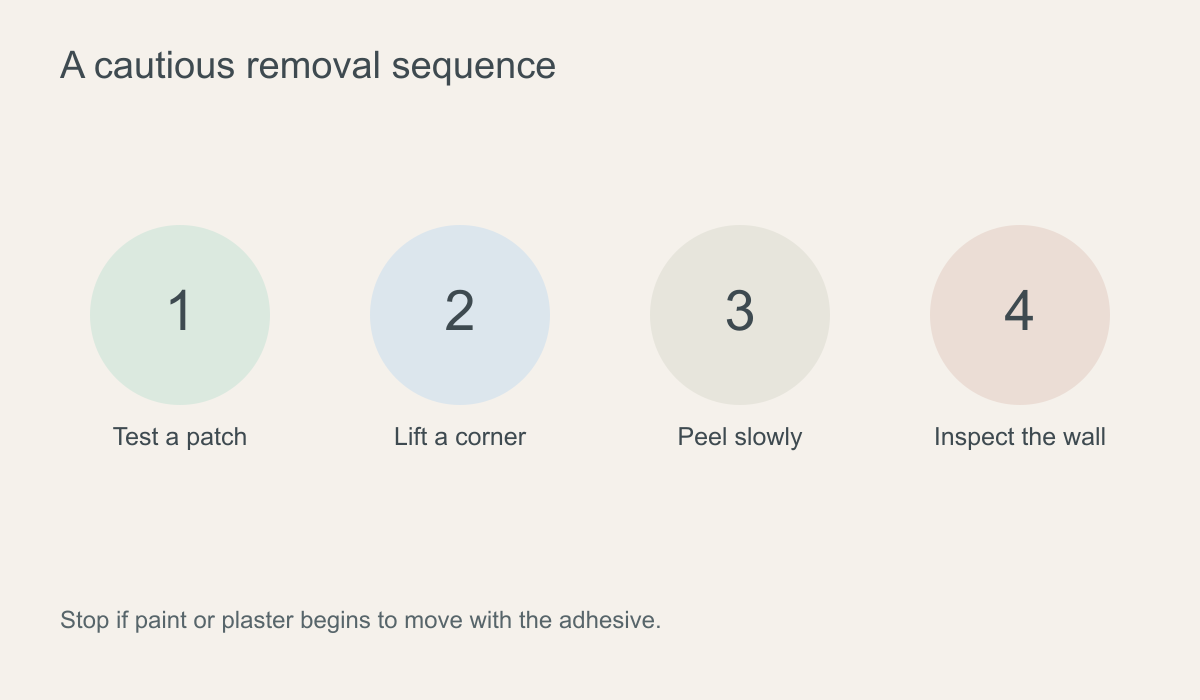 Work in short sections and pause as soon as the wall surface begins to move.
What if residue or paint damage remains?
For adhesive residue, use only the cleaning method approved for the wallpaper adhesive and the wall finish. Test it in an inconspicuous spot and avoid saturating the wall. A strong solvent may remove the residue while also dulling or dissolving paint. The priority is to preserve the substrate, not to make every trace disappear in one aggressive pass.
If paint flakes have lifted, let the wall settle, then repair the area before repainting. Feather rough edges, fill where needed and use a primer suited to the existing coating and repair. Larger damage, recurring dampness or widespread weak paint deserves professional assessment. Trying to hide a damaged patch with a new adhesive sheet usually postpones the same problem.
Can the removed mural be reused?
Removable does not necessarily mean reusable. A panel may stretch, curl, collect dust on its adhesive or lose alignment as it comes off. Its original crop and panel dimensions also fit the first wall, not automatically a second one. If reuse is important, check whether the exact product explicitly supports reapplication and how it should be stored. Do not build a moving plan around that assumption without a successful product-specific test.