How to Maintain a Mural Wallpaper Wall
Keep a mural looking considered through careful dusting, prompt attention to marks and sensible room care.
Article focus: installation and removal
Planning the work and the exit
The right installation method depends on the chosen material and wall condition, so prepare the wall before ordering and follow the material-specific instructions.
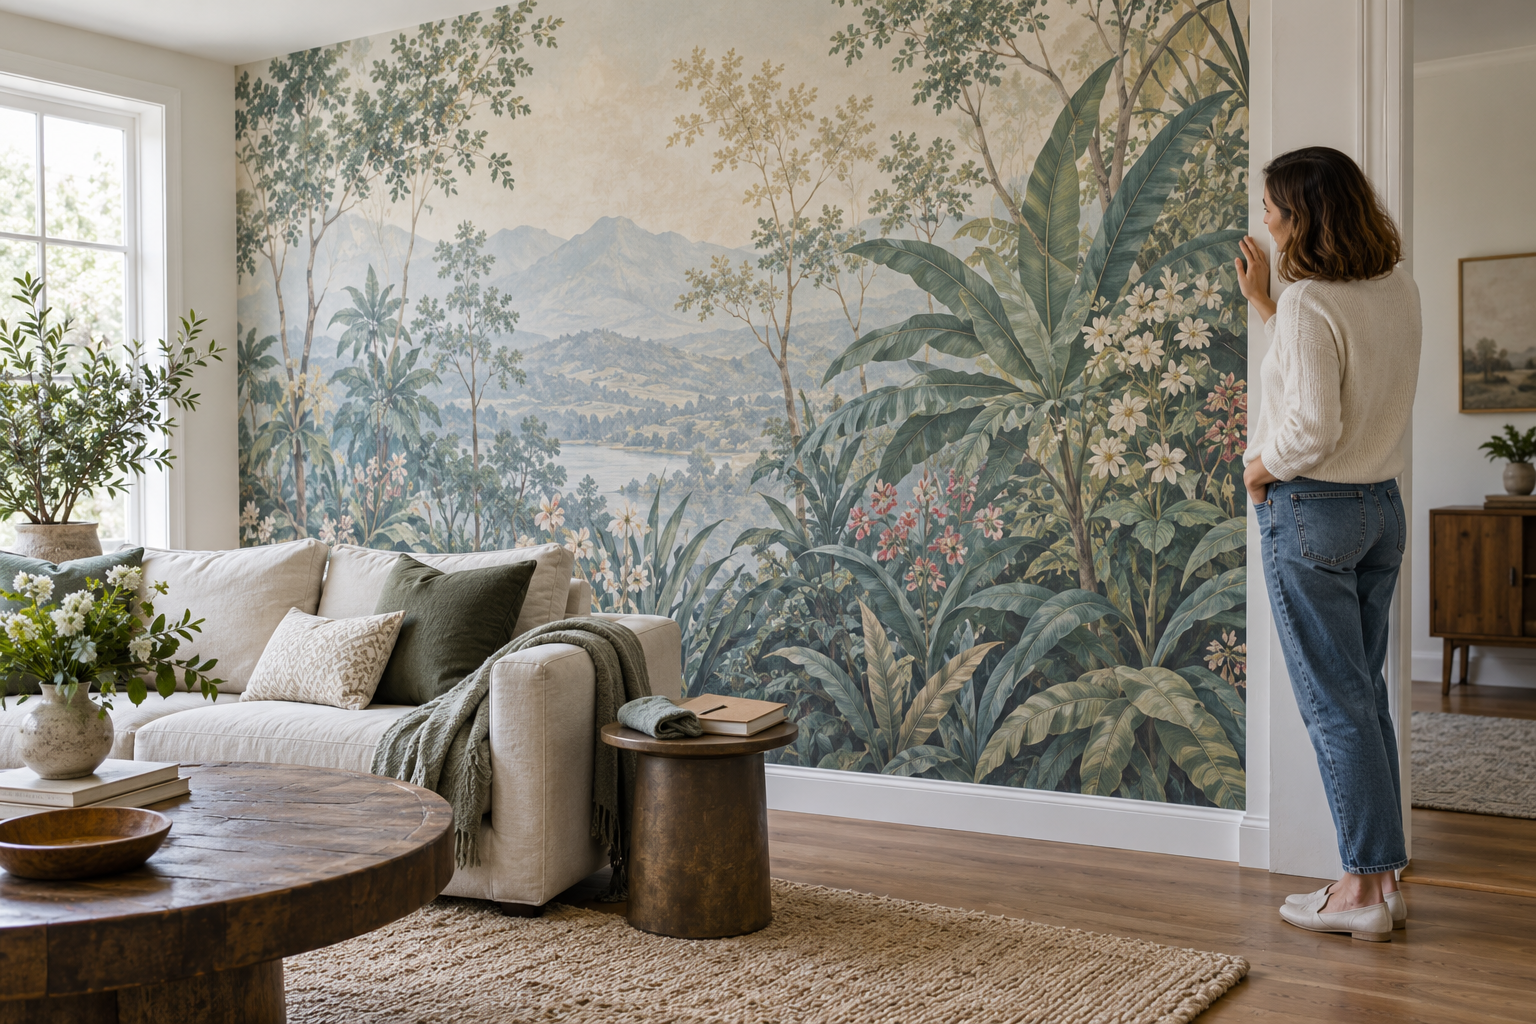
Example application: Bedroom · installation and removal
Maintaining a mural wall is mostly a matter of noticing small changes before they become harder to address. The printed surface, joins between panels and wall beneath it must all remain sound. A chair scraping one section every day, a slow leak behind a panel or a lifting edge caught by a cloth can matter more than ordinary dust. Build a light-touch routine around the actual room and the exact finish supplied, rather than polishing the artwork on a fixed schedule or treating all wallpaper materials alike.
Begin with a record of what was installed
Save the order confirmation, material name, chosen crop and installation instructions where you can find them later. Solowalls offers different mural material options, and a cleaning or repair method that suits one may be wrong for another. If a professional installer handled the wall, note the installation date and any wall preparation or primer they used. This small record becomes useful when a mark appears a year later, a decorator needs to paint nearby trim or you need to ask the supplier about a seam.
Take a clear photograph of the completed wall in normal room light. It gives you a baseline for future comparison. Do not use a harsh side light to declare every tiny texture a defect; record the ordinary appearance from the position where you usually see the mural. Later, if a section looks different, compare it with the baseline before deciding whether it is a change in the print, lighting or furniture placement.
Photograph the panel edges and any areas likely to be touched by furniture as well as the whole composition. If an issue develops, these images help distinguish a new change from an existing plaster line or shadow. Keep any leftover offcut labelled with the order, but do not assume it will respond to a cleaner in exactly the same way as a panel that has spent months on the wall. Its main value is identifying the print and finish when you ask the supplier a question.
Look for causes, not only visible marks
When you pass the wall, glance at the lower edges, corners and seams. An edge that starts to lift can catch a cloth, bag or pet and become a larger problem. A darker patch after rain or condensation may point to moisture in the wall rather than surface dirt. A chair or door handle that taps the same place repeatedly is a layout problem. Moving the furniture or adding a door stop can prevent more contact without touching the mural at all.
There is no need to inspect with a torch every week. Make the check event-driven: after heavy rain, look for a new damp patch on an outside wall; after moving a sofa or desk, check for a fresh contact point; after decorating nearby, look for splashes or a caught edge. Compare the suspected change with a dated baseline photograph taken in similar light. A seam that is actually lifting, a mark that spreads between checks and a shadow that disappears when the sun moves call for three different responses.
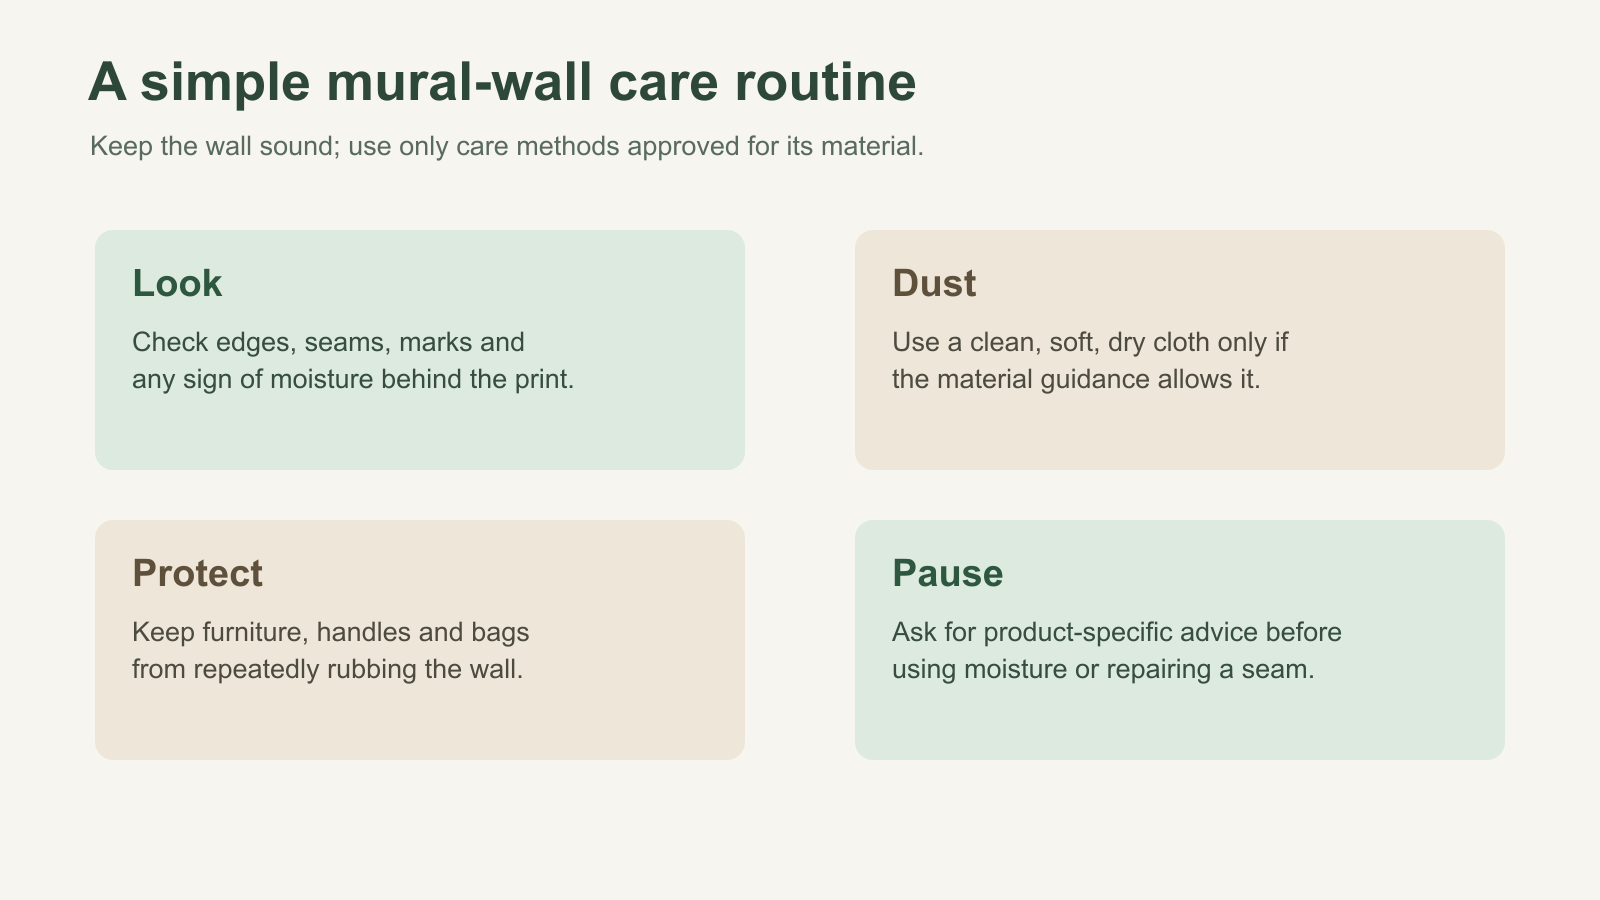
The routine diagram separates four different decisions: inspect, dust, protect and pause. It is not a timetable that promises a certain lifespan. A quiet bedroom wall may need little intervention, while a hallway beside coat hooks needs more frequent checks because people and objects pass close to it.
Handle dust differently from a stain
Loose dust can often be addressed more gently than a mark embedded in the print. First check the care instructions for your particular finish. If dry dusting is permitted, use a clean, soft cloth with very light pressure and avoid catching it under panel edges. A cloth carrying grit can scratch or burnish a surface even when it feels soft. For a stain, do not escalate from dry dusting to soap, solvent, steam or a wet sponge without confirming that the selected material allows it. Test any approved method discreetly and let the test dry before treating a prominent area.
This is a maintenance boundary, not a stain-removal recipe. If a mark needs more than the approved routine, see the separate guide to cleaning mural wallpaper and ask for the care directions for your order. Repeatedly wiping an area simply because it looks slightly different can burnish a matte print even when no dirt is being removed.
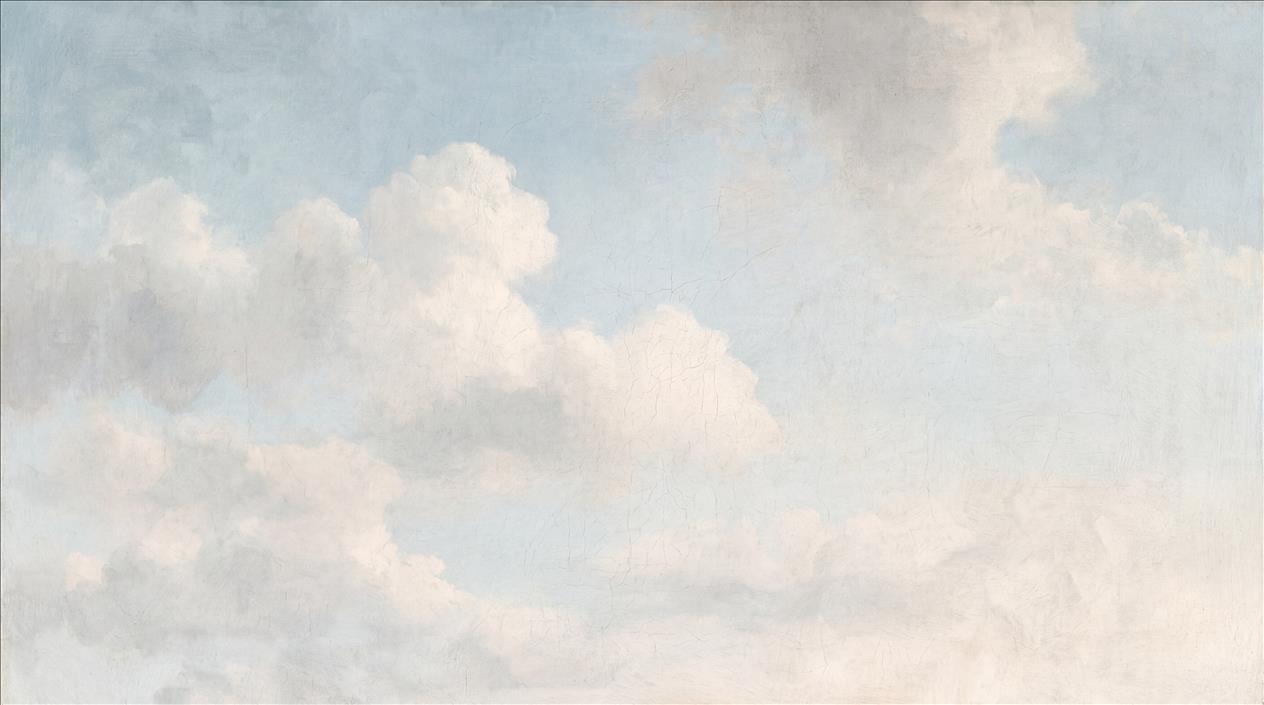
That caution is especially important where the art has broad pale areas. The design below uses soft cloud shapes across a light blue and cream ground. A shiny patch caused by rubbing could be more noticeable than the original small mark. This flat artwork is an example of a visual surface, not a demonstration that a particular Solowalls finish is washable.
Protect the lower part of the wall
Many everyday knocks happen below shoulder height. Bed frames, moving chairs, vacuum cleaners, shopping bags and children's toys can all hit the same spot. Place furniture so it does not rub the print during normal use, and check that a door opens without striking the mural. If the room is rearranged, inspect the newly exposed area rather than assuming its appearance matches sections that received different light and contact. Do not push a cabinet tightly against the paper simply to hide a damaged patch; trapped moisture or friction can make the underlying problem harder to notice.
Walk the room as it is actually used. Pull out the dining chair, open the wardrobe door, set down a shopping bag and move the vacuum cleaner past the wall. Static photographs of a beautifully styled room do not show those repeated movements. A modest furniture adjustment or a door stop may eliminate a contact point without adding any covering, adhesive or treatment to the mural itself. If a pet has a favoured corner, note whether the wall finish is being brushed or scratched there.
In a dining room or entryway, it may be useful to leave a little space between chair backs or coat storage and the feature wall. In a bedroom, a headboard can create a different kind of repeated contact. Think about the actual movement in the room rather than assuming that a design marketed for a room has a particular durability rating. No pattern or colour makes a print immune to scratches or abrasion.
Watch for moisture and heat conditions
If condensation forms repeatedly, a leak develops or plaster feels damp, address the building condition before trying to clean or reattach the mural. Covering dampness traps the cause out of sight. Likewise, a wall near a heat source needs the supplier's suitability guidance and safe clearances for the appliance; do not infer heat resistance from a product photograph. When painting an adjoining wall, protect the mural edge from splashes and masking tape that might lift the print. If tape is needed near the finish, seek installation guidance first.
Sunlight also changes the way colours appear through the day, and long exposure can affect printed materials differently according to inks, finish and intensity. Avoid promising a fade-resistant performance that has not been supplied for the product. If the wall receives strong direct sun, ask about the specific print's lightfastness and consider blinds or curtains where they suit the room. The same simple question applies to every environmental concern: what is confirmed for this exact material and installation?
Do not improvise a seam repair
A seam that was originally flat but begins to rise may be responding to wall movement, moisture, rubbing or an installation issue. Pressing it repeatedly with a fingernail, feeding in a random adhesive or steaming it can alter the image and make a later professional repair harder. Photograph the area, note whether it is one panel edge or several, and ask the supplier or installer for the correct repair method. If the wall behind feels damp or powdery, investigate that first. A surface repair will not hold on an unsound base.
When you contact the installer or supplier, send a wide view that identifies the wall, a close view of the edge, the installation date and the material option. Say whether the lift began after a leak, a room change or a cleaning attempt. The distinction matters: several rising edges along a damp outside wall suggest a different cause from one corner repeatedly caught by a chair. Do not wait for a loose edge to collect more dust before documenting it, but do not conceal it under tape while the cause remains unknown.