How to Measure an Alcove for Mural Wallpaper
Measure the back, returns, height and obstructions of an alcove before deciding whether the mural covers one surface or several.
Article focus: pricing and measurement
Budgeting this wall with confidence
Start with accurate wall measurements; the final custom mural price depends on area, material and any finishing options.
Example application: Any room with a suitable, prepared wall · pricing and measurement
The front opening of an alcove is not necessarily the width of the wall behind it. A recess may narrow towards the back, flare outwards, or have two side returns of different depths. Before ordering a mural, decide whether the design will cover only the back wall, all three interior faces, or the surrounding wall as well. Those are different print layouts, not three ways of describing the same rectangle. The measurements below keep the surfaces separate so the artwork can be cropped where it actually changes plane.
Choose the exact boundary first
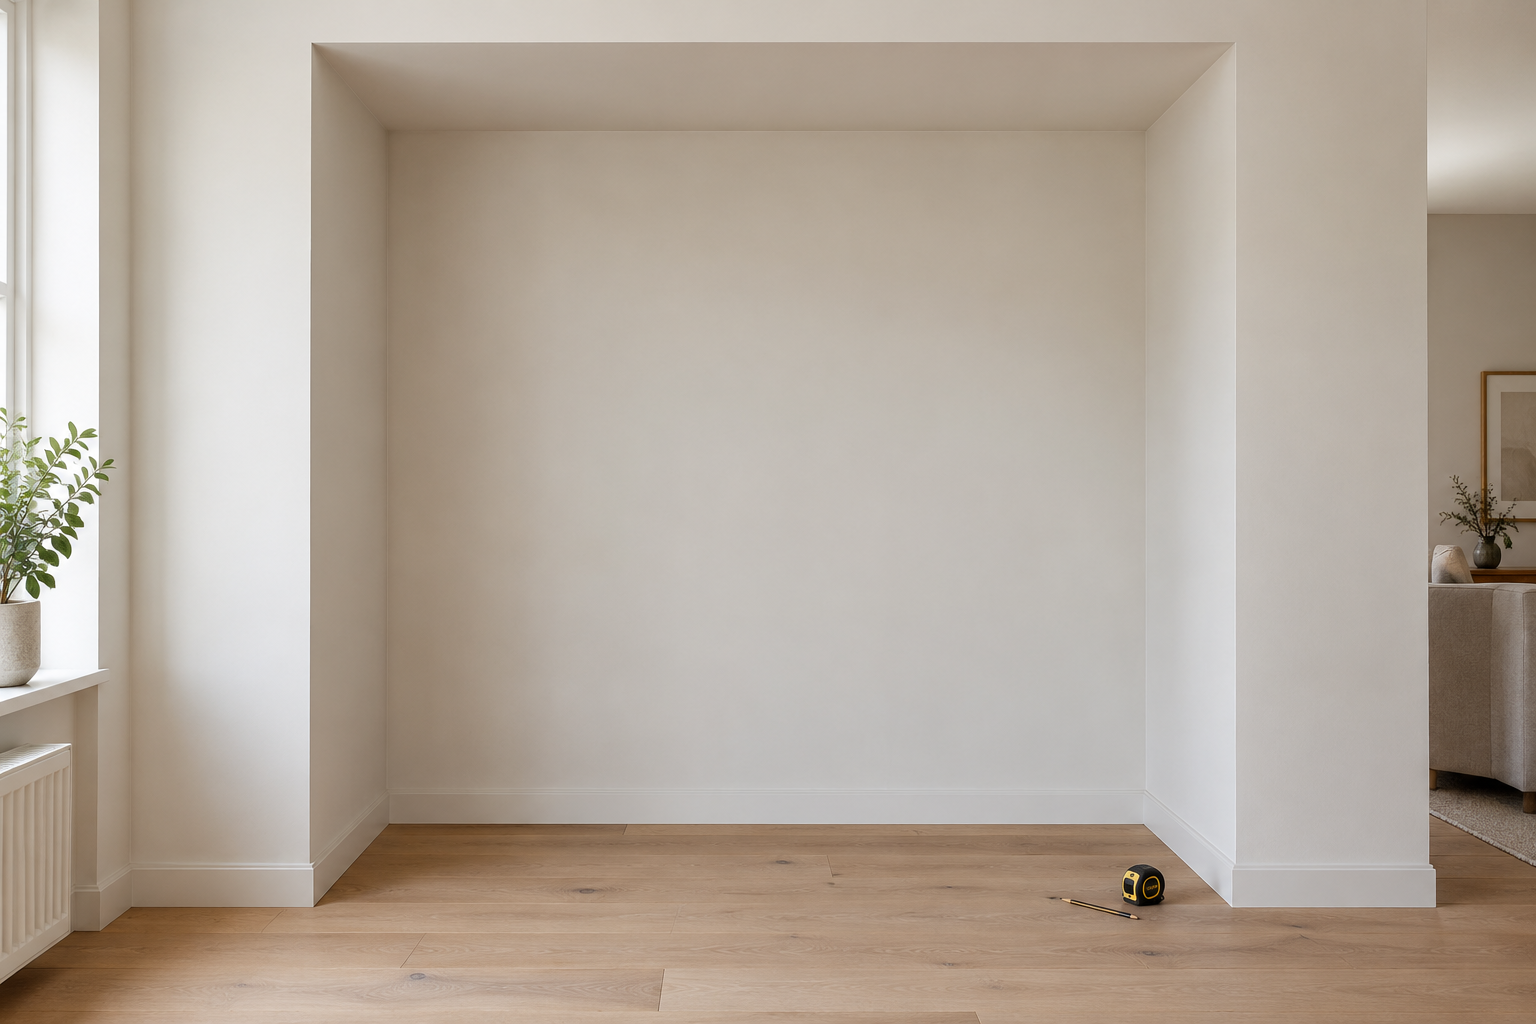
In the photograph below, the pale back wall is bordered by a short wall on each side. The visible front edges frame the opening, while the two rear inside corners define the back-wall width. The photograph is an illustration of the geometry, not a source of dimensions: measure your own finished plasterwork.
Stand facing the alcove and decide where printed material starts and stops. A mural confined to the back wall creates a framed picture, often the simplest solution. Extending it onto the returns can make a deeper, immersive recess, but the transition across each inside corner must be considered. Covering the surrounding main wall as well is a broader composition again. Take a square-on photograph and mark the intended edges on a copy or sketch before taking numbers. Otherwise, two people can use the phrase “alcove width” for entirely different distances.
Do not let movable furniture define the boundary. A desk, shelving unit or bed can obscure the lower area today and leave it exposed later. If the mural will cover the whole recess, measure the full finished surfaces rather than the parts visible around furniture. Built-in shelving is different: record its fixed edges and any surface that cannot be covered so the composition can be planned around it.
Measure the back wall in more than one place
Measure the back width near the top, middle and bottom of the intended coverage. Record the largest reliable width and note if the other readings differ. Then measure its height at the left, centre and right. Old alcoves are rarely perfect rectangles: plaster at a corner can bow, skirting can project and a ceiling line can slope. A mural sized to the smallest reading may leave an uncovered line at the widest point. If the shape is substantially irregular, send a drawing with all readings rather than hoping an allowance will compensate for it.
Make clear whether the measurement runs to the plaster corner, to trim, or to the inner edge of a frame. The finished boundary is what matters. If skirting will remain visible, measure down to its top edge; if it will be removed or covered, state the new lower boundary. For a back-wall-only mural, allow approximately four inches, or ten centimetres, on both the ordered width and height for trimming, subject to the supplier's instructions. Do not add that allowance to the room-facing opening and assume it will compensate for an incorrectly measured back wall.
Returns are not part of the back width
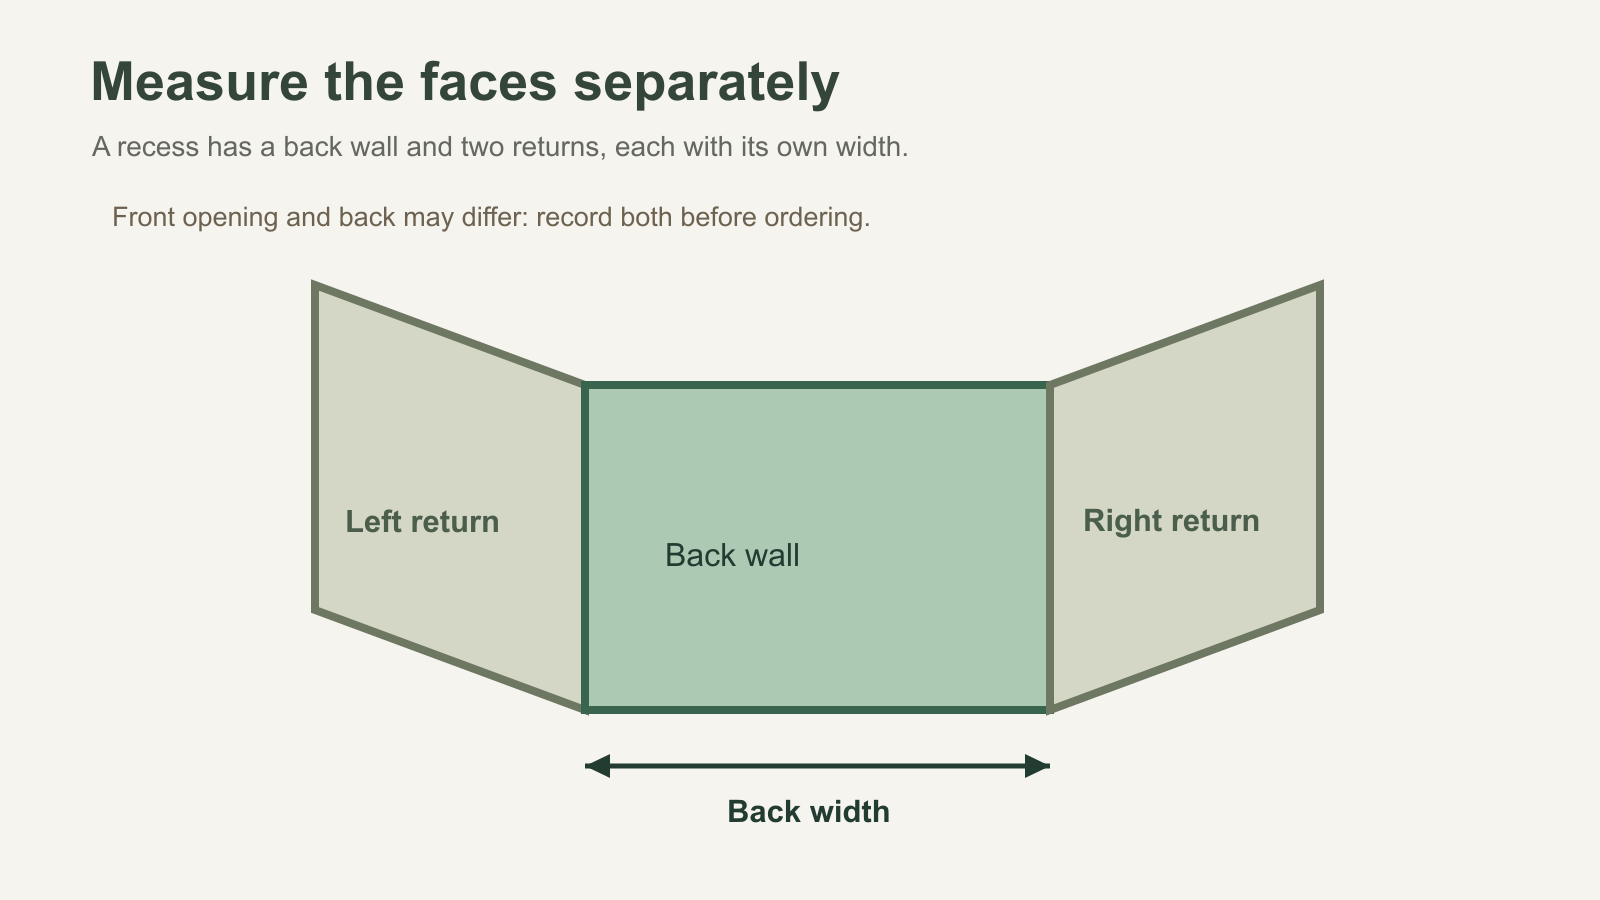
If you want the image to continue onto the side walls of the recess, measure the depth of the left return from the front edge to the back corner. Repeat for the right return. Do not assume they match. Measure the height of each return, particularly if the recess is under stairs or under a pitched roof. Mark where the two inside corners fall relative to the front opening. The diagram separates these three faces so that no one mistakes the front opening width for the sum of all coverage widths.
A tape stretched across the front of the alcove may read wider or narrower than the plastered back. That difference could be intentional architecture or simply an out-of-square recess. Record both if they differ. If a continuous mural is desired, the artwork needs to be divided for separate surfaces and ordered in a way that preserves the intended subject through two corners. Ask the printer whether the material and panel layout support that plan. Some designs may be better kept on the back wall with a coordinated paint colour on the returns.
Measure each return along its own surface, not diagonally across the void from front edge to back corner. Take its depth at the top and bottom; a return that tapers can change the artwork position by the time it reaches the ceiling. The left and right measurements should stay labelled separately even if they happen to be equal. If the recess has a curved or chamfered corner rather than a sharp right angle, photograph and dimension that transition too. It cannot be treated as an ordinary square fold in a crop preview.
Make a dimensioned sketch the supplier can follow
Label the sketch as if you were standing in front of the recess: left return, back wall, right return. Add widths, heights, front-opening width and the location of fixed features such as sockets, shelves and radiators. If one return is 0.42 metres deep and the other is 0.48 metres, write both numbers. If the back is 1.60 metres wide and the opening is 1.68 metres, record that too. Do not silently average different measurements. A photograph supplements the sketch but does not provide dependable dimensions because camera perspective can disguise tapering walls.
Use a consistent datum, such as finished floor level and one front edge, when locating openings. A socket 25 cm from the floor and 18 cm from the back corner means something different from a socket 18 cm from the front opening. State the reference point. This also helps prevent a focal element in the design from ending up behind a shelf or switch. If shelves will be installed after wallpapering, mark their future positions before approving the crop.
For example, a sketch might read: back wall, 160 cm wide by 240 cm high; left return, 42 cm deep by 240 cm high; right return, 48 cm deep by 240 cm high; front opening, 168 cm wide. These are illustrative finished dimensions, not a ready-to-order size. A back-wall-only print starts from the 160 cm back-wall width, with the agreed trim allowance. A three-face design needs a printer-approved panel plan for the 42 cm, 160 cm and 48 cm surfaces, with allowance and corner treatment specified for each. Simply entering 250 cm as the width of one flat wall would conceal where the corners fall.
Check how the design behaves at corners
A panoramic scene can lose its logic if an important person, building or tree is split exactly at a corner. A repeating floral or textured design may tolerate changes in plane more naturally, although its pattern alignment still needs planning. Mark the two inside corners on a copy of the artwork and ask whether the supplier can prepare a three-face layout before ordering one continuous scene. For a back-wall-only mural, decide whether the main subject should be centred in the recess or placed off-centre to work with the surrounding room. The answer depends on what furniture covers and where people normally view the alcove from.
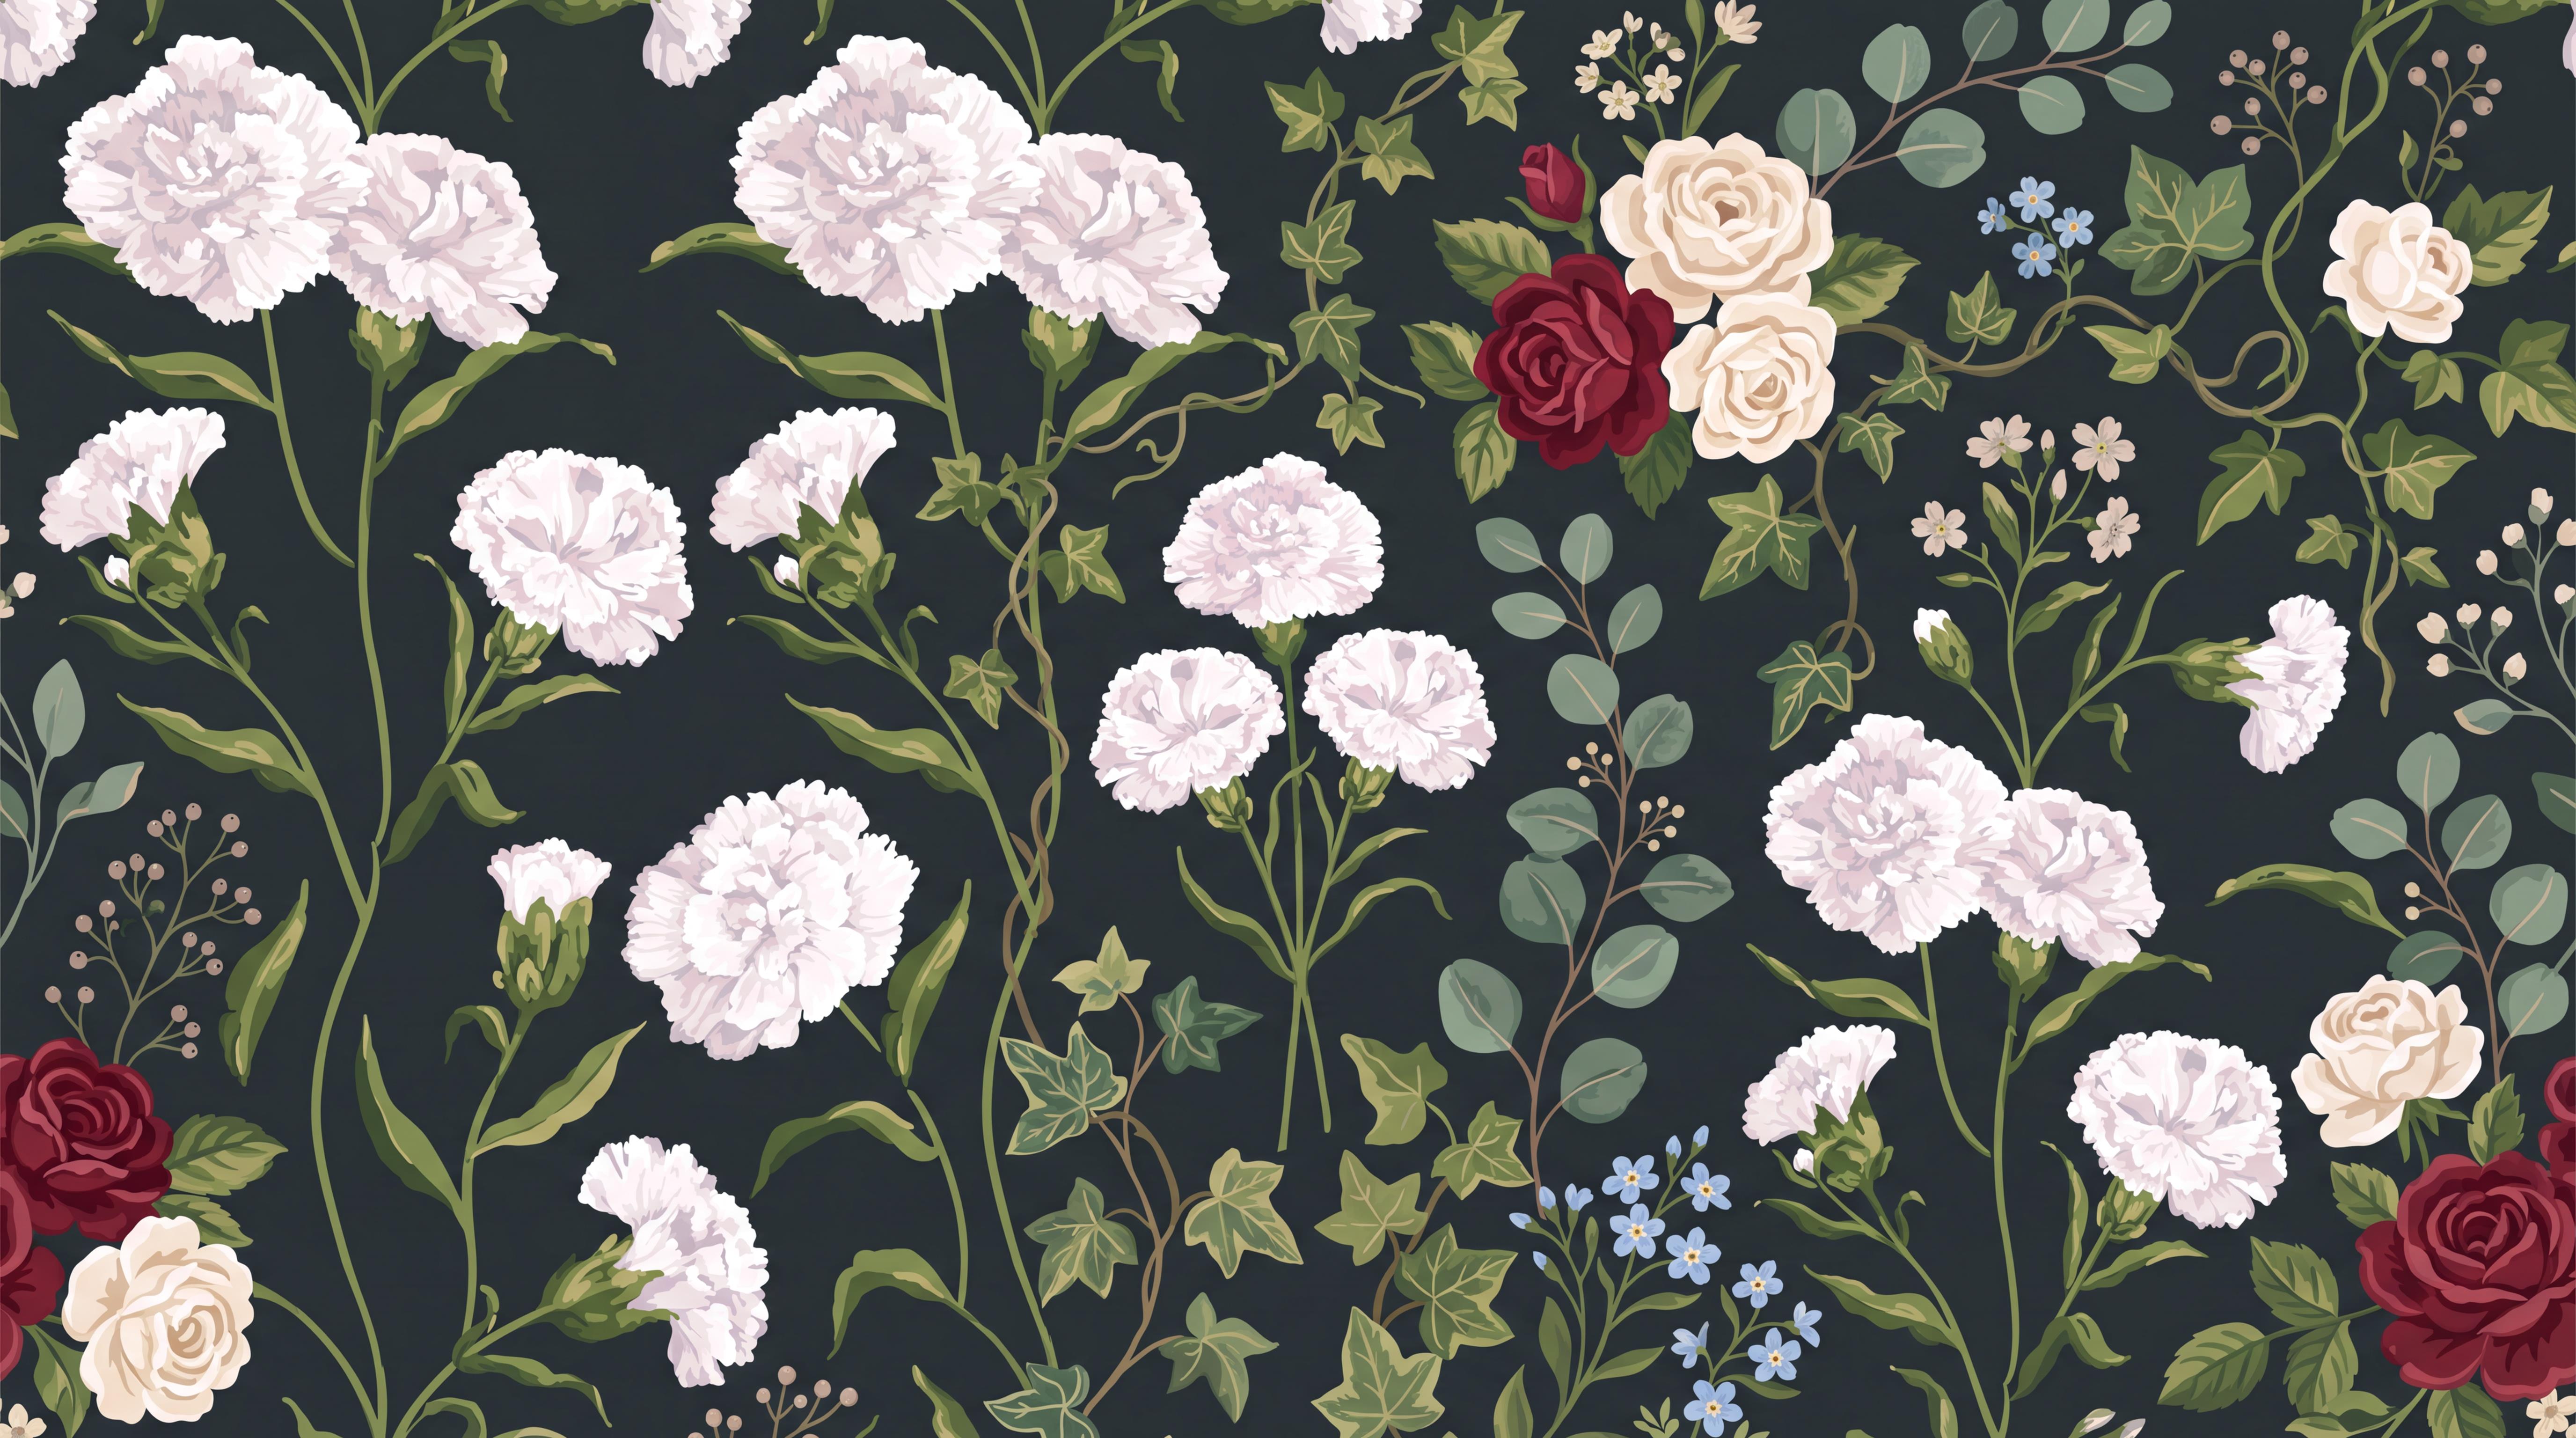
The flat floral design below illustrates this question. Large pale blooms and darker leaves occupy different parts of the artwork. If it were wrapped into a recess, a prominent flower could be cut at an inside corner. This is a design view, not a photograph of an alcove installation; it helps you choose where the image should change plane before any material is printed.
Install from a planned reference line
Before ordering a wrapped design, send the supplier your labelled three-face sketch and ask whether separate return layouts can be supplied. The ordinary flat-wall crop preview alone cannot show what will land on each side of an inside corner. State which viewpoint matters most: a person entering the room sees the back wall nearly head-on, while someone sitting beside the recess may see a return prominently. This choice can justify shifting the main subject rather than forcing it to sit at the geometric centre of the total unfolded width.
Once the dimensions and crop are approved, lay all numbered panels out before hanging. Do not start simply at the visually nearest corner; follow the supplier's panel sequence and the agreed layout. Mark a plumb line for the first panel. If the design must continue across a return, check its match at the corner before smoothing an entire neighbouring panel. Corners may not be straight or square, so follow the specific installation method for the supplied material instead of pulling a panel tightly around a distorted edge. Trim only after alignment is secure.