How to Measure a Sloping Wall for a Mural
Record changing heights, angles, windows and trim so the mural can be planned around an irregular wall.
Article focus: pricing and measurement
What to settle before pricing
Start with accurate wall measurements; the final custom mural price depends on area, material and any finishing options.
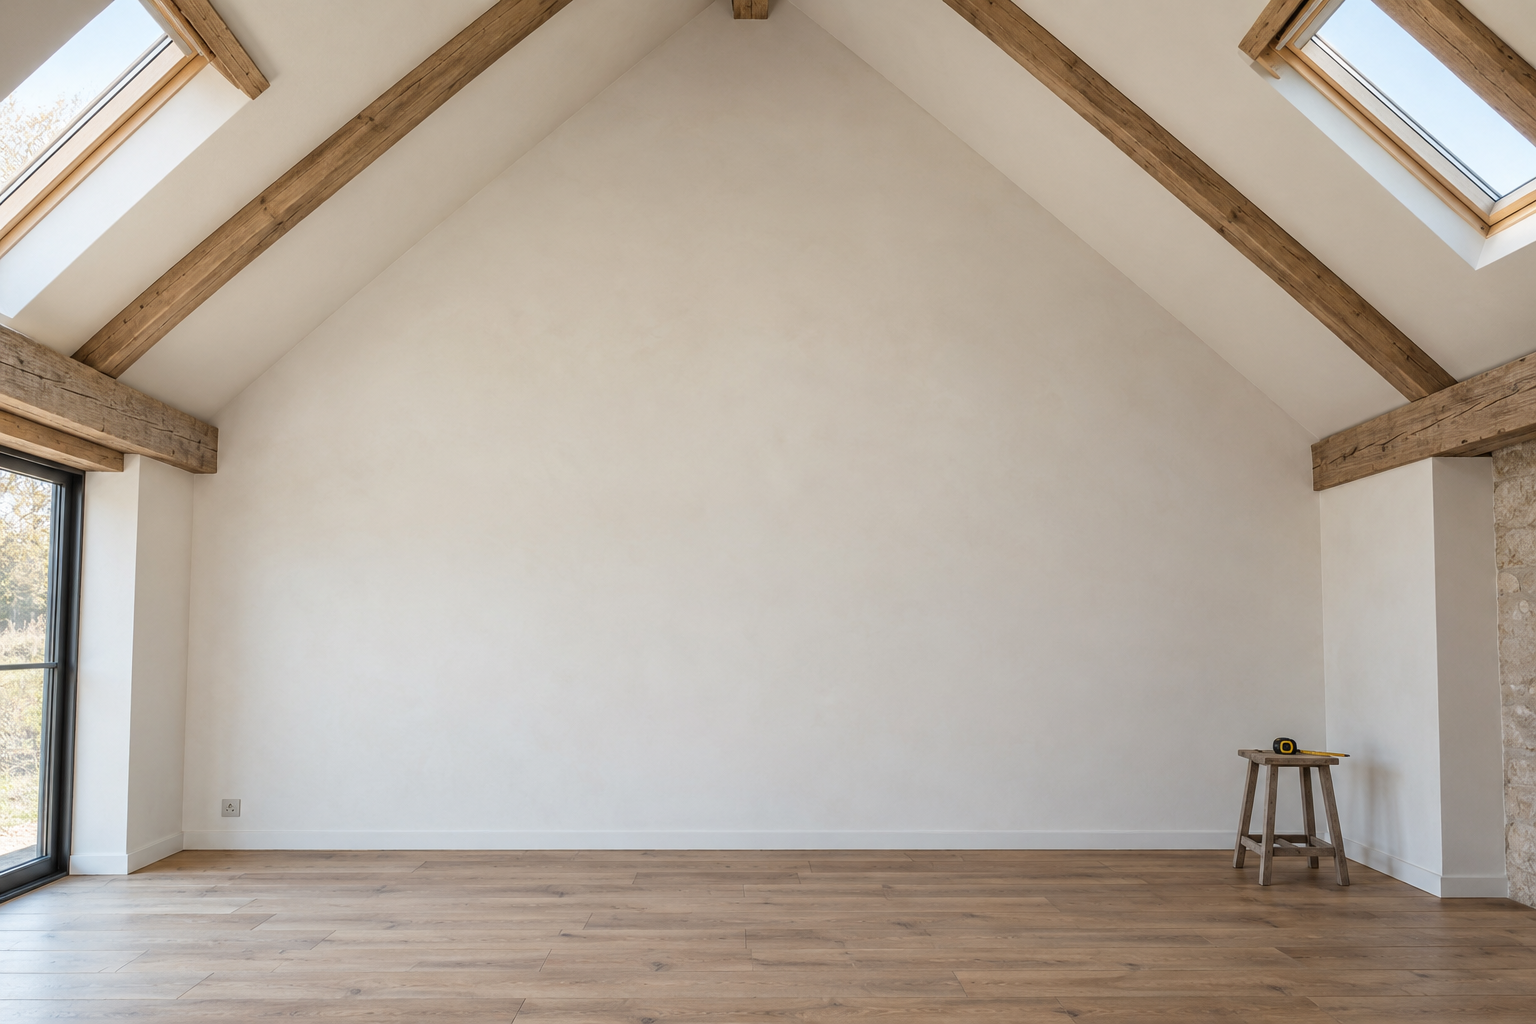
Example application: Any room with a suitable, prepared wall · pricing and measurement
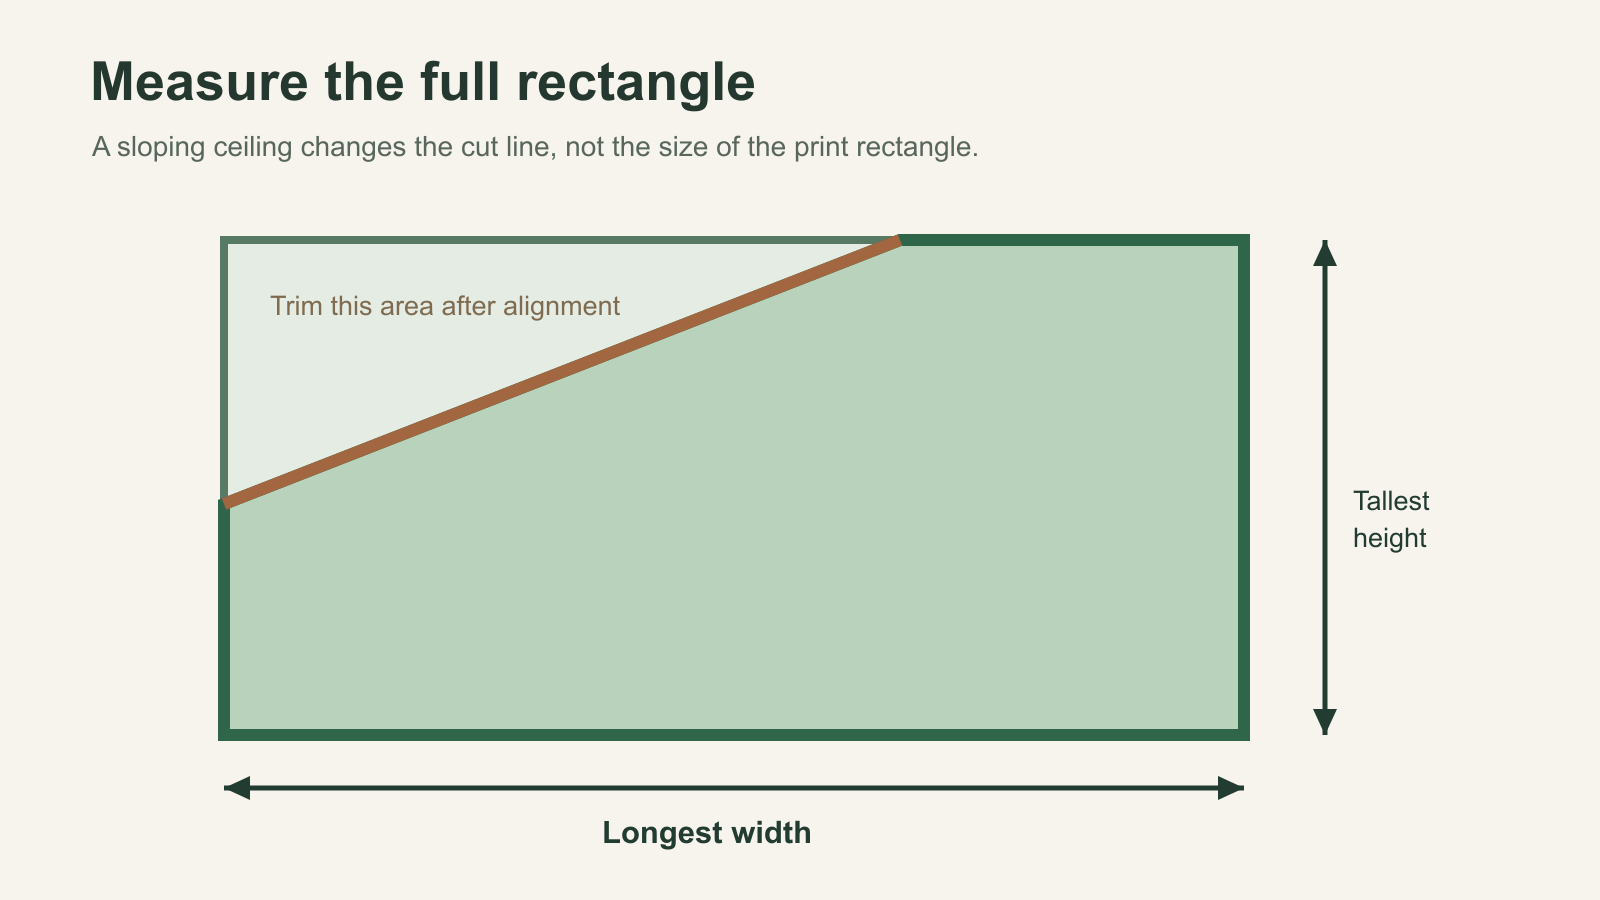
How do you measure a wall whose top edge follows a sloping roof? The empty loft wall in the feature photograph rises to a central peak, while both sides end lower down. A made-to-measure mural for that vertical wall is ordinarily planned within an outer rectangle: the full horizontal width and the greatest vertical height. The sloping top boundary is then shown on a sketch and trimmed after the print is aligned. Ordering only the visible triangular shape can leave no room to position the artwork accurately.
Start with the wall you intend to cover
First identify the surface. The featured loft photograph shows a flat, vertical gable wall that meets sloped ceiling planes. That is different from wallpapering the inclined ceiling surface itself. This guide covers the vertical wall with an angled upper boundary. If the mural is meant to turn onto the sloping plane, that is a separate surface with its own dimensions, material-suitability check and layout discussion. Do not add its length to the vertical wall height as if both were one flat rectangle.
Clear enough space to reach the true side boundaries and floor line. Measure the intended coverage from finished edge to finished edge, not just the area visible between a wardrobe and a bed. Note doors and windows, but do not subtract their areas from a rectangular print order without confirming the supplier's method. The image must still align around those openings, even though material covering the openings will be cut away during fitting.
Take four measurements, not just one diagonal
Measure the horizontal width near the floor and again higher up if you can safely reach it; keep the largest reliable figure. Take vertical heights from the same finished-floor or skirting reference to the roof line at the left end, right end and every peak or change of angle. From one fixed side, measure the horizontal distance to each of those change points. On the featured gable wall, the high point is near the middle, so recording only one low end would miss half the shape.
A tape laid along the sloping edge measures the length of that edge, not the vertical height needed for the outer print rectangle. Use a level or plumb reference for height measurements. If one corner is out of square or the wall bows, note it rather than silently replacing it with a neat diagram. Write the numbers directly against the matching points on the sketch and label which side is left when facing the wall.
The diagram below simplifies the principle to a single rising slope. Its outer rectangle represents the print area; the green area is the visible vertical wall beneath the angled top. The pale area above the brown cut line is positioned, then trimmed. Unlike the diagram, a real gable may have two slopes and a central peak. Use the same outer-rectangle principle but provide the supplier with the complete shape, not a copied version of this illustration.
Translate the shape into an order size
Suppose the wall is 3.60 metres wide, with a central peak at 2.40 metres and both low ends at roughly 1.30 metres. Its base rectangle is 3.60 by 2.40 metres, not 3.60 by an average height. Following the site's approximate 10 cm allowance added to each ordered dimension gives a planning size of about 3.70 by 2.50 metres. That is one addition to total width and one to total height, not 10 cm added independently to every edge. Confirm the final figures against the ordering interface and supplier guidance.
If the roofline steps around a beam, curves or changes slope, mark every change on the sketch. A dormer can create several short segments rather than one clean diagonal. Record each segment's end point by height and horizontal distance from the same side reference. The outer rectangle must cover the highest point, but the sketch tells the supplier which parts of the art will be trimmed away and where the most important subjects should remain visible.
Protect the design, not only the dimensions
A steeply sloped trim can remove a substantial wedge from both upper corners of a gable-wall mural. Overlay your measured roofline on the selected crop; ask whether the supplier can prepare a separate layout if the standard rectangular preview does not show the angle. A large bird, face or mountain peak near an upper corner might be cut away. Less focal sky, foliage or wash often tolerates the trim better, while the main subject can sit below the lowest roofline if that suits the composition. Some artwork, however, is intentionally arranged to interact with the angle.
The floral print below is a flat artwork sample, not an installation on a sloping wall. Pale pink blooms and darker red roses occupy several heights. Draw the gable outline over a copy of your chosen crop and notice which blossoms would survive at the low left and right ends. That marked view can reveal whether the remaining image feels balanced or whether scaling and repositioning need discussion. The print can cover the rectangle, but only the area inside the roofline will be seen after trimming.

Measure openings and features separately
Locate windows, doors, sockets, radiators and fixed joinery from the same side reference and from the floor. They do not ordinarily make the outer rectangle smaller, but they can hide a focal feature. Record a dormer opening's corners rather than treating it as a vague interruption. Where the mural should continue onto a return or recess, measure that surface separately and ask whether the artwork can be prepared to match around the turn.
Take a straight-on photograph if possible, but do not rely on perspective to communicate the angle. A phone camera can make one side look shorter or obscure the central peak. Pair the photograph with a dimensioned sketch labelled “left” and “right” as seen while facing the wall. That gives the supplier a way to discuss the crop without guessing which measurement belongs to which side.
Installation follows the approved rectangle
Before hanging, lay the numbered panels out and compare them with the crop selected for the order. Mark a vertical guide for panel one; the diagonal ceiling is not a plumb reference. Follow the material's panel sequence and leave the extra material at the top while alignment and seam matching are settled. Only then trim to the actual sloped line with suitable tools and the supplier's method. Pre-cutting every strip to a guessed angle on the floor risks leaving a gap where the real ceiling is slightly irregular.