How to Measure a Wall for Custom Mural Wallpaper
A step-by-step guide to recording width, height, corners, windows, doors, slopes and trim allowance for a made-to-measure mural.
Article focus: pricing and measurement
Budgeting this wall with confidence
Start with accurate wall measurements; the final custom mural price depends on area, material and any finishing options.
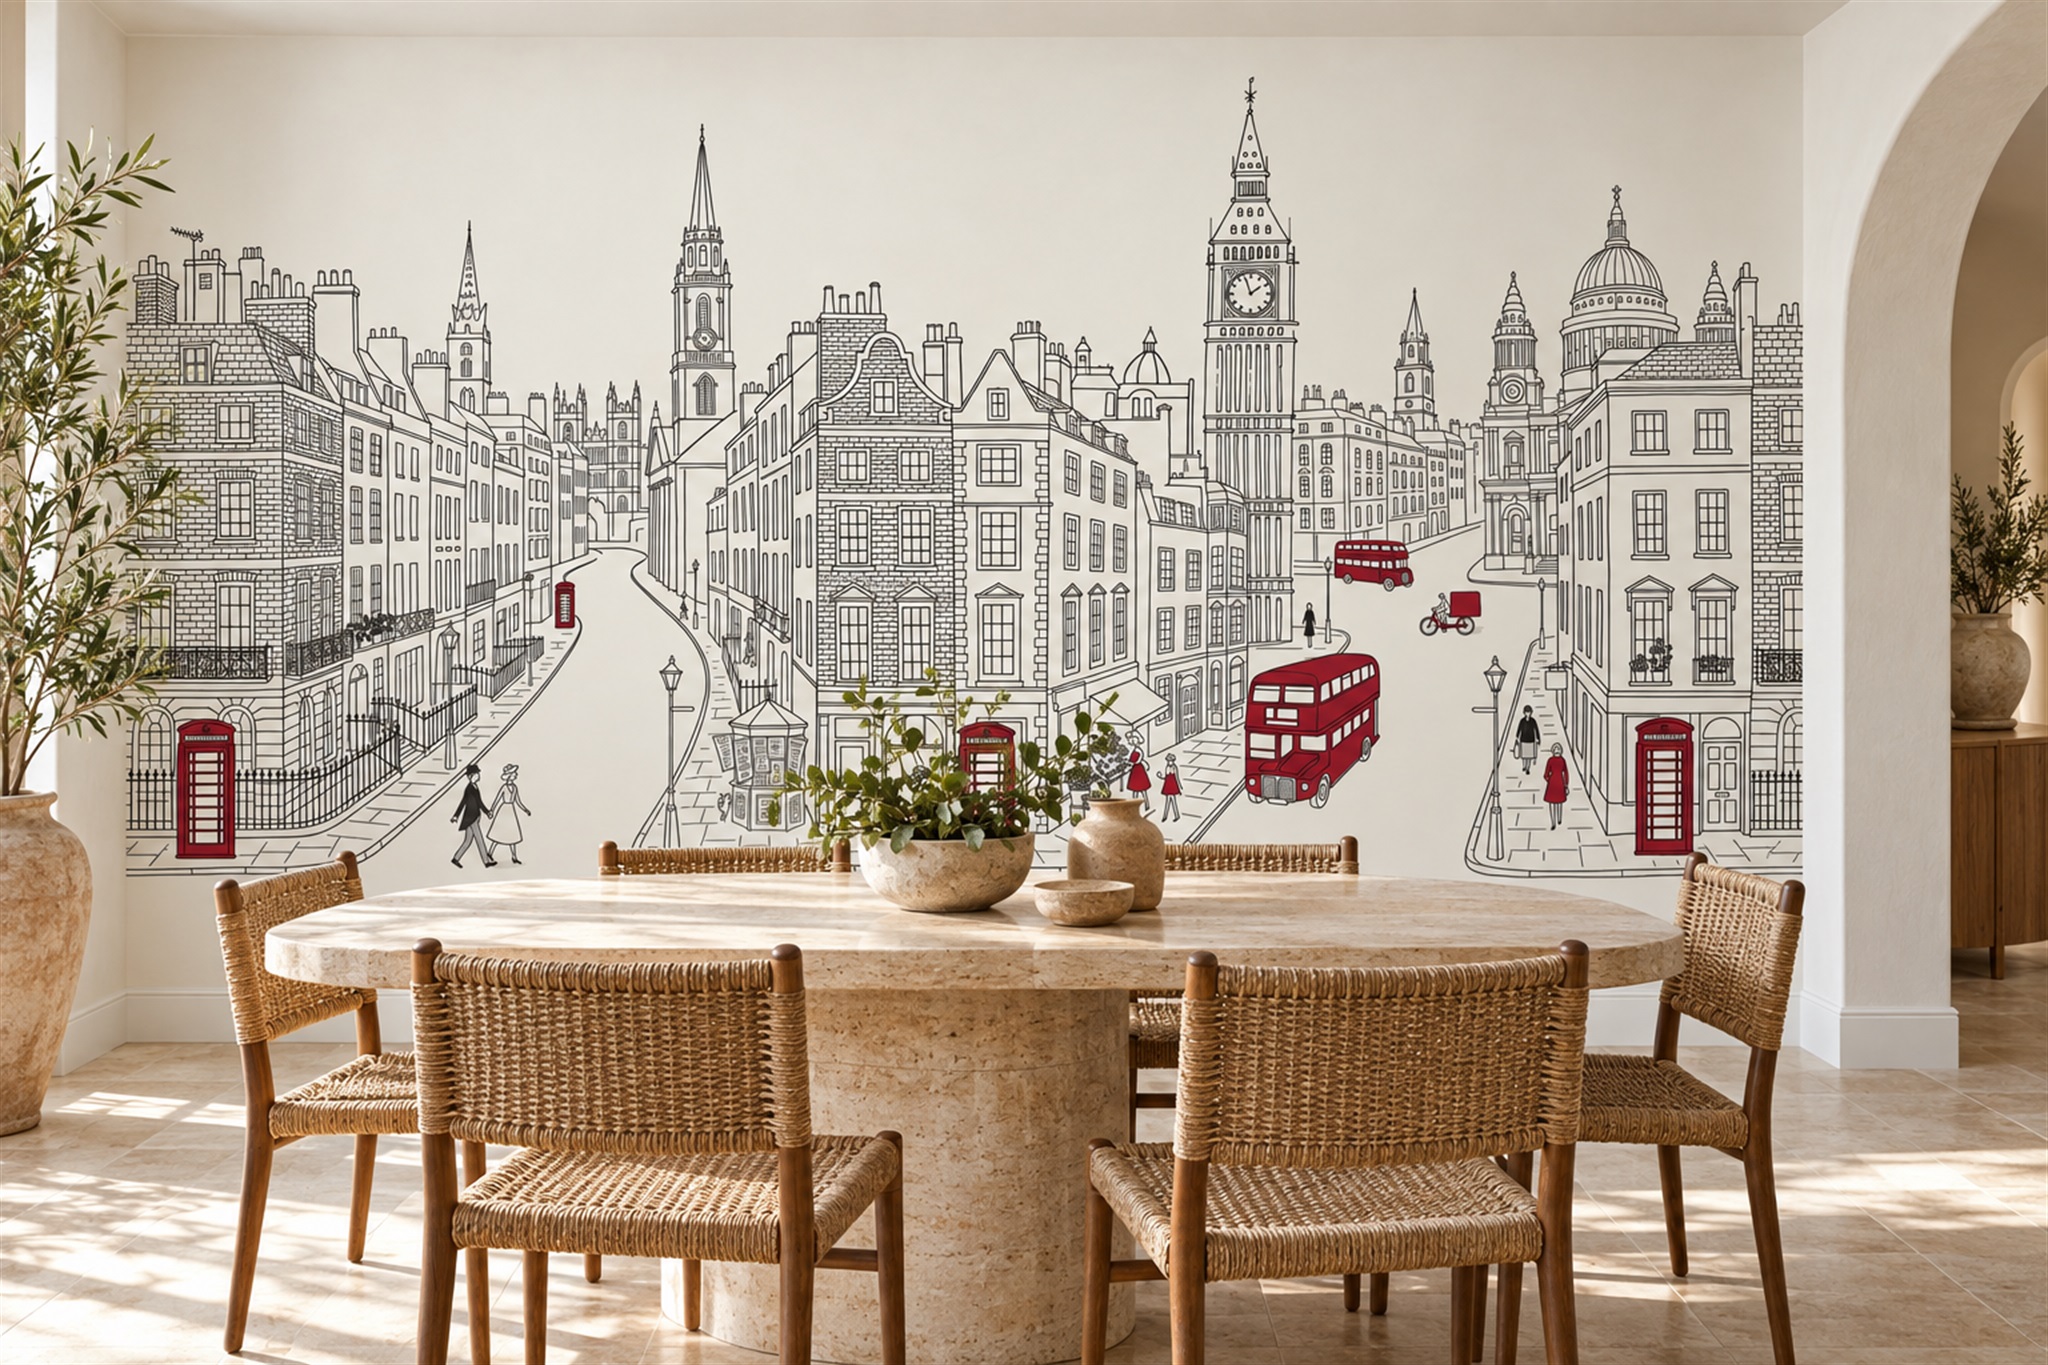
Example application: Hallway or entryway · pricing and measurement
Measure the full wall area you intend to cover at several points, because corners and ceilings are not always square. Record the greatest width and height as the wall rectangle, then add the trim allowance required by the seller before entering an order size. If the mural crosses a window, door or built-in, map that interruption from one fixed corner and the finished floor. Those positions guide the artwork crop; a list of opening sizes alone cannot show what will disappear behind a frame.
Gather the right tools and define the surface
Use a reliable tape measure, a pencil, paper or a phone note, and ideally another person to hold the tape on a wide wall. A laser measure can help with long spans, but verify its reading against a physical tape if a skirting board, cornice or window recess could change the reference point. Work in one unit throughout—centimetres or inches—and write the unit beside every number. Do not rely on a number saved without context in your phone.
Decide which surface will actually receive the mural. Is it one flat wall between two inside corners, a feature area above panelling, or a wall that turns into a recess? If a door sits in the middle, the mural may still be designed for the full wall, with the opening cut out during installation. If only one section will be covered, identify its exact boundaries. This choice affects both the print size and where the image lands; it should not be guessed from a product thumbnail.
Take a straight-on photograph and mark the intended print boundary on a copy. Label the same left-hand corner as zero on both the photograph and sketch; otherwise an opening measured from the opposite side can shift in any later layout. Add silhouettes of furniture that will remain. The photograph provides visual context, while the measurements—not pixels in the photo—set the order size.
Measure width and height at several points
For width, measure horizontally near the ceiling, around the middle and above the skirting board. For height, measure vertically near the left edge, in the centre and near the right edge. Write down every reading, not just the largest one. Older walls can be out of square; even newly finished rooms may vary slightly. The largest width and height usually form the safe rectangular envelope for a custom print, with excess trimmed during fitting, but follow the supplier’s own ordering rule if it differs.
Do not stretch a tape diagonally across a wall and call that the width. Keep it level, and start and finish at the same type of boundary at each measuring point. If you are measuring above skirting, decide whether the mural will stop at its top or extend behind it. For a wall with a ceiling moulding, record whether the covering ends below the moulding. A few centimetres of ambiguity here can matter more than the precision of the measuring tool.
As an example, suppose the three widths are 302, 303 and 301.5 cm, and the heights are 244, 245 and 244.5 cm. Record all six readings and treat 303 by 245 cm as the wall's maximum rectangle before any print allowance. Following the Solowalls product-page instruction to add approximately 10 cm to each dimension, enter about 313 by 255 cm. Do not add the allowance twice. Keep the 303 by 245 cm finished-wall figure in your notes so you can judge the visible crop separately from the printed size.
Map windows, doors and fixed features
Measure each opening from the same reference corner. Record its distance from the left wall edge, its width, its distance from the floor and its height. For a window, note the frame as well as the glass area if the wallpaper will meet the frame. For a door, mark which side the door opens and whether trim or architrave occupies additional wall space. A diagram with arrows is more useful than a list of disconnected measurements.
For example, on a 303 cm-wide wall, a window whose outer frame begins 82 cm from the left and is 110 cm wide occupies the horizontal interval from 82 to 192 cm. If its sill is 92 cm above the finished floor and its framed height is 120 cm, the opening reaches 212 cm. Put all four figures on the same elevation rather than sending “window 110 × 120” alone. The latter size cannot tell the printer whether a focal tree will be cut away or remain beside the frame.
Also identify sockets, switches, radiators, shelves and wall-mounted lights. These objects may not change the amount of wallpaper needed, because an installer often cuts around them, but they can hide or interrupt a focal point. If a face or large flower is the reason you chose the design, show its intended location relative to those fixtures. Photograph unusual obstacles with a ruler or tape visible for scale.
Do not subtract the area of a window or door from the overall rectangular wall size unless the supplier specifically designs and prints separate pieces around it. A custom mural’s scene needs continuity across the wall. Simply ordering less material because part of the surface is open may leave too little artwork to align the panels around the opening.
Handle slopes, alcoves and corners separately
For an angled ceiling, measure the full width, both end heights and the point where the slope begins. Use the highest vertical measurement for a bounding rectangle and draw the diagonal on a separate sketch. Ask whether the seller expects a rectangle to be trimmed on site or can prepare a different layout. Do not assume the online crop tool understands a slope just because it accepts width and height. A room photograph beside the diagram helps explain which parts of the image must avoid the cut edge.
For an alcove or wall return, measure each plane separately and note the direction of the turn. A single flat mural does not automatically wrap a corner without changing how the image reads. For a bay or staircase, multiple heights and widths may be needed. Where the geometry is complex, ask an experienced installer to verify the measurements before committing to print; the cost of a visit can be lower than replacing a mis-sized custom order.
Understand trim allowance without doubling it
A trim margin gives the installer room to deal with small variations at the ceiling, floor and sides. On Solowalls product pages, the size form asks you to add approximately 4 inches (10 cm) to both width and height before entering the dimensions. Do not assume this is added automatically after you submit the form. Other suppliers may use different rules, so follow the instructions for the actual order. Keep the wall size and the entered print size labelled separately; otherwise you may add the margin twice or omit it altogether.
Keep essential artwork away from the expected trim zone. A face, lettering or the tip of a narrow architectural detail should not rely on the outer few centimetres remaining visible. Overlay the finished-wall boundary on your crop screenshot; if placement is still uncertain, ask whether the seller can review a marked elevation. This is a composition problem as well as a measurement problem.
Make a final measurement brief
Your final note should state the finished wall’s maximum width and height, all individual readings, units, which dimensions you entered at checkout, and whether trim has already been included. Add the opening measurements, labelled photographs and any preference for where the main subject should appear. If someone else will install the mural, ask them to check the brief before ordering. The installer may notice an uneven corner or a fitting constraint that is not obvious from the numbers alone.