What If Your Wall Is Not Perfectly Straight?
Learn how to measure tapered walls, uneven ceilings and out-of-square corners before ordering a custom mural.
Article focus: pricing and measurement
What to settle before pricing
Start with accurate wall measurements; the final custom mural price depends on area, material and any finishing options.
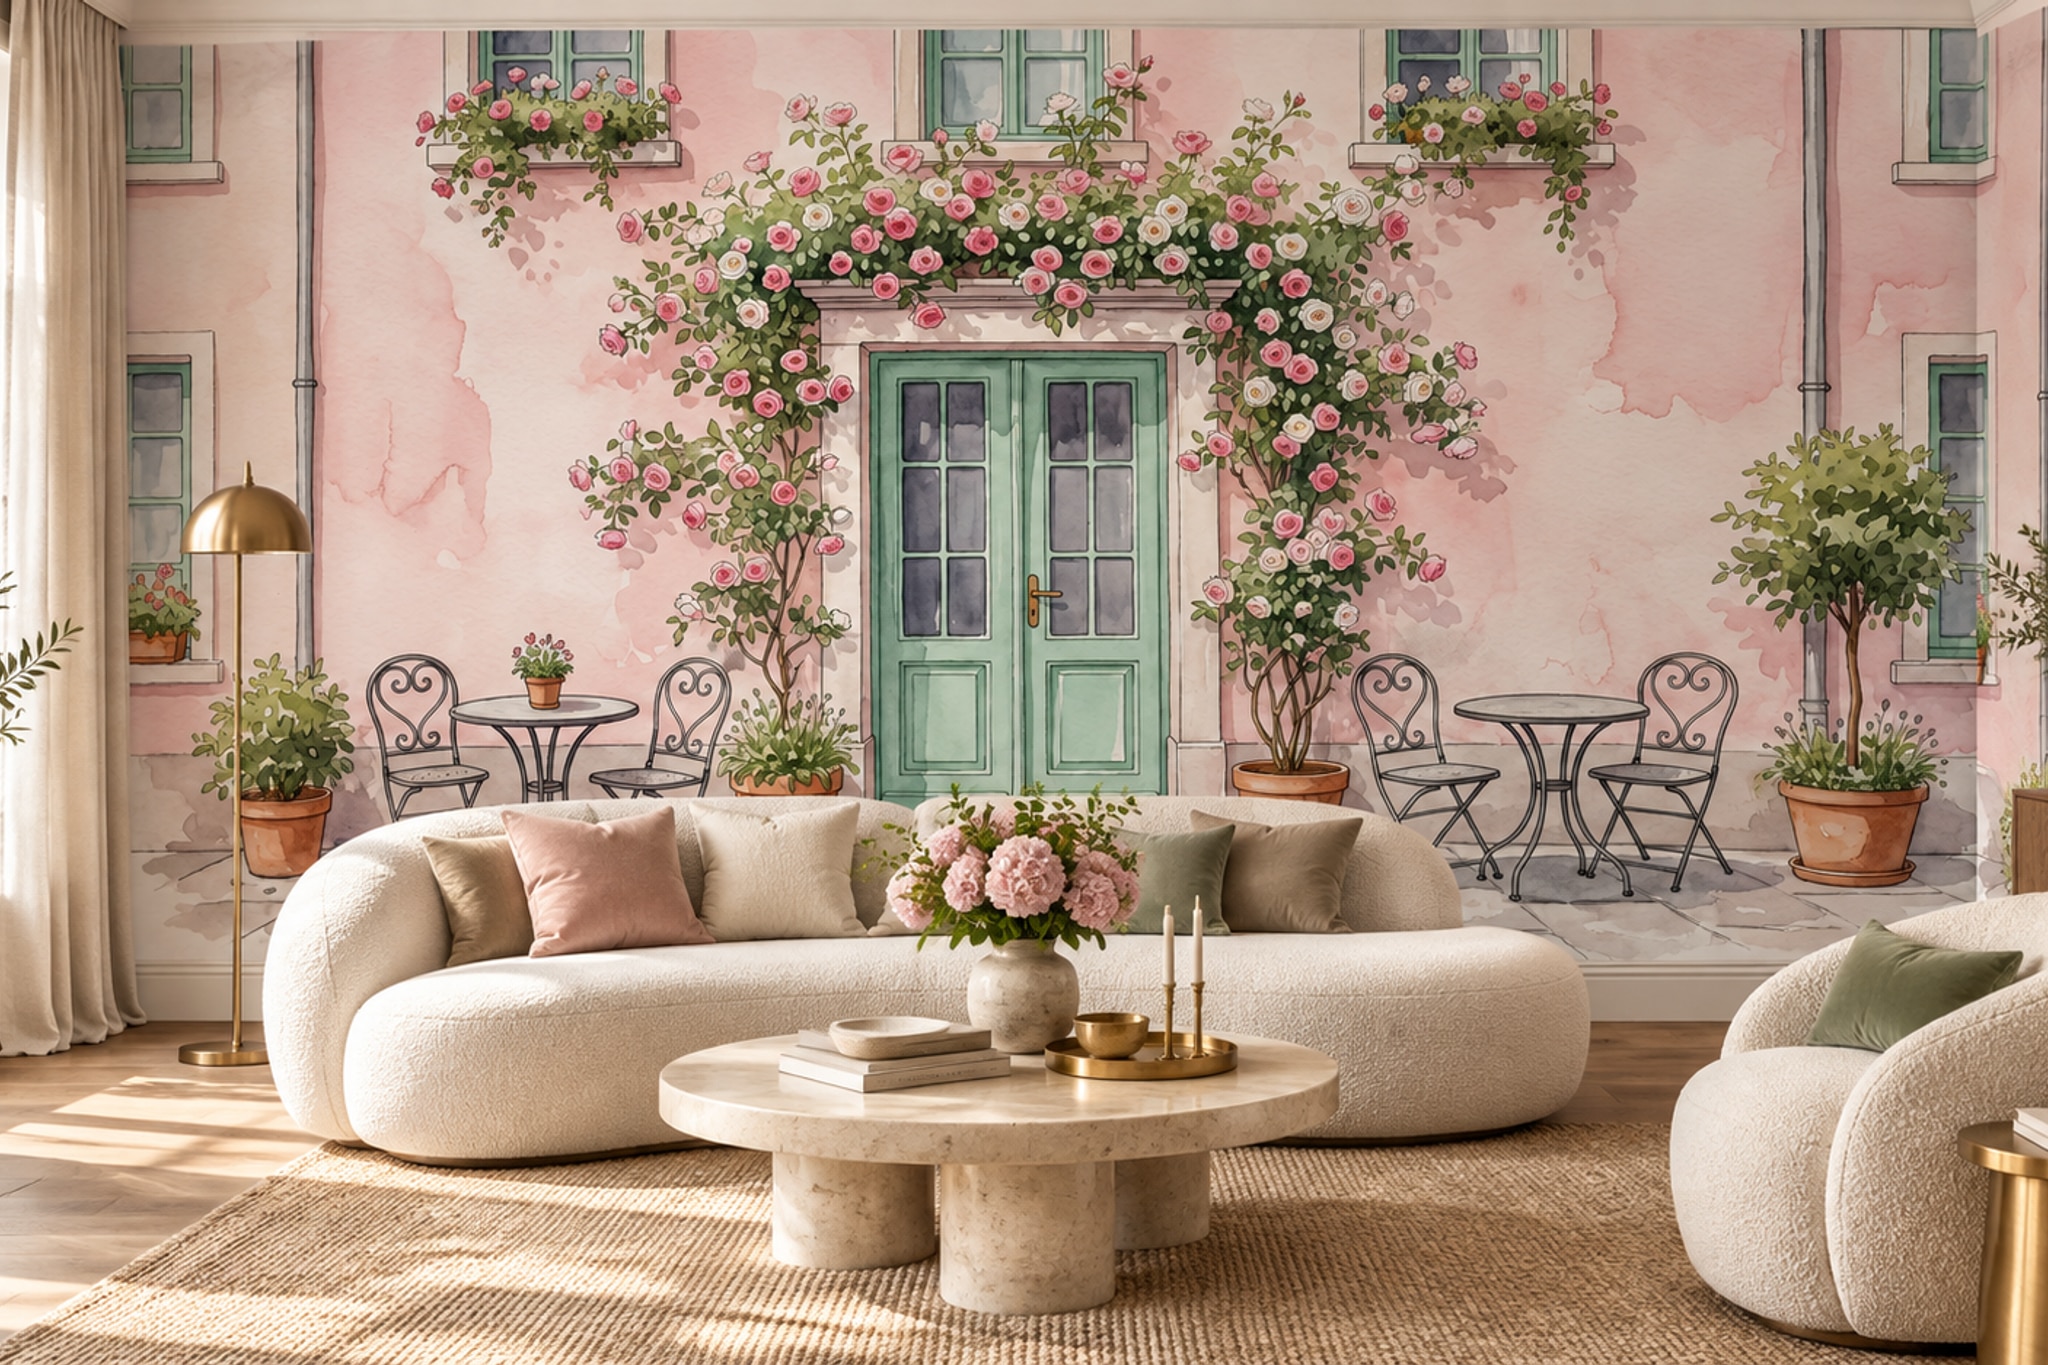
Example application: Any room with a suitable, prepared wall · pricing and measurement
First identify whether the wall is out of square at its edges or uneven across its face. A leaning corner or rising ceiling changes where the outer print will be trimmed; panels still need a true vertical starting guide. A bulge, hollow or loose plaster can prevent flat contact and may require repair before measuring the finished surface. Record the widest and tallest points, map the deviation and ask an installer to assess a pronounced one. A larger print rectangle cannot flatten a failing substrate.
Find out what “not straight” means on your wall
There are several distinct conditions. One corner may lean inward while the opposite corner is plumb; the ceiling may rise across the room; the wall surface may bow between studs; or old plaster may have bumps and hollows. The first two affect the outline of the print and how it will be trimmed. Surface waviness affects adhesion and whether seams and shadows will show. None of them is solved simply by ordering a larger mural.
Use a spirit level, laser level or plumb line to compare the side edges with true vertical. Place a long straightedge against the wall to locate bulges and hollows. Photograph the worst areas with the tool in place. If the wall has flaking paint, damp patches or crumbling plaster, stop at preparation rather than treating the mural as a cover-up. The substrate needs a sound, dry, reasonably smooth surface according to the product instructions.
It helps to describe the actual shape instead of saying “the wall is uneven”. A taper at an outer edge may be handled through measured print margin and careful trimming, provided the artwork still has enough safe space at that edge. A pronounced bulge or hollow within the wall surface calls for assessment and preparation, not a wider print. A stairwell with several changes in height needs its own layout. Give the seller and installer measurements that distinguish these situations rather than relying on an arbitrary cut-off in centimetres.
Measure the maximum rectangle
Measure width close to the ceiling, across the middle and near the skirting board. Measure height near both corners and at least once in the centre. Write down all readings and their locations. For instance, widths of 304, 302 and 300 cm reveal a tapered wall; heights of 246, 245 and 244 cm reveal a sloping boundary. The maximum rectangle is 304 by 246 cm before the supplier’s specified trimming allowance. If you enter only the 300 by 244 cm reading, one edge may be short.
Mark the point at which each measurement was taken on a sketch. A list of six numbers without positions cannot show which way the wall tapers. Include the ceiling line, skirting and any coving. Check whether the wallpaper will finish above or behind those elements. If an installer is involved, ask them to validate the measurements, especially where a drop is tall or the wall changes shape suddenly.
For a Solowalls order, start with the largest measured wall width and height, then add about 10 cm (4 inches) to each dimension before entering them at checkout. This is total extra width and total extra height, not 10 cm on every side. Compare the wall sketch with the crop preview: a substantial taper may consume more of the print margin on one edge than expected. If the normal allowance does not clearly cover the deviation without cutting into an important subject, confirm the required print dimensions and crop with the seller or installer before ordering. More printed area will not correct a bowed or unsound substrate.
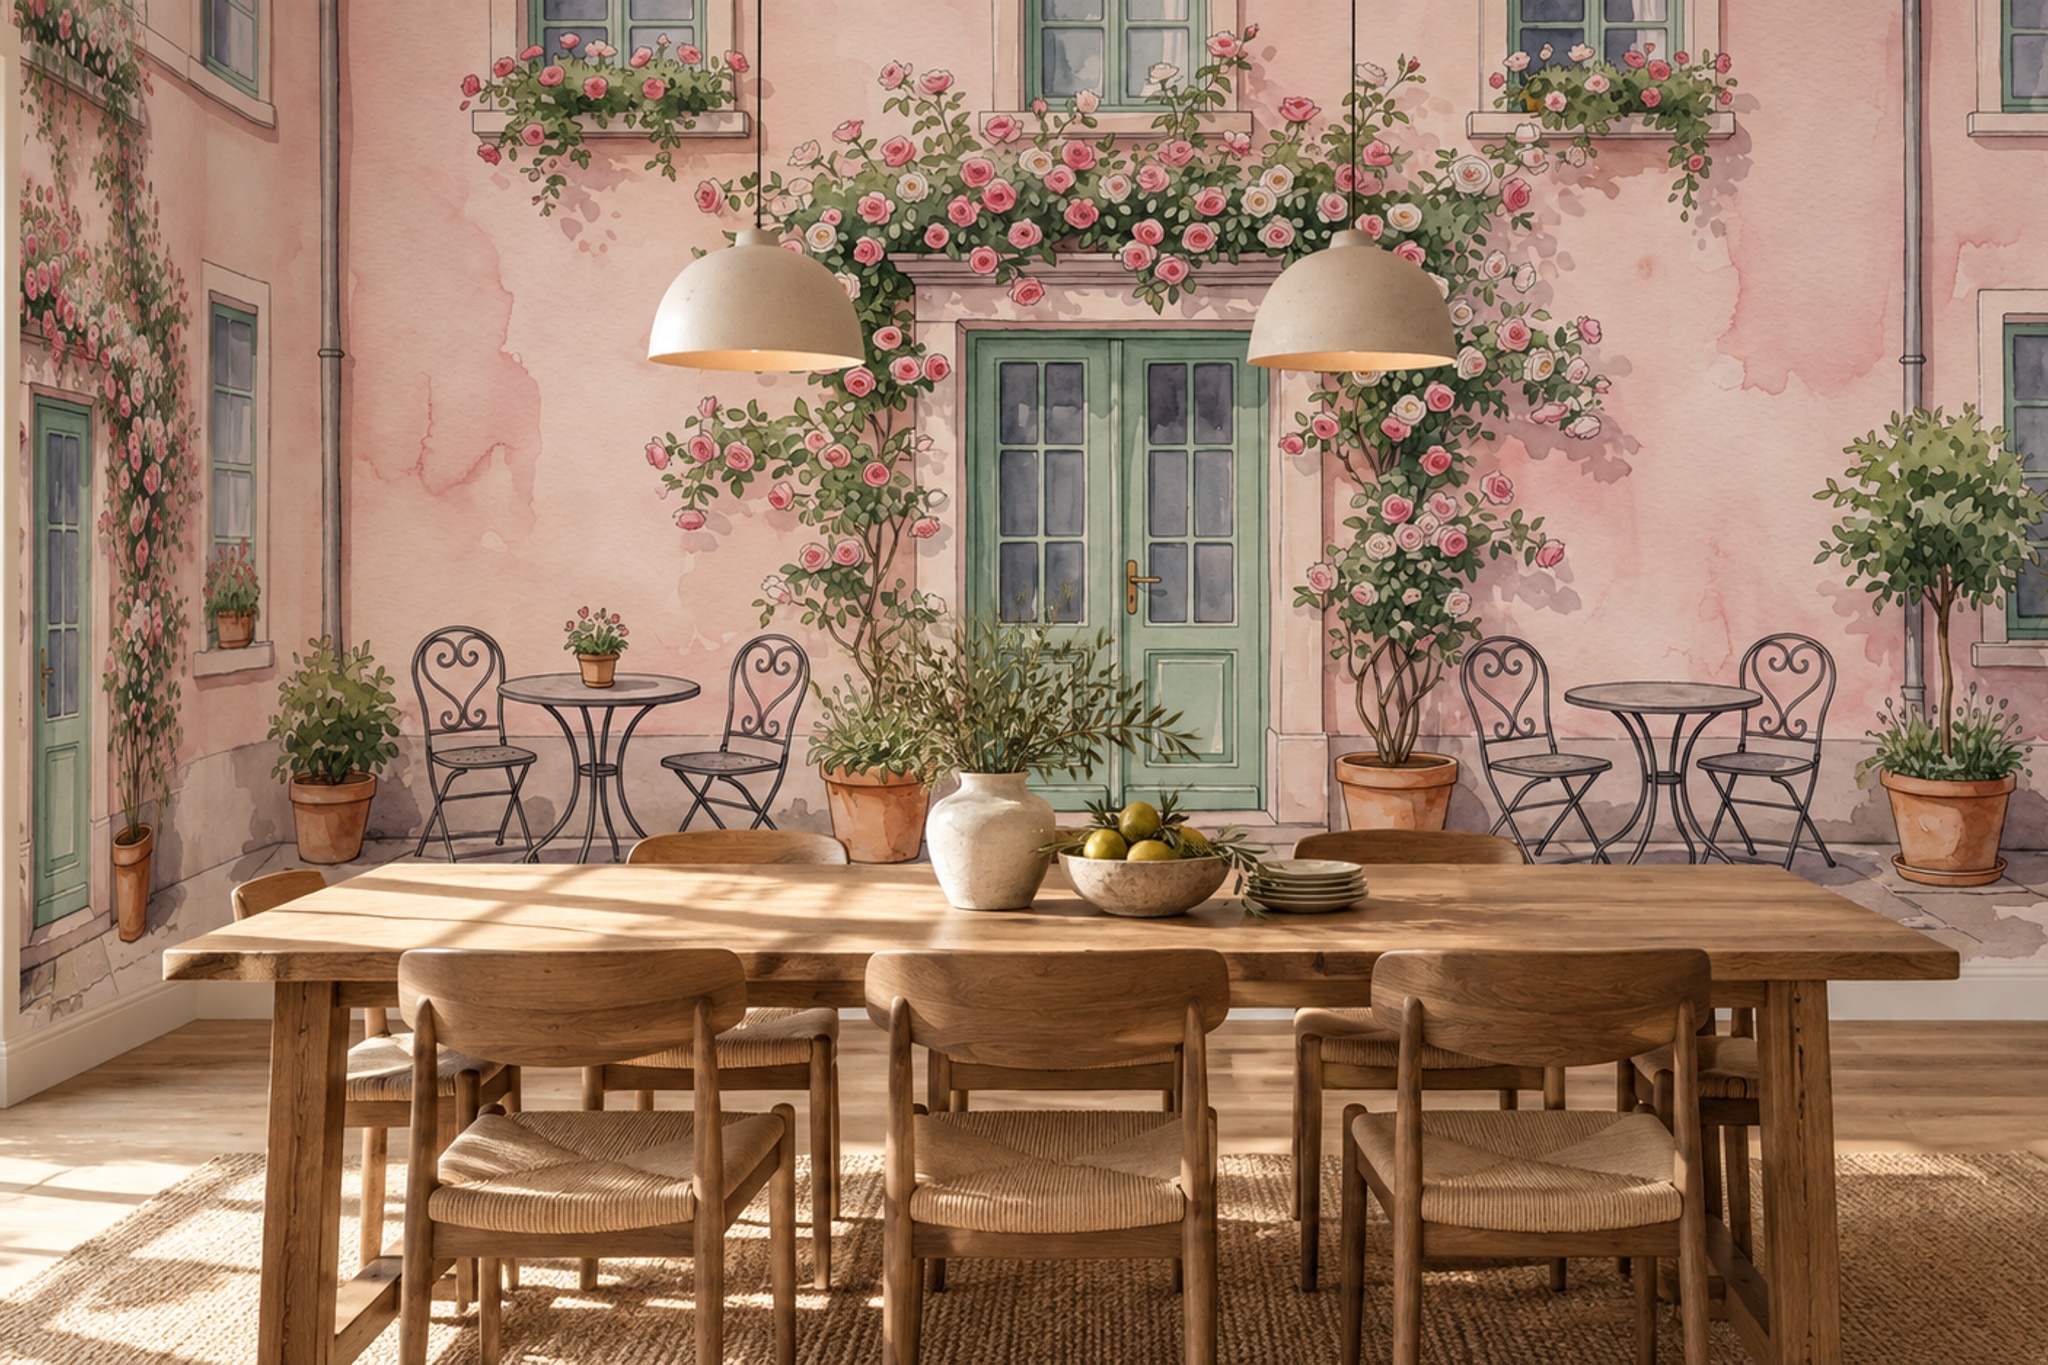
Start installation from a true line
If the left corner leans, setting the first panel flush against it transfers the tilt through every panel. Establish a plumb line at the planned starting position and align the first panel to that line. Leave the intended excess towards the crooked corner, then trim it to the actual edge after the panels are positioned. Follow the manufacturer’s panel order and seam method; do not rotate or stretch panels to force the design against an irregular boundary. The Wallcoverings Association’s plumb-line guide explains why a true vertical reference matters when room edges are out of alignment.
A design with precise columns, tiles or a level horizon exposes small installation errors. Check the online crop against your measured high and low points; if a separate layout proof is available, use it to confirm sensitive lines. A soft botanical or painterly scene may be visually more forgiving, but it still needs aligned panels. A mural cannot make a leaning ceiling physically straight; it can only be positioned and trimmed to work with that line.
Where the wall bows in the middle, test whether the covering can lie flat without bridging a hollow. Bridging can later show as bubbles or open seams. Repairing or smoothing the surface may be necessary. Do not attempt to pull a panel tight across a bulge or stretch it to match the next image segment. Excessive force can distort the print, and adhesive contact may remain unreliable on unstable plaster.
Protect the composition at the irregular edges
A tapered wall removes different amounts of artwork from top and bottom when trimmed. Keep faces, lettering and other essential details away from the outer strip. Ask to see the mural crop against the visible finished shape, not just inside a perfect rectangle. If the supplier can only show a rectangular preview, draw the irregular edge on a copy and check whether the cut crosses an important subject.
Consider the main viewing position. A slight unevenness at a far corner may be unnoticeable when the artwork’s focal point is central, while a high-contrast border close to the corner may draw attention to it. You do not need to hide the wall’s character with a busy design, but you should choose a composition that does not depend on a mathematically perfect edge. Leave a calm background near problem boundaries where possible.
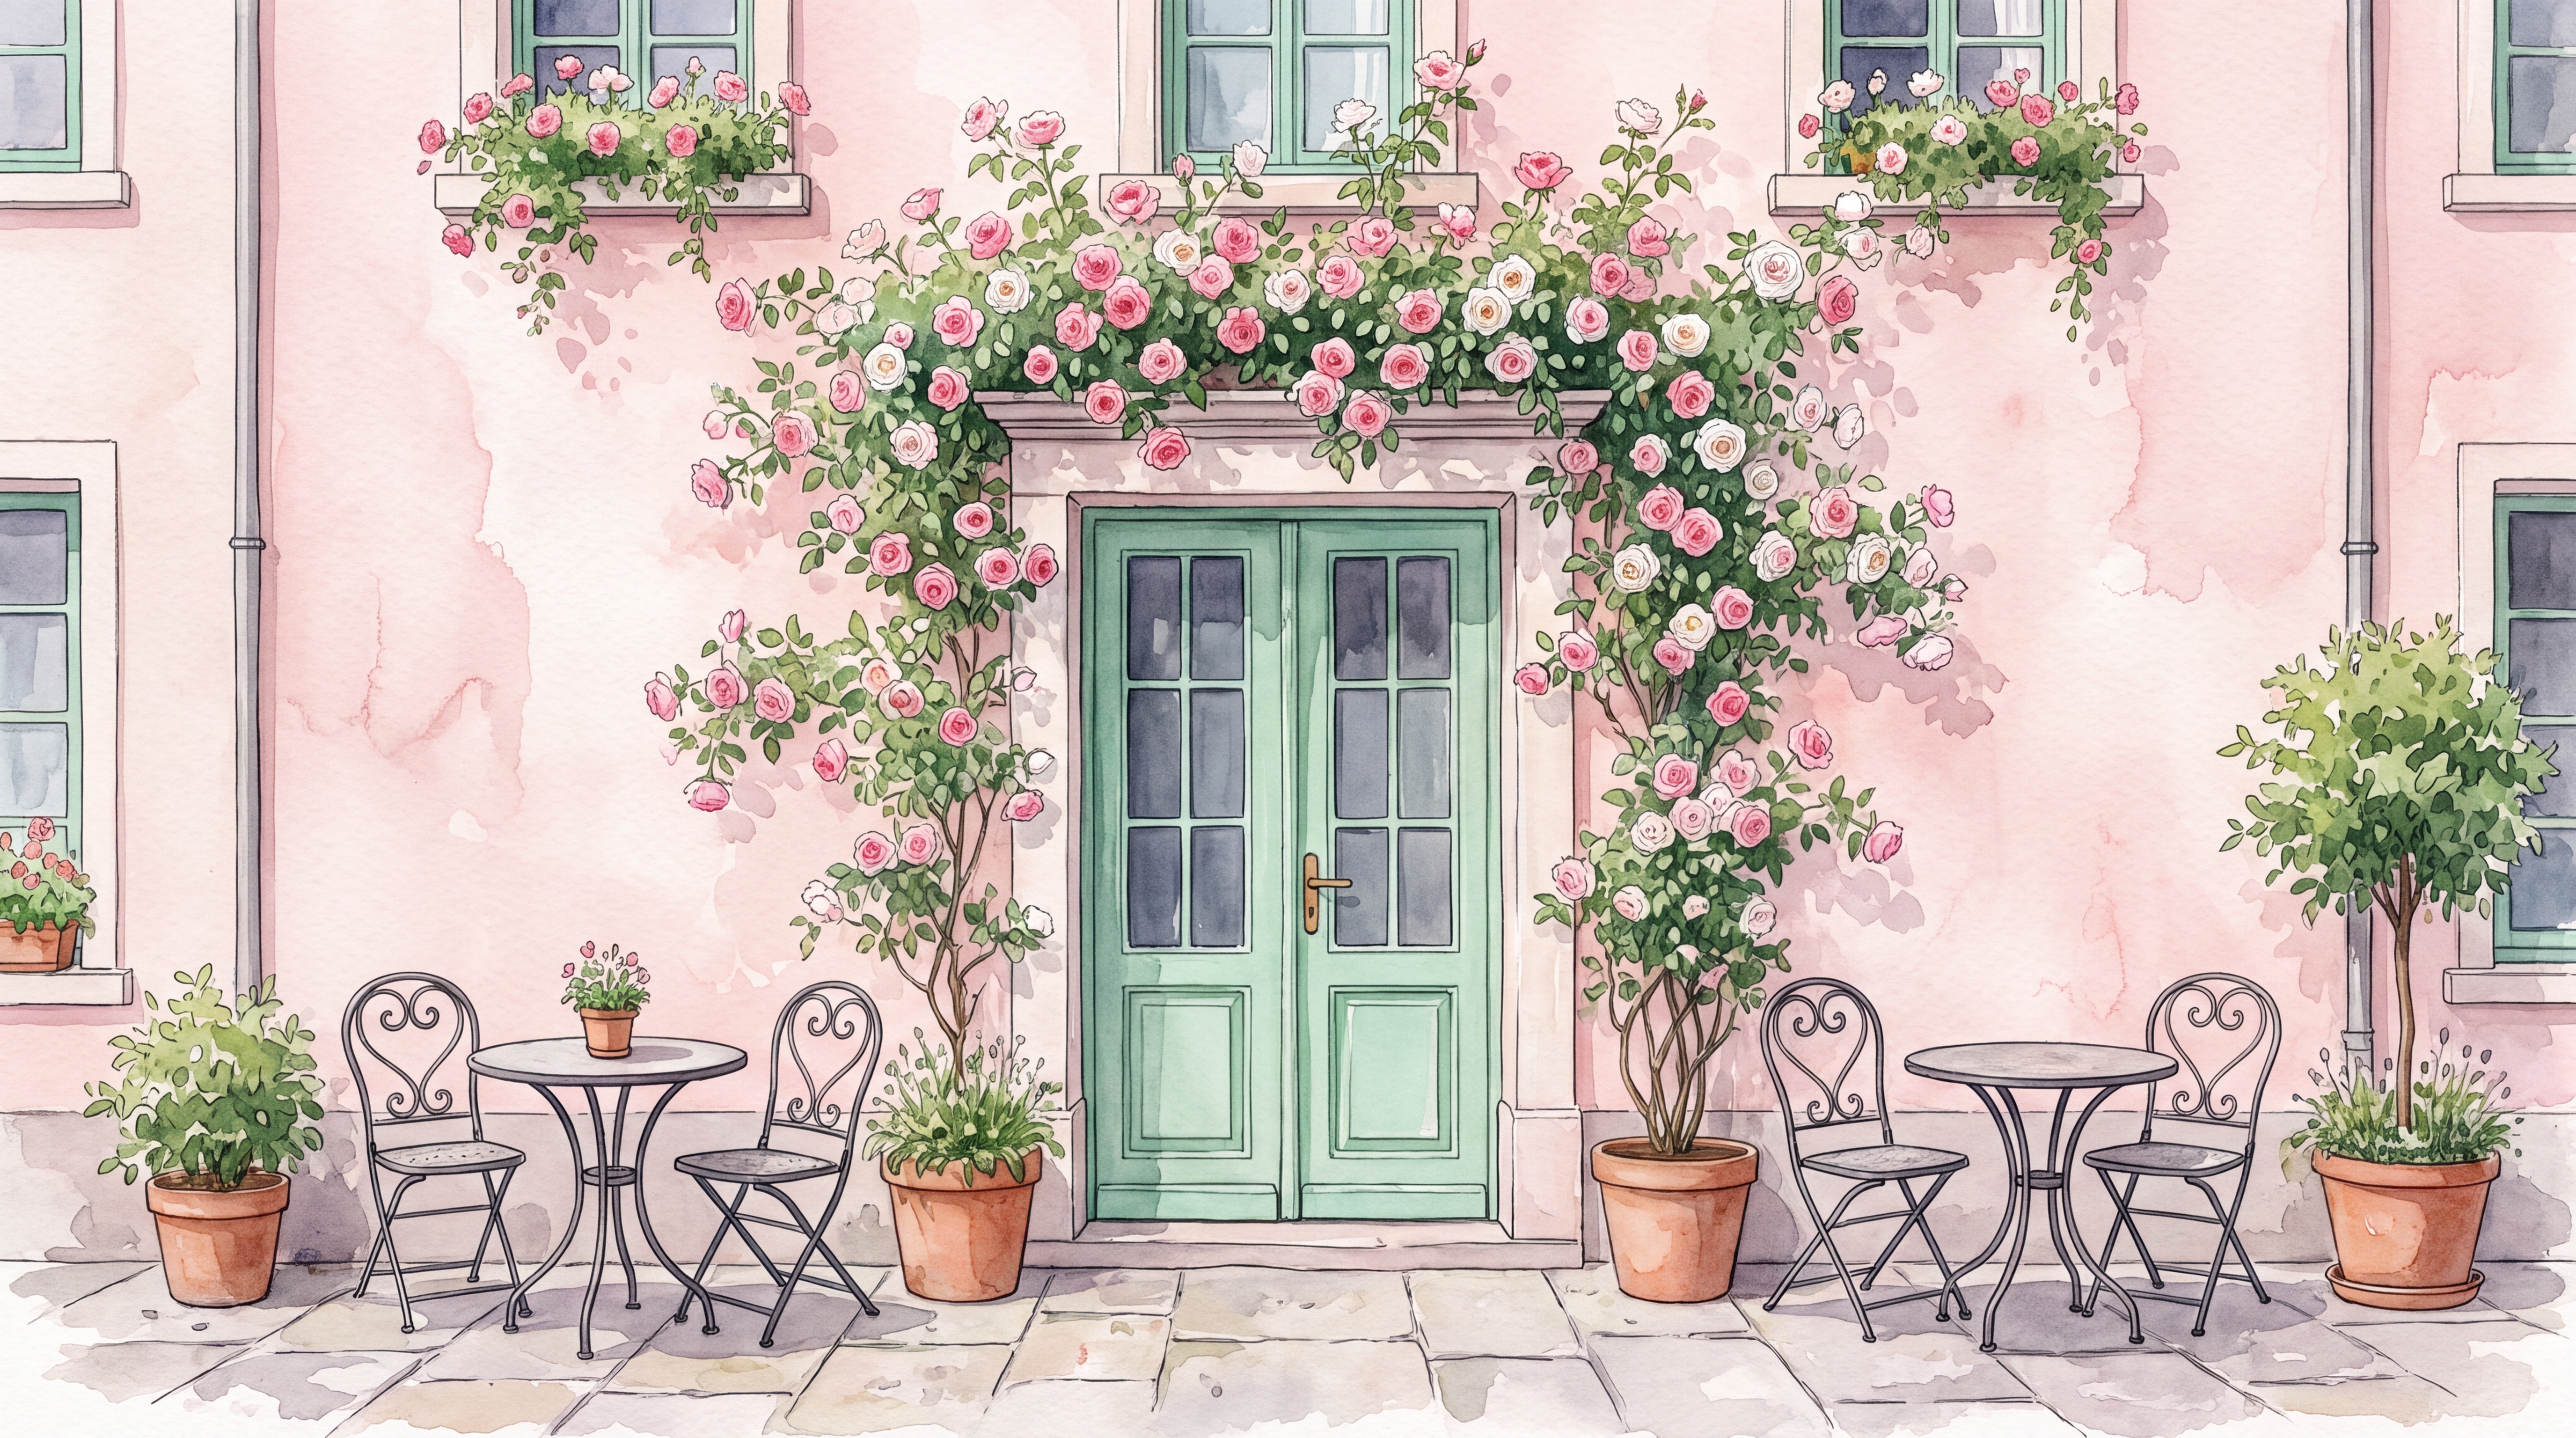
When to repair or ask for help
Minor out-of-square corners are common and usually become a measuring and trimming issue. A severely bowed surface, damaged plaster, active dampness or peeling paint is a wall-preparation issue. Correct the cause before covering it; the Wallcoverings Association’s surface-preparation guidance calls for a clean, dry and sound surface. For a custom image with unforgiving straight lines, a professional site measurement and installation can be worthwhile. Ask the installer to mark the true starting line and review the crop before the print is approved.
In the worked example, the widest reading is 304 cm and the tallest is 246 cm, so the ordinary Solowalls planning entry is about 314 by 256 cm after adding 10 cm once to each total dimension. The 300 cm reading at the narrower point does not reduce the order width; it shows that a different amount will be trimmed at one height. Plot those readings against the same left corner, draw a true plumb starting line and overlay the tapered finished edge on the crop. If that line cuts into a column, face or border, ask for a different placement before printing. If the surface bows or flakes, repair and remeasure it first: extra paper only helps at the boundary, not beneath the image.