How to Install Mural Wallpaper Around Sockets
Measure and mark electrical fittings carefully, follow safe working practice and plan the image crop around interruptions.
Article focus: pricing and measurement
The cost and measurement decision
Start with accurate wall measurements; the final custom mural price depends on area, material and any finishing options.
Example application: Any room with a suitable, prepared wall · pricing and measurement
A socket is a small object with an outsized effect on a wall-sized picture. Its plate can hide a flower, interrupt a fine line or fall awkwardly across two printed panels. Plan that visual interruption before ordering, then treat any work at the fitting as an electrical-safety task rather than an ordinary trimming detail. This guide separates crop planning, panel alignment and final inspection; it does not replace the mural manufacturer's instructions or a qualified electrician.
Map every fitting before ordering
Photograph the bare wall and measure each plate from a consistent origin, such as the left wall edge and finished floor. Record whether each coordinate describes the plate's centre or outer edge; mixing the two can shift a planned opening. Measure the full visible rectangle of double sockets, switches and grouped fittings, not a single dot. Mark those rectangles on the full-wall crop proof, even if furniture will conceal them, because the fittings must remain accessible.
Now treat each plate as an opaque patch of missing artwork. A socket in open sky or a quiet colour field may barely register; one over a bird, face or geometric junction can break the composition. Ask the supplier whether the crop can move a key motif clear of the plate without sacrificing another part of the picture. Wall dimensions alone do not tell a printer where the sockets are, and a cut made on site cannot recover artwork hidden behind a faceplate.
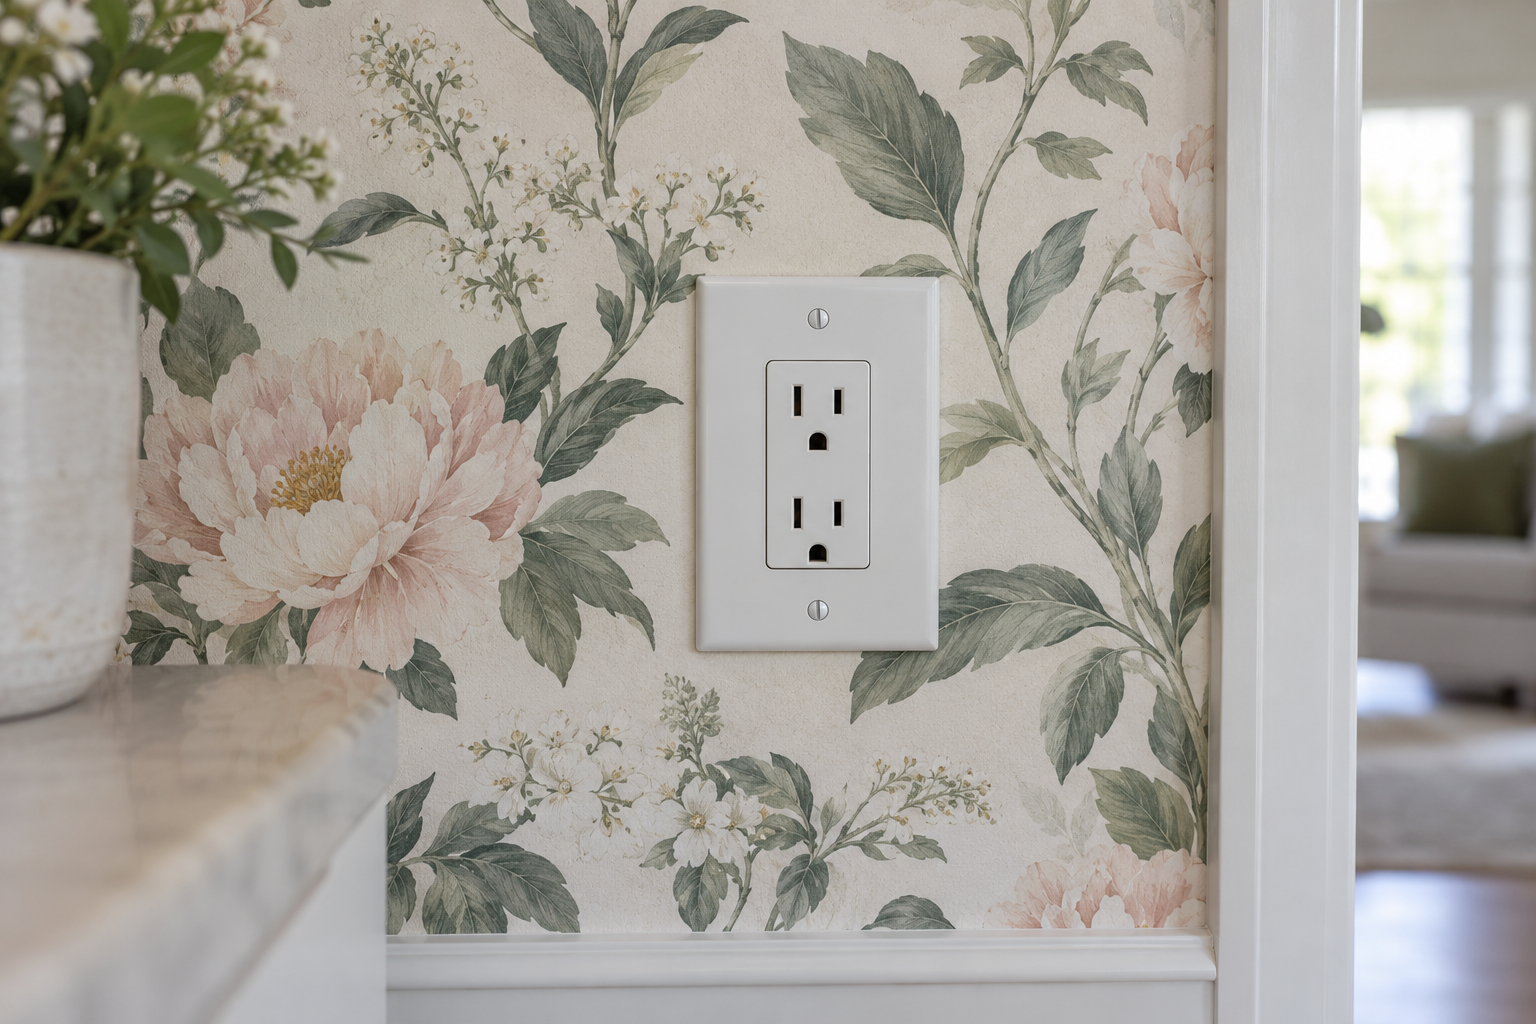
In the feature photograph, the white receptacle sits to the right of a large pink bloom. The flower remains readable, although stems and leaves disappear behind the plate. That is a useful design test: does the subject still make sense when the rectangle is blocked out? The pictured fitting is a North American-style receptacle, not a cutting template or electrical procedure for other countries.
Try two crop proofs if a fitting is near the focal point. In the first, keep the artwork centred as originally intended and shade the plate area. In the second, move the picture only as far as the supplier's crop allows and shade the same fixed plate position. Compare what remains visible around the fitting and at the far edges of the wall. A move that saves one flower but cuts off a bird or pathway elsewhere is not an improvement. For several grouped outlets, test the entire cluster as one blocked shape rather than assessing each plate in isolation.
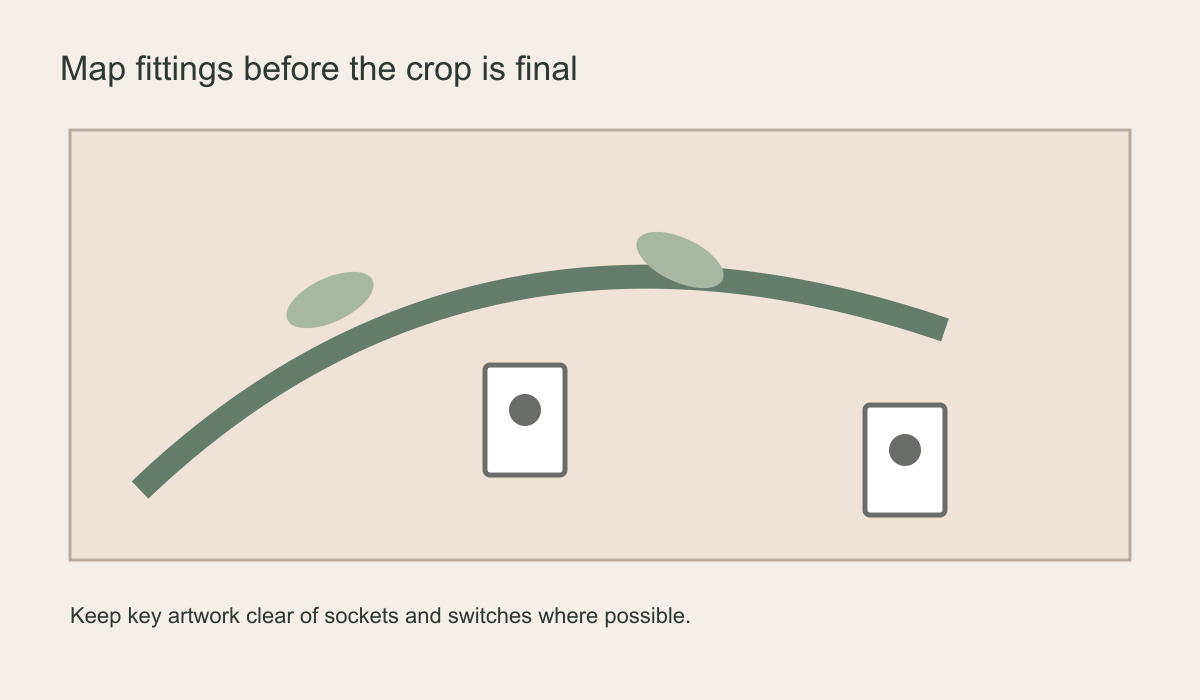 Move a focal element in the preview before an outlet cuts through it.
Isolate the electricity before working near the fitting
The Wallcoverings Association and Graham & Brown both call for the electricity to be switched off before wallpapering around sockets or switches. Electrical Safety First's DIY advice says to switch off power at the fuseboard when working near electrical supplies. Turning off a room light is not proof that a socket on another circuit is safe. The appropriate circuit must be identified, isolated and verified de-energised by someone competent under local rules before faceplate handling or cutting near the fitting.
Agree in advance who is responsible for any faceplate work. Local regulations and fitting designs differ, so do not assume that a decorating guide authorises you to loosen a device or move wiring. Never disconnect wires merely to fit a mural, and keep paste, moisture and tools away from electrical parts. If isolation cannot be confirmed or the fitting is loose or damaged, postpone the decorating and call a qualified electrician.
Hang the panel in its normal sequence
Once the electrical work has been made safe, hang from the planned plumb line in the supplier's numbered sequence. Let the printed joins, not the socket, determine panel position. Shifting one panel sideways to make the fitting easier can move every later seam and break a line elsewhere in the mural. Support the material as it approaches the fitting rather than pulling it tight across a protrusion, and follow the chosen material's own instructions for smoothing and trimming.
Before adhesive is exposed or a peel-and-stick backing is removed, compare three things on a straight-on wall drawing: the plate outline, the nearest panel seam and the nearest focal motif. If all three coincide, ask whether the supplier can alter the crop or panel division. If the printed panels are already made, keep their sequence intact; a professional installer can plan a material-appropriate finishing method around the fitting after electrical isolation. Do not improvise an opening against unseen wiring.
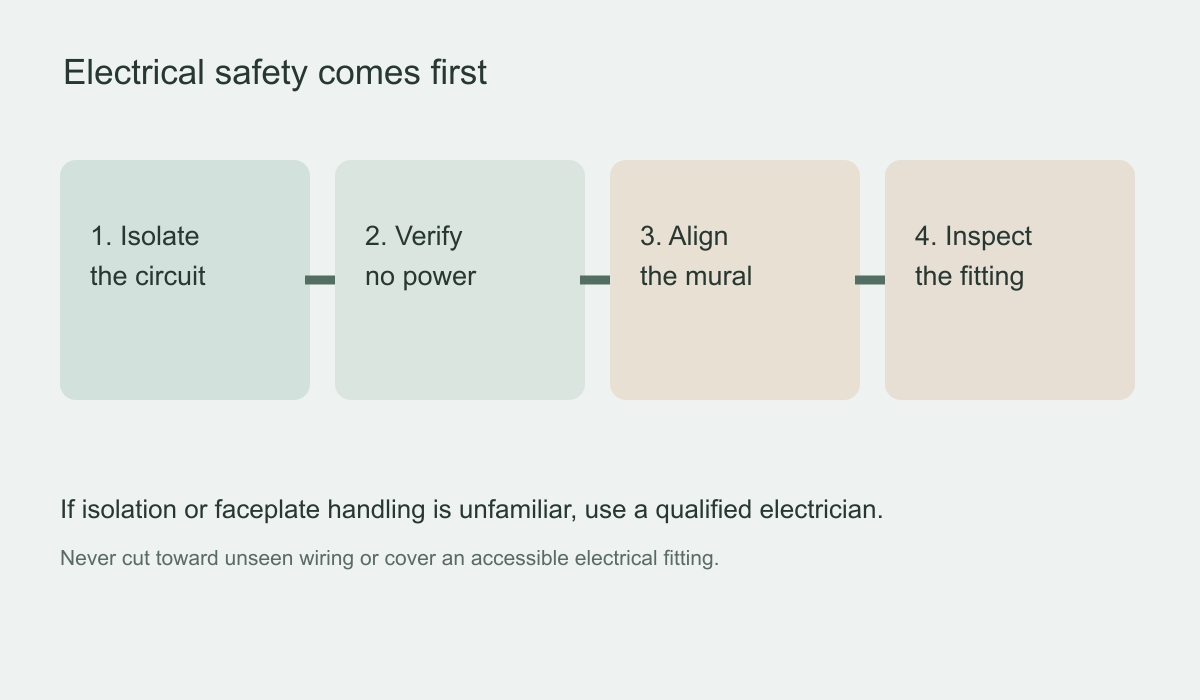 Electrical isolation and verification come before faceplate handling or cutting.
Keep the finished fitting functional and accessible
When the authorised person has returned the fitting to its intended condition, look for a plate that sits flat and secure, with no wallpaper obstructing the openings or hiding a fixing point. Never conceal a junction box or make a fitting inaccessible for future maintenance. If the plate rocks, appears damaged, or material or paste has entered the assembly, leave the socket unused and ask an electrician to assess it.
Then step back to normal viewing distance. A neatly cut opening can still be visually unfortunate if it removes the centre of a motif; that is a crop problem, not a reason to disguise the fitting with an offcut. If an opening has been cut in the wrong place, ask the supplier about a replacement panel. A patch stretched across the mistake may make the picture and the electrical access worse.
What if a socket sits on a seam?
A plate on a panel join can hide the very detail used to check registration. Draw the seam and the full plate rectangle on the proof. If a horizon or fine line disappears behind the plate, make sure it emerges at the same height on the other side before any fitting cut is planned. The Wallcoverings Association's hanging-process guidance also advises planning seams around obstacles, avoiding awkward narrow strips where possible. For a custom mural, ask whether the panel division can move without changing the approved image scale.
If the layout is fixed, align the two panels to their printed image away from the plate. Only then should a competent installer consider the material-specific finishing sequence at the isolated fitting. Cutting each panel independently to the plate can conceal a small registration error until the covers are back in place. The socket is an obstacle within the picture, not a substitute alignment mark.
When to stop the decorating work
Stop if there are scorch marks, a cracked faceplate, loose movement, dampness, a burning smell or evidence that the box or wiring has been disturbed. These are not wallpaper-finishing questions. Keep adhesive, moisture and tools away and ask a qualified electrician to assess the fitting before work continues. Also stop if you cannot identify and verify the isolated supply. Waiting for competent help may delay the mural, but it avoids making an unsafe installation look complete behind a decorative surface.