Can Mural Wallpaper Fit Around Windows and Doors?
What to measure and how the artwork crop should be reviewed when windows, doors, alcoves or radiators interrupt a wall.
Article focus: pricing and measurement
The cost and measurement decision
Start with accurate wall measurements; the final custom mural price depends on area, material and any finishing options.
Example application: Any room with a suitable, prepared wall · pricing and measurement
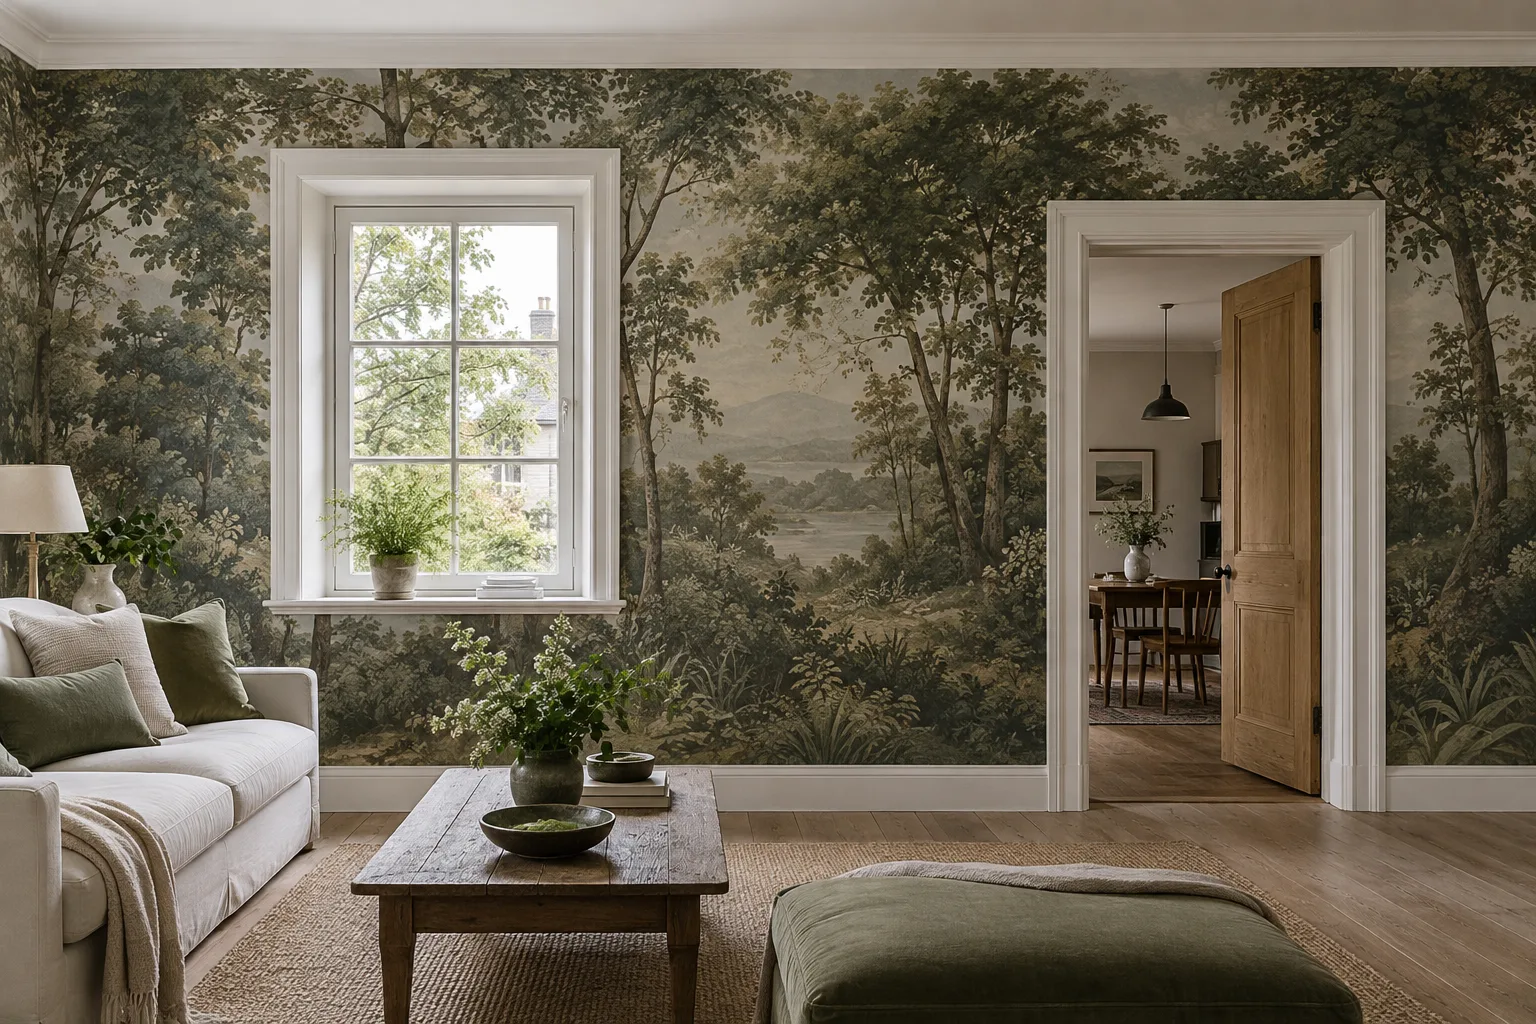
Yes, a mural can continue around windows and doors when its full-wall image is planned before those openings are trimmed out. Subtracting a window's width from the order would shift the picture on either side; a horizon still has to meet at the same height above and beyond the frame. Measure each outer frame from one fixed corner, draw its position on the crop and move important subjects away from the area that will be cut away.
Why the opening changes composition more than quantity
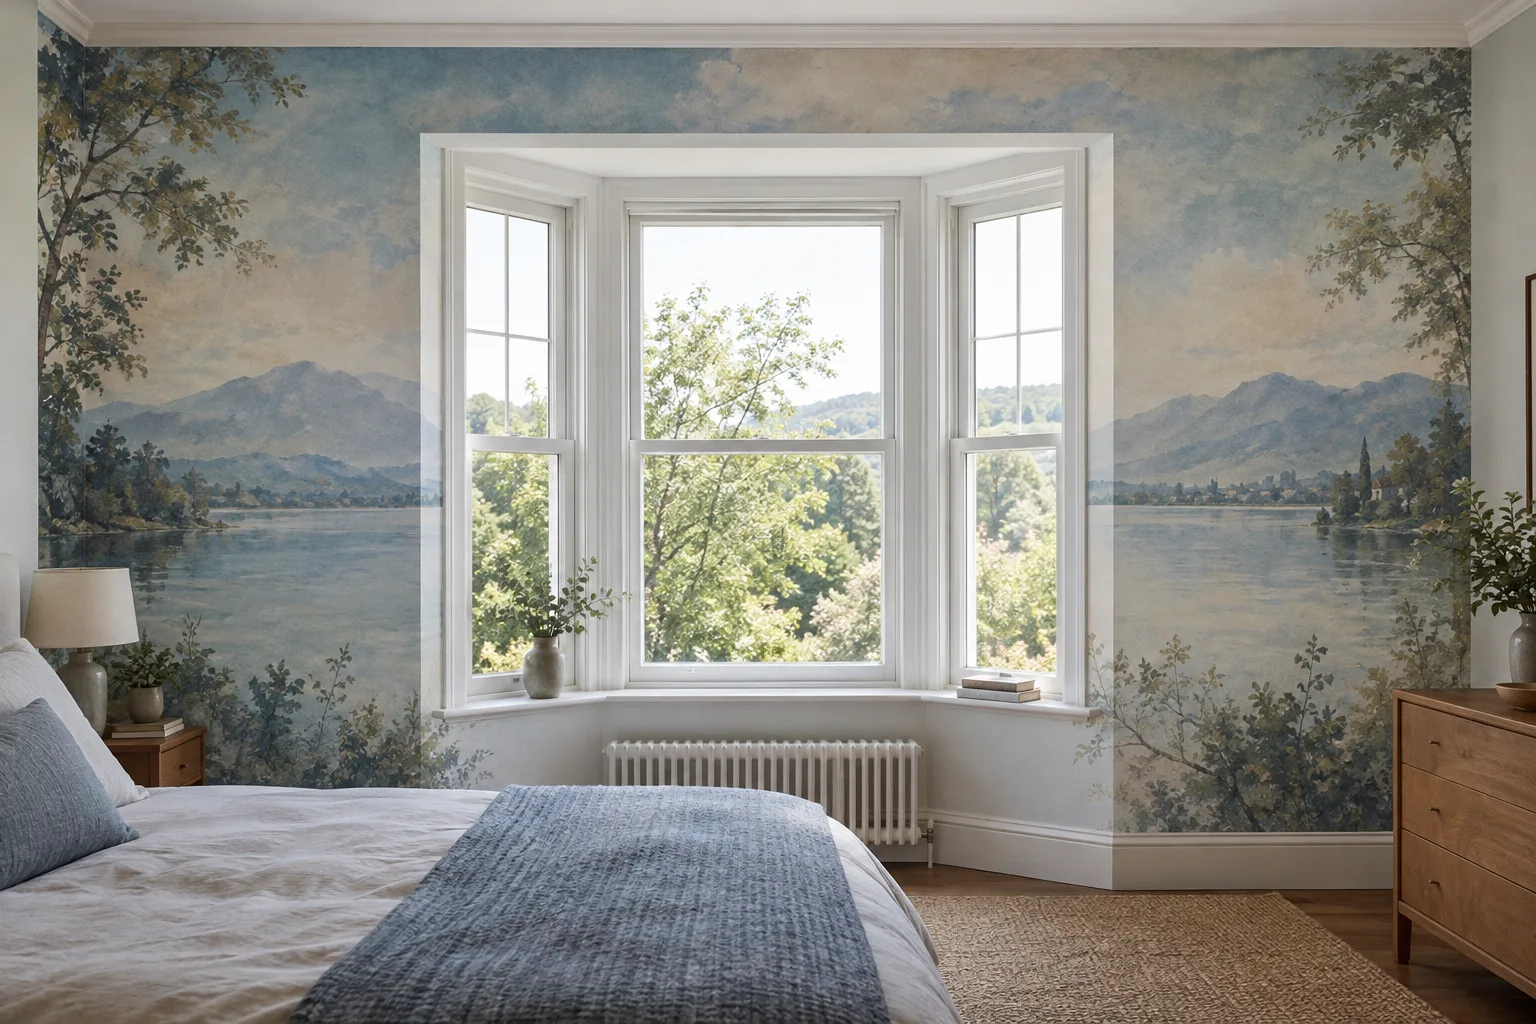
A 120 cm wide window does not mean you can remove 120 cm from the mural width. There is still wall on both sides, and the design must continue across those sections in the right relationship. Think of a landscape whose lake disappears behind a window and resumes on the far side: the two visible parts should share a horizon and scale. If the mural were printed as two unrelated narrower pieces, that continuity would be difficult to preserve.
The lost portion of artwork can also change the meaning of the scene. A bird may be cut in half by a door, or the one dramatic tree may fall entirely inside a window opening. A soft background or repeating foliage is easier to interrupt. This is why a room mock-up without your real opening positions is not enough for a made-to-measure decision.
Furniture creates another layer, but unlike a window it may move. Prioritise fixed architectural openings when placing important subjects. A bed can sometimes shift; a door cannot. If a focal element must be visible from the doorway, show that sightline on your brief as well.
Measure from one reference point
First measure the maximum wall width and height in several places. Then choose the left wall corner and the floor as reference lines on your sketch. For each window, record the distance from the left edge to the outer frame, frame width, distance from the floor to the sill and height to the top of the frame. For a door, record the frame’s left position, total width and height. Include architraves and deep reveals if the wallpaper will meet them.
Use the same unit throughout. A note such as “window 90 by 110” is incomplete because it does not say where the opening begins. A more useful statement is “left edge of window frame 85 cm from the left wall corner; outer frame width 120 cm; sill 95 cm above the finished floor; outer frame height 130 cm.” Repeat for every opening. If the wall has an alcove or radiator, add those as separate marked features.
Photograph the wall straight on, then annotate a copy with your numbers. A second angled photograph can show the depth of a window reveal or the shape of trim around a door. Distinguish the clear opening from the outer frame: wallpaper usually meets the frame edge, so using only the glass dimensions gives the wrong crop. If a frame is crooked, note that rather than trying to conceal it in rounded measurements. The supplier can advise on artwork placement from the sketch, while the installer can plan the actual cuts from the physical wall.
Turn the measurements into a usable supplier brief
Send a straight-on photograph, an oriented wall sketch and a list of opening positions measured from the same corner and floor line. Label the outside of each frame, not merely the glass or clear doorway. State whether the printed area will stop at the architrave, cover a wall strip above a door or return into a reveal. These are different production and fitting requests, even when the room photograph looks similar. If a frame is not square, show that with additional measurements rather than silently rounding it to a perfect rectangle.
Ask the supplier to identify the proposed full-wall print size and panel direction on the same drawing. Then ask the installer whether the remaining strips beside each frame are practical to handle and where the first panel should start. A narrow piece above a wide opening can be harder to align than the broad wall below it. If the supplier offers a room-specific proof, retain its version alongside the measurement sheet so the print plan and the installation plan refer to the same opening positions.
The separate question of which subjects or lines survive those openings belongs to the door-and-window crop guide. Check that before approving the artwork. For this fitting brief, keep the frame positions, intended wallpaper boundaries and any reveal treatment unambiguous; a generic catalogue room image cannot supply those facts. Daylight can also alter how colour appears beside a painted frame, so view a material sample in the room when colour matching matters.
Plan the cut without assuming every frame is square
Panels are generally positioned and aligned before they are trimmed around openings. The exact sequence depends on the material and the manufacturer’s instructions. Work carefully at frame corners: a rushed long cut can tear or remove too much of a panel. A sharp blade, suitable straightedge and small relief cuts are more controlled than trying to force a large sheet into a recess; the Wallcoverings Association’s guide to special areas describes relief cuts around openings. If the wallpaper is meant to wrap into a deep reveal, tell the supplier and installer; that surface needs additional material and planning.
Doorways are frequently touched and may have moving trim or hardware. The wallcovering should end at a sound, defined edge according to its installation instructions. Do not promise that a wallpaper type is waterproof or resistant to every abrasion simply because it is called vinyl or peel-and-stick. For a busy entrance, ask about the selected material’s care guidance and consider whether a more durable surface treatment is needed at the edge.
When a window nearly reaches the ceiling or a door sits very close to a corner, the wall sections left for mural panels may be narrow. Check whether the panel layout creates tiny strips that will be difficult to handle. A professional installer may recommend a different starting point or seam placement. Ask before production if the image has lines that need to meet precisely on both sides of the opening.
Agree on the boundary before production
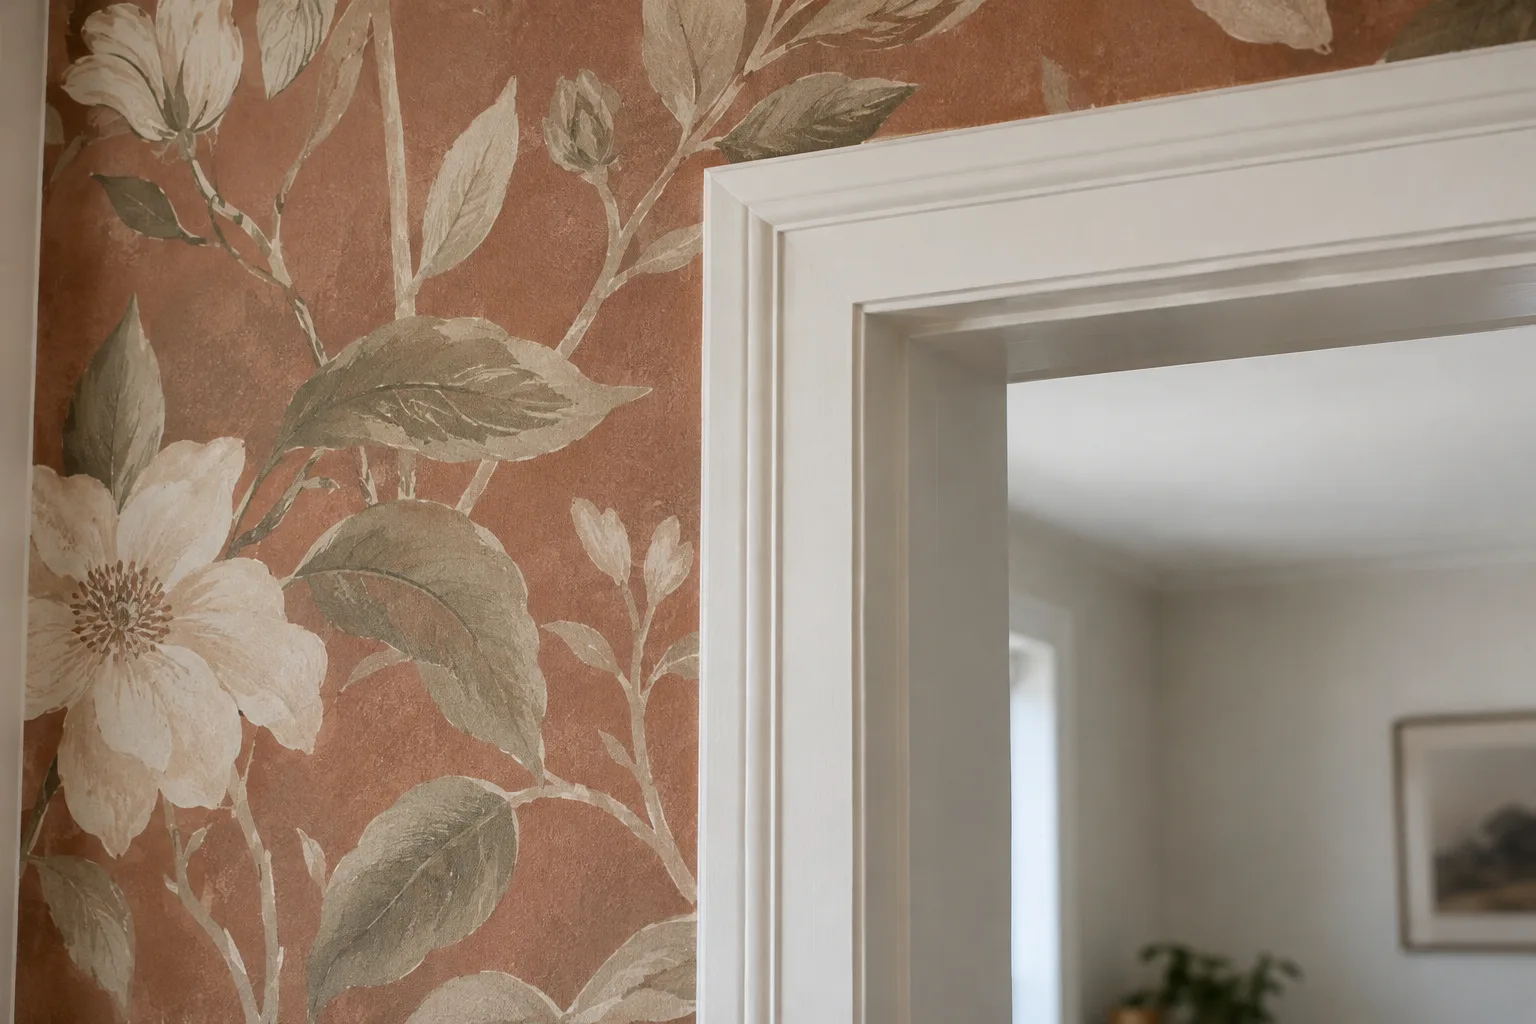
The order is ready only when the supplier and installer can point to the same outside frame edges, identify any reveal that receives print and follow the same panel sequence across the whole wall. Confirm what the supplied dimensions include and what will be trimmed on site; a deep return cannot simply be inferred from an ordinary flat-wall order. Keep the approved drawing available during fitting. Artwork continuity is planned before printing, while the exact cuts and edge treatment follow the selected material's instructions at the real opening.