Why Are There Bubbles in Mural Wallpaper?
Understand how trapped air, wall condition, smoothing, adhesive timing and material handling can affect the finished surface.
Article focus: installation and removal
Planning the work and the exit
The right installation method depends on the chosen material and wall condition, so prepare the wall before ordering and follow the material-specific instructions.
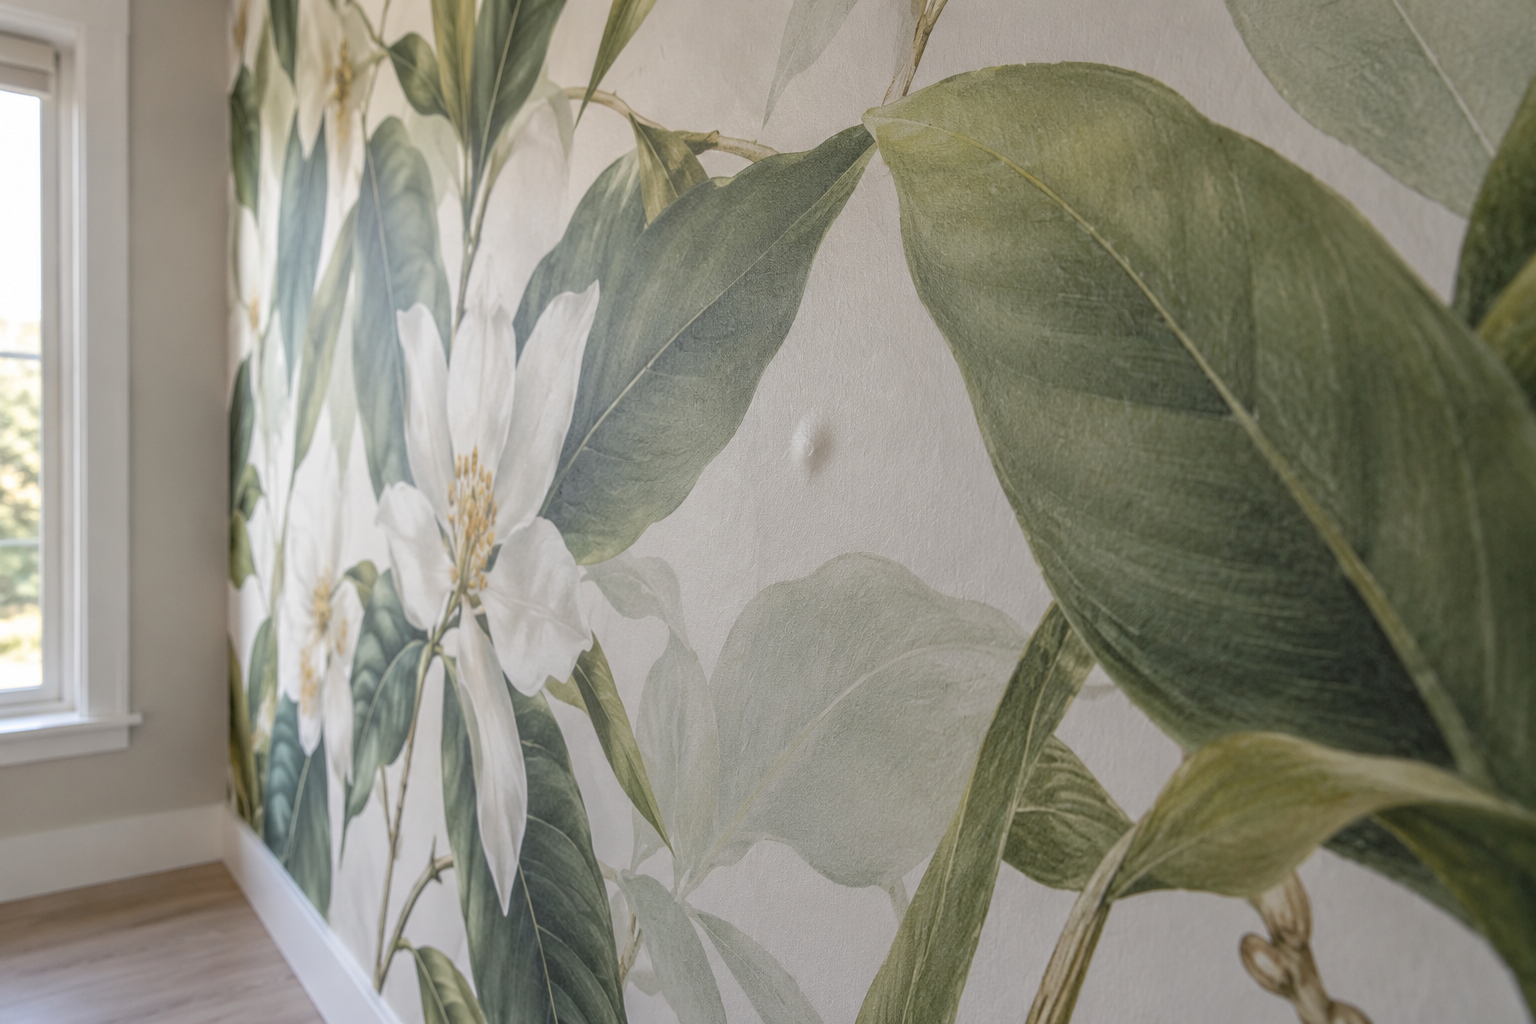
Example application: Any room with a suitable, prepared wall · installation and removal
A mural wallpaper bubble is a raised area under a panel, but its timing and feel matter more than its outline. A soft pocket moving towards a free edge during hanging may contain trapped air. A fixed hard point can conceal debris or a wall imperfection; a broad blister appearing later may involve poor contact or an unstable coating. Do not assume that every raised area can be pressed out as air. First identify when it appeared and whether it moves.
What a bubble tells you during installation
As a panel is applied, air can be caught between the wall and the covering. Work from the centre toward the nearest free edge using the smoother recommended for that material. The aim is even contact, not hard pressure. Pulling a panel sideways to chase one bubble can stretch the print and disturb the image match at the next seam.
With peel-and-stick material, the backing should be released progressively rather than removed all at once. If the product instructions allow repositioning, carefully lift the affected section while the adhesive is clean and reapply it without trapping air. A pasted material may require a different technique and a working time specified by its manufacturer. Do not assume a manoeuvre demonstrated for self-adhesive wallpaper is appropriate for non-woven or vinyl material installed with paste.
The York Wallcoverings installation guide advises smoothing gently from the centre outward while avoiding stretching or distortion. Its peel-and-stick instructions also stress firm, even contact with the prepared wall. Follow the guidance supplied with your exact mural if it differs.
Watch the raised spot as the approved smoother approaches it. A pocket that travels towards a free edge and disappears is consistent with trapped air. One that remains anchored and feels granular may sit over a speck or raised wall mark. Pause while the material is still within its allowed adjustment period rather than pressing until the print creases or abrades. The observation guides what to inspect; it does not prove what is under the panel.
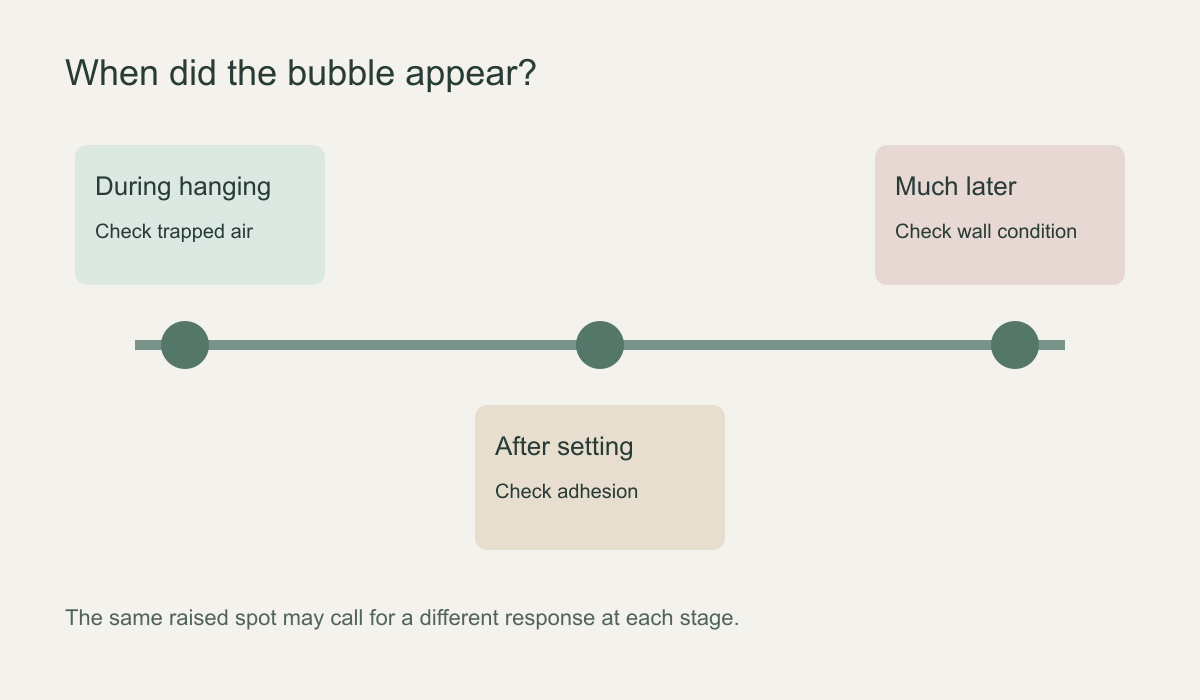 The time a bubble appears helps narrow the likely next step.
Why bubbles may remain after the wall looks finished
A raised spot that persists after the product's recommended setting or drying period deserves inspection rather than force. It may be an area that never bonded, or it may sit over a small contaminant. In a pasted mural, uneven application or an unsuitable wall surface can leave a pocket. On self-adhesive material, dust, wall texture or contact with the adhesive can interfere with the bond. A surface that was not fully prepared can create many isolated high spots.
Not every slight visual change immediately after hanging is a failure. Some products may look different while adhesive or moisture is dissipating; the expected appearance and timing depend on the material. Consult its installation instructions before declaring the mural defective or trying a repair. If the panel is pulling away across a large area or a seam is opening, document that separately rather than treating it as a small bubble.
Run your eye over the wall in both frontal and raking light. A dramatic shadow can make a tiny rise seem larger; a flat front view may hide a broad area that has lost contact. Photograph the same location from both angles, including a coin or ruler for scale, without piercing or pressing the print.
Map the pattern across panels. One fixed bump beside an otherwise flat panel suggests a local obstruction worth checking. A row of raised spots following a filled strip points towards that part of the wall or its preparation. Similar blisters on many panels call for a wider review of surface and installation method. Record the pattern before treating each mark separately; identical-looking bubbles can have different underlying causes.
Inspect the wall, not only the paper
Wallpaper bonds to the top layer of the wall, not to an idealised solid surface beneath it. Loose paint, powdery filler, old adhesive, dust, grease and a wall that is damp can all interrupt that bond. The Wallcoverings Association's surface-preparation guidance treats preparation as central to a successful installation. A smooth-looking wall can still have a weak coating.
If a bubble coincides with flaking paint or a soft, stained area, stop pressing on it. Repairing the paper alone will not fix unstable substrate or moisture. A damp area requires investigation of the moisture source before reinstallation. Do not conceal a leak or condensation issue behind a new panel. If you see several bubbles in one patch, ask whether that section of wall was painted, filled or primed differently from the rest.
The wall paint can be the weak link even when wallpaper adhesive is present. A coating separating from plaster or filler may lift with the print still attached to it. Extra adhesive at the visible blister will not make the loose layer below sound. Compare a newly filled or painted patch with neighbouring areas and have unstable coatings assessed before covering them again. The bond is only as reliable as the surface it holds to.
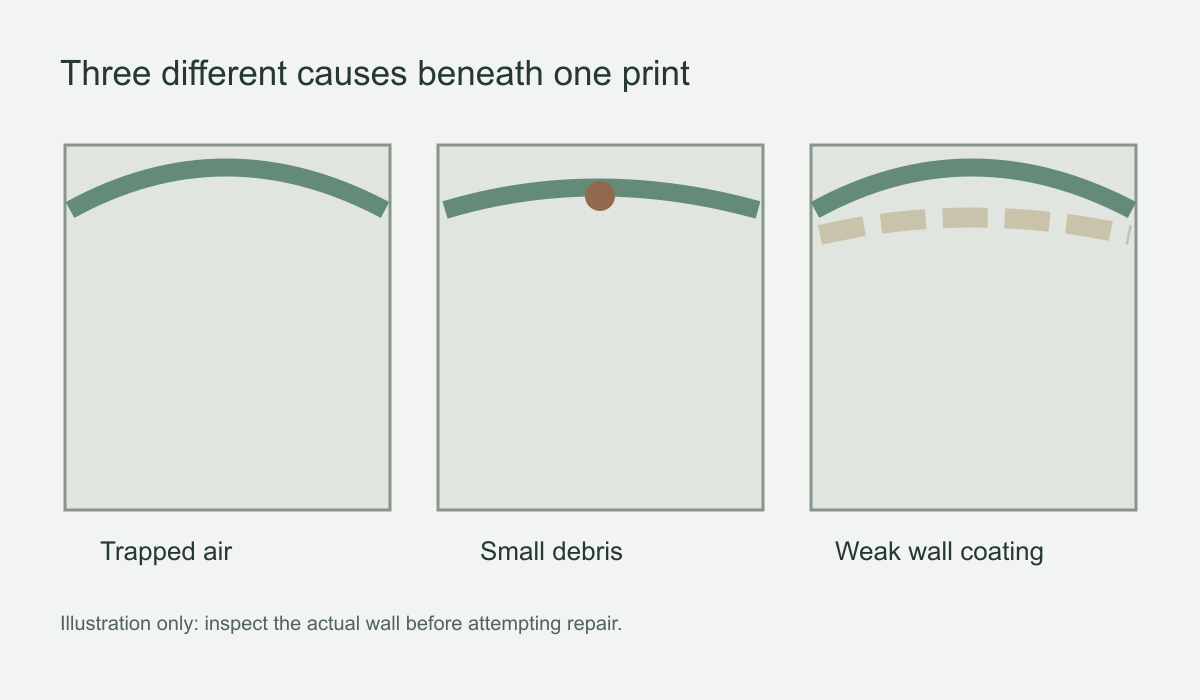 Similar-looking raised areas can have different causes beneath the print.
Can a bubble be flattened after installation?
There is no universal repair. A recently applied section may be adjustable if the specific material and its instructions permit it. A dry, bonded print may not tolerate lifting, moisture or additional pressure. Before intervening, record the material, installation date, wall finish and size of the raised area, then send close and wider photographs to the supplier or installer. Ask whether settling is expected, whether repositioning is permitted and which repair method, if any, is approved.
A large blister or repeated pockets may call for investigation of the wall and installation rather than many visible spot repairs. If a panel is also lifting at its edge, use the separate guide to peeling mural wallpaper edges to describe that loss of contact accurately. A sealed pocket in the middle and an open seam are not the same condition.
What not to do to a finished printed image
A pinhole or knife cut may be conspicuous in a pale sky, flat colour field or smooth botanical leaf even if it would be less obvious in a busy pattern. Injecting adhesive through such an opening can also introduce the wrong product beneath the print. Do not test an online fix in the focal part of a mural merely because the same method worked on an unprinted lining paper. Similarly, rubbing a raised spot with a fingernail can leave a permanent shiny or abraded patch. Preserve the artwork while you establish whether a repair is permitted.
If a bubble sits near a socket, switch or light fitting, avoid using water, steam or heated tools around the electrical fixture. Do not remove covers or expose wiring just to reach the trapped area unless the work is being handled safely by a qualified person. A small visual defect is not worth turning into an electrical risk. Photograph the location and get product-specific advice first.
Preventing bubbles before the first panel
Prepare a clean, smooth, sound and dry wall to the manufacturer's specification. Follow paint-curing and primer guidance for the chosen wallpaper; “dry to touch” paint may not be ready for covering. Unpack and inspect the panels, identify their order and allow enough working room so the backing or pasted side does not pick up dust. Mark a plumb starting line rather than using a corner that may be out of true.
During hanging, expose or paste only the area you can control. Keep the panel aligned, support its weight and smooth outward as instructed, checking both the image match and contact. Work around obstacles gradually rather than pulling the sheet taut to reach them. If a bubble appears, respond while the material is still within its approved adjustment window. If the print looks defective or the wall starts releasing paint, stop and investigate before installing the next panel.
Use side light to inspect each panel before hanging the next one. A pocket hidden within a dark shape can be difficult to see head-on, and a fixed speck is easier to address before the panel has set. Check both centre and edges, keep backing and tools free of grit, and aim for steady contact rather than maximum pressure. Prevention is most useful while the material is still within the maker's approved working window.