How to Cut Mural Wallpaper Panels Carefully
Use a sharp blade, stable straightedge and measured marks while protecting the image, wall and panel sequence.
Article focus: pricing and measurement
What to settle before pricing
Start with accurate wall measurements; the final custom mural price depends on area, material and any finishing options.
Example application: Any room with a suitable, prepared wall · pricing and measurement
A mural panel is one section of a continuous picture, not an interchangeable length of plain wallpaper. Before cutting, identify which edge is a printed join, which is a supplier-designated waste margin and which will be fitted to the actual wall. The first decision is not how much to remove, but whether that cut can be verified on the worktable or must wait until the panel is aligned on the wall.
Lay out the entire image first
Find the panel numbers and place the strips in their specified sequence on a clean, dry surface. Confirm the direction of the artwork, the top and bottom of each strip and how the image crosses the joins. Do not assume the first rolled or packed panel is the leftmost. If the design is a repeat rather than a single composition, identify the repeat match shown in the instructions.
Inspect colour, print quality and dimensions before trimming. The Wallcoverings Association's residential installation guidance says to examine goods before cutting and to stop if a discrepancy appears during installation. That is particularly important for a mural: once a printed panel is shortened, a replacement may be needed to recover the image.
Check how this order was supplied. Some panels arrive at numbered lengths with only a stated fitting allowance; others include a separate waste margin. Compare the printed dimensions with the approved plan and the measured wall. Do not apply a generic roll-cutting allowance to a made-to-measure image. If an important motif sits close to a proposed cut, ask the supplier to identify the intended boundary before removing it.
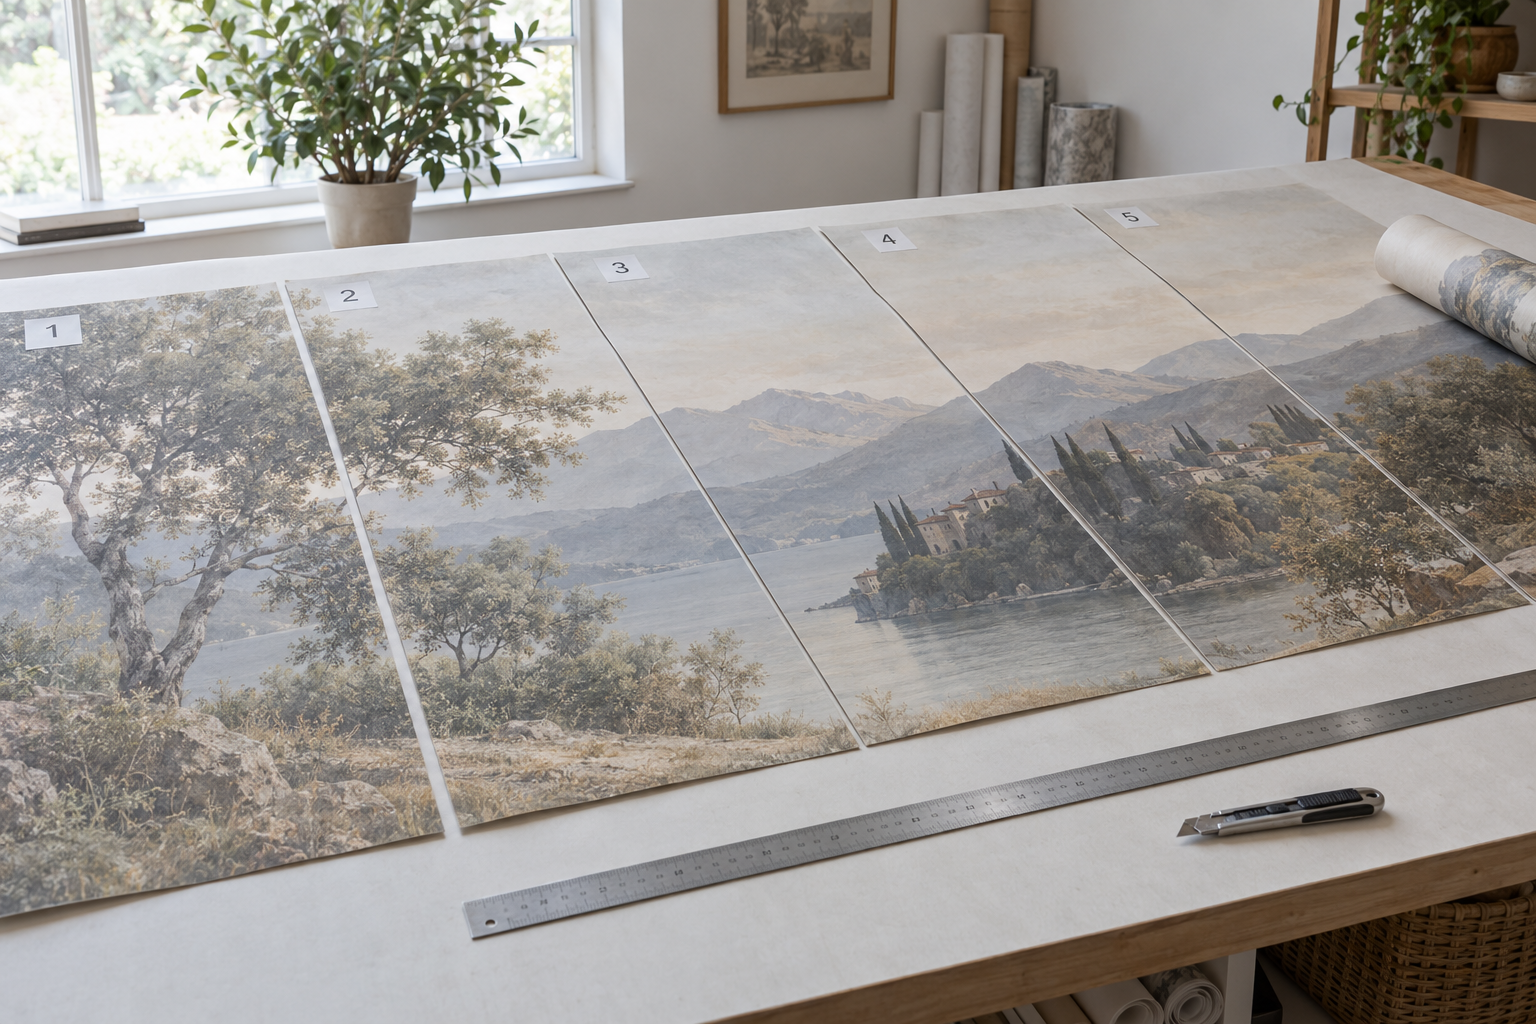
The feature photograph shows five numbered landscape panels, the last still partly rolled. A tree crosses the first join, while hills and the lakeshore continue through the middle. Lay all five pieces out with their printed faces protected and compare the joins at several heights. A strip accidentally removed from an image edge would break more than one landmark, even if the cut itself looked perfectly straight.
Separate three kinds of edges on your plan: a factory image join, a supplier-designated waste margin and a final boundary at ceiling, skirting or frame. Only the latter two may be candidates for trimming, and the supplier's instructions determine when. A white border or registration mark is not automatically waste; it may be part of a specific overlap or double-cut system. If the paperwork does not identify it, ask before cutting. Colour and scale can be checked on the uncut print without sacrificing any material.
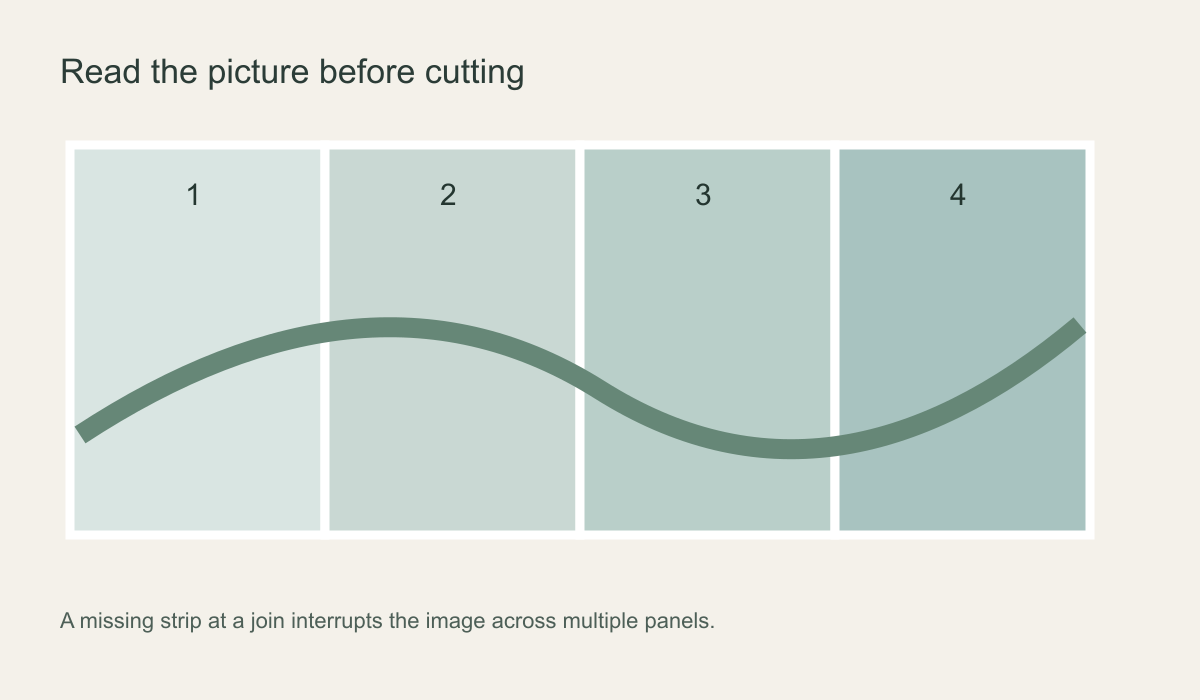 Read the picture across all numbered panels before changing any one of them.
Measure each real wall condition
Measure wall height at several positions; note sloping ceilings, windows, doors and returns on a sketch. Record an obstacle from fixed edges rather than drawing an approximate box on a thumbnail. For example, note the window's left edge, width and height above the finished floor, then identify which numbered panels it crosses. These measurements establish the intended image crop and likely waste, but they do not prove the exact final cut line on an imperfect wall.
Keep a short written cutting plan for each panel: number, wall position, top orientation, approved waste edge and cuts to defer until hanging. If marking is permitted, use removable backing or designated waste area, never the printed face. Put panels back in sequence. A full-size paper template may help with an unusual opening, but a neat window rectangle cut on the table can still be wrong if the reveal is out of square or the hung panel lands slightly differently. Likewise, a ceiling that drops across the wall is not a reason to shorten every strip to its lowest reading.
Use a controlled cutting setup
Choose a broad, clean, stable work surface with a sacrificial cutting mat beneath the material. Good light makes fine print edges, registration marks and the blade path easier to see. Use a sharp blade or appropriate scissors, a straightedge that will not slip and the protective equipment required by the tool. Keep hands out of the cutting line. Never cut directly on a finished floor or table you want to preserve.
Support the entire panel so its weight cannot drag a verified cutting mark away from the guide. Check a tool on a supplied offcut or designated waste area, not on visible artwork. A fresh blade and stable straightedge are more useful than repeated passes through a line that is starting to fray; the Wallcoverings Association identifies dull blades as a common cause of ragged trimmed edges. Change or adjust the tool safely if it catches.
A pasted non-woven, vinyl-faced product and peel-and-stick sheet with release liner may handle differently. Follow the supplier's system for cutting and joins, and keep the release liner in place unless its instructions say otherwise. Keep grit, paste and loose backing off the work surface. If a long panel cannot lie flat without folding against the blade, arrange more support rather than making a hurried cut on an unstable stack.
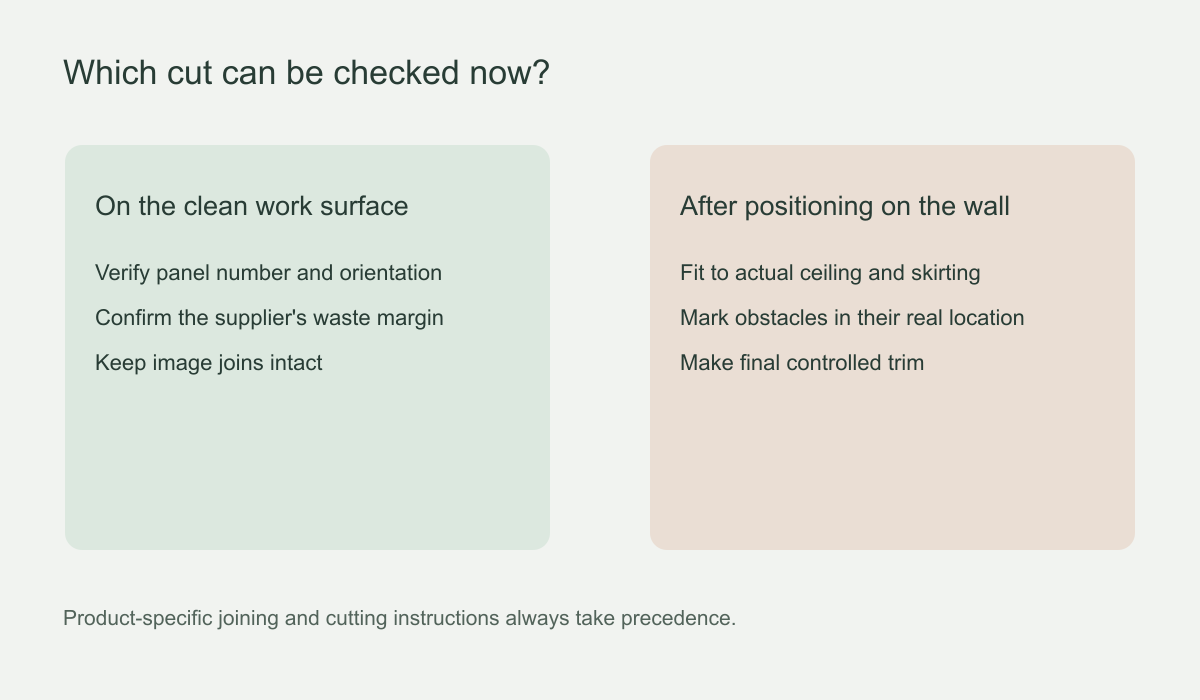 Separate cuts you can verify on the bench from cuts that depend on the installed position.
Preserve the panel joins
Image joins are usually the least forgiving edges. Do not shave one to make the total wall width fit unless the mural's joining system explicitly requires it. Some products butt at factory-finished edges; others use an overlap and specified double-cut method. A general wallpaper video cannot tell you which system was printed for this order. If two panels overlap unexpectedly or leave a gap, check their numbers, orientation and instructions before removing anything.
Follow a continuous feature across every laid-out join with your finger. The four-panel diagram illustrates how one line should travel through the sequence. If a branch or horizon jumps before any cut, investigate panel order or a print discrepancy. If it only jumps when the straightedge is placed over a proposed trim, the planned cut is likely crossing retained artwork. Document the mismatch and ask the supplier rather than trying to make the next panel compensate.
What if a panel has already been cut wrongly?
Stop before cutting its neighbours to match. Keep the offcut, panel number, packaging and photographs of the full layout. Measure how much material was removed and whether the loss is at a waste edge or through printed image. A supplier may be able to advise on a replacement panel or a revised crop, but a missing piece of landscape cannot be restored by pulling the adjacent panels tighter. Do not stretch them or conceal a gap with unmatched scraps; that usually moves the problem to the next seam.
Trim around obstacles after alignment
At a ceiling, skirting board or door frame, position and align the panel first, then trim the verified surplus to the real boundary with the method specified for that material. This is the sequence described for conventional wallpaper by the Wallcoverings Association, but the mural's own allowance governs the cut. A sloping ceiling or alcove may need controlled relief cuts if permitted by the product guide; the retained image must stay beyond that waste area.
For an electrical fitting, the circuit must be identified, isolated and verified de-energised before anyone works near the plate; if that is unfamiliar, use a qualified electrician. Do not cut towards unseen wiring. A corner that carries the picture onto the next wall also needs its transition planned before either adjacent panel is shortened. These obstacles explain why precise fitting cuts generally belong to the installed position rather than a table measurement.
When the blade starts tearing instead of cutting
Stop as soon as a blade drags, bunches the sheet or leaves fibres. Check panel support, guide stability and blade condition before continuing; repeatedly tracing the same ragged line can enlarge the damage. On a wall, do not pull a wet edge into the air just to finish the cut. If a tear reaches visible artwork, photograph it and ask about a repair or replacement rather than removing more image in an attempt to straighten it.
With two people, make the last check explicit: one confirms the panel number and the image join, while the other points to the boundary and states which side of the line remains. At a window crossing two panels, that short exchange can prevent an apparently tidy cut from deleting a connecting motif. If the approved waste area cannot be identified from the panel map and product instructions, set the blade down and ask the supplier to clarify it.