How to Crop Mural Wallpaper Around Doors and Windows
Learn how to plan the crop around openings so important subjects and visual lines are not cut awkwardly.
Article focus: pricing and measurement
The cost and measurement decision
Start with accurate wall measurements; the final custom mural price depends on area, material and any finishing options.
Example application: Bedroom · pricing and measurement
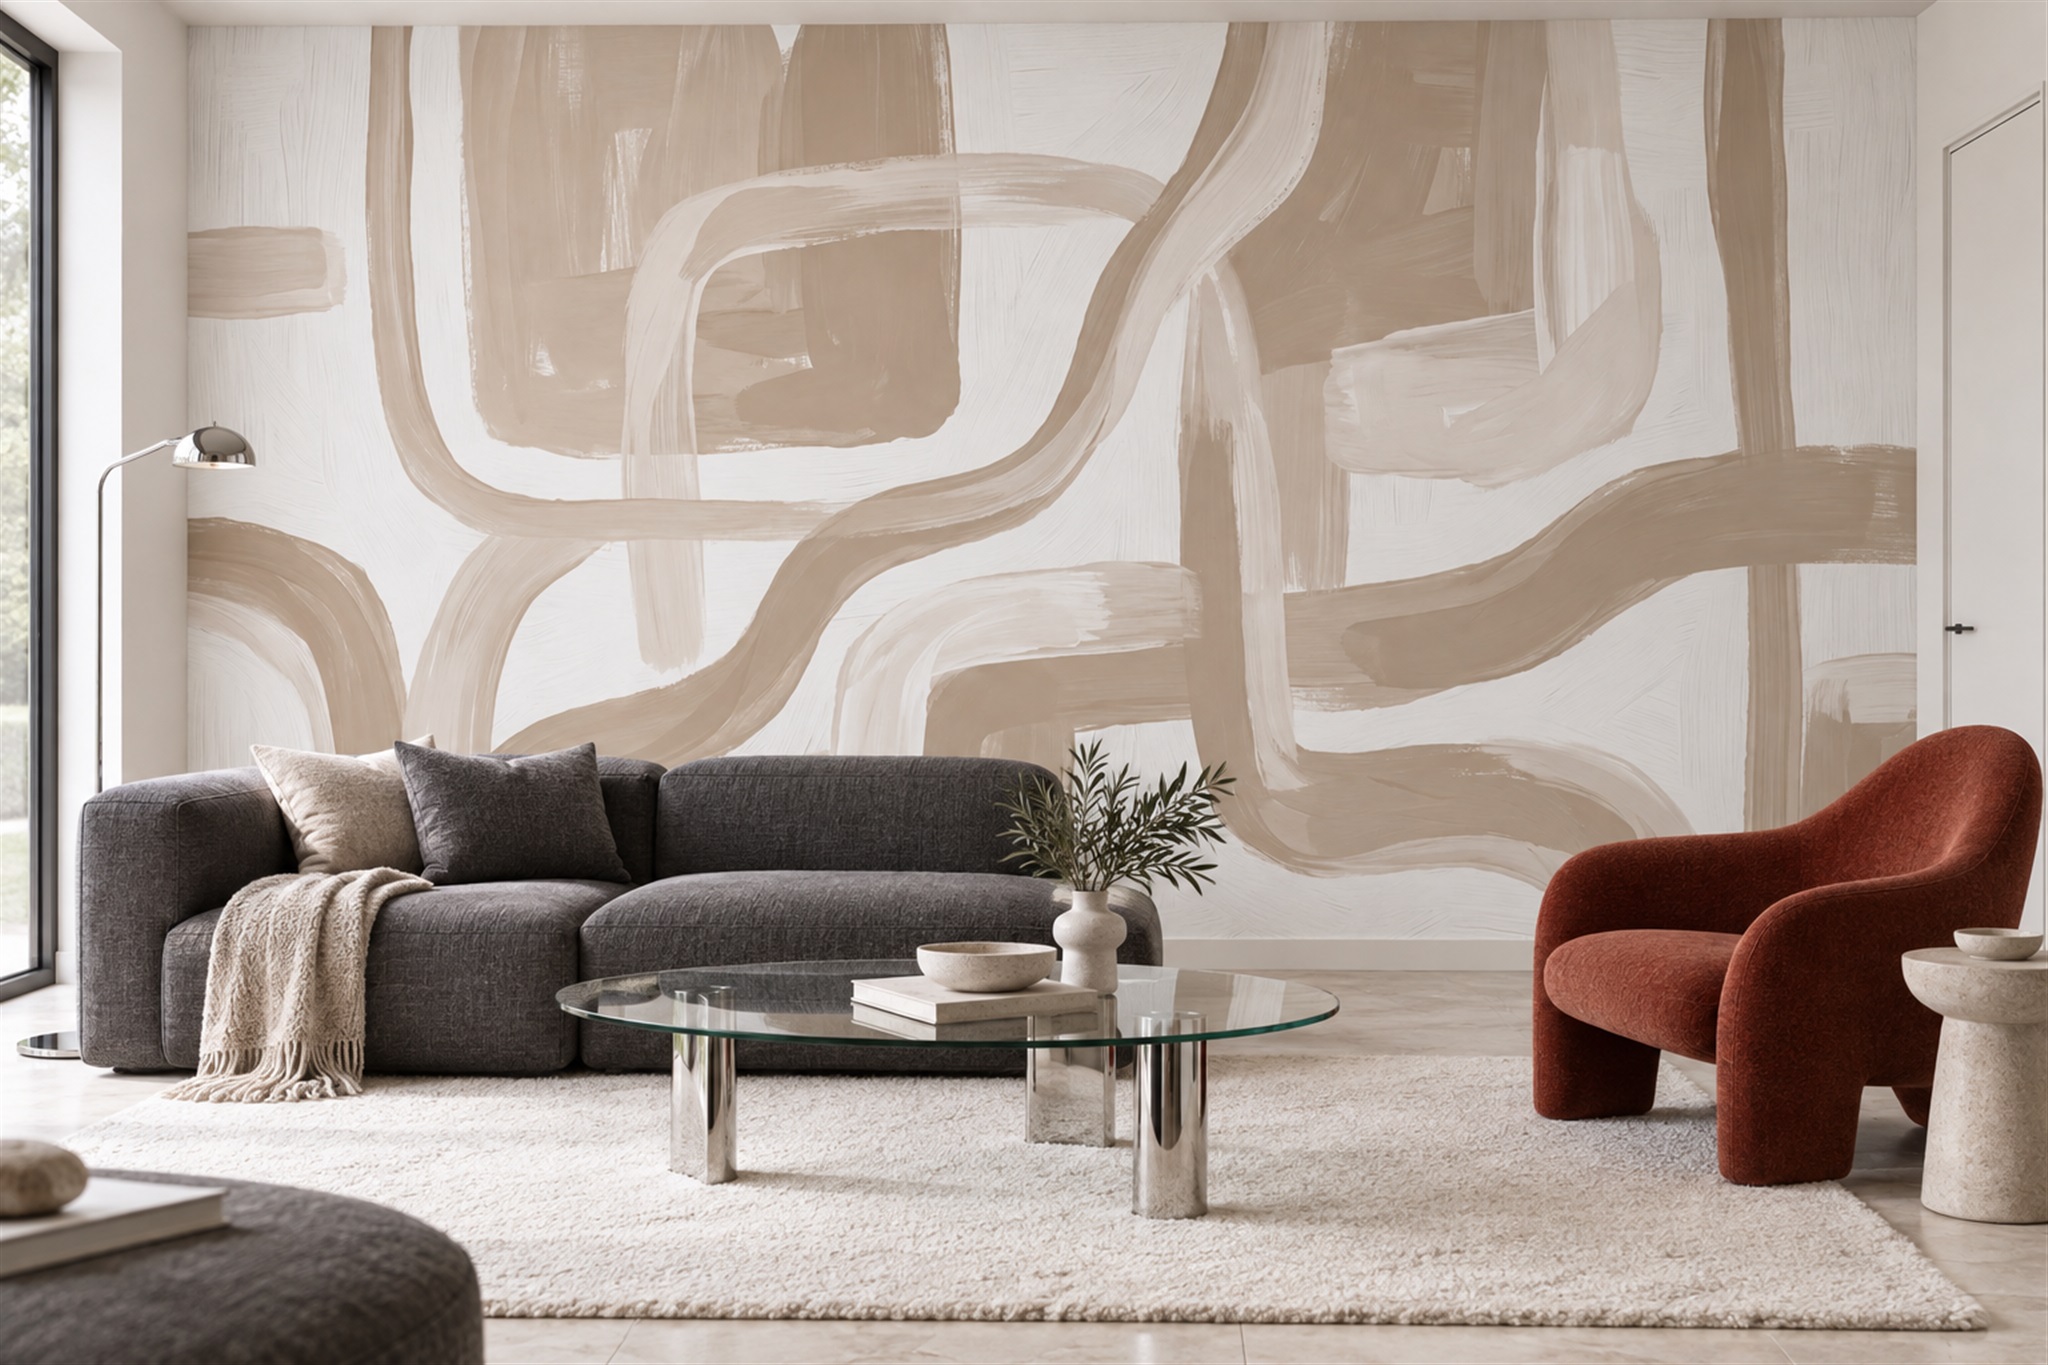
A window or door does not merely subtract square metres from a mural. It changes which part of the picture survives and where printed panels will be trimmed. The beige brushwork in the opening room image remains legible beside both a window and a door because no single object carries the design. A landscape with one focal tree could fail on the same wall. Plan the visible crop on a measured elevation first; plan the physical cuts around the real openings second.
Classify what each opening removes from the picture
Use a measured wall elevation from the window-and-door planning guide, then place it over the size-specific crop. Shade each frame and reveal separately. The important question here is not how to take the frame measurements again; it is what disappears behind them. A window that removes open sky leaves a landscape recognisable, while a window that removes its only tree can leave two disconnected fragments. The same opening has a very different visual cost in those two designs.
Look for three kinds of loss. A single subject, such as a face or bird, may disappear entirely. A continuous line, such as a horizon or broad arc, may survive on both sides but need to appear at a coherent height. A distributed field of leaves or painterly marks may tolerate a missing rectangle more easily, although a narrow remnant beside the frame can still look accidental. Mark these outcomes on the crop before deciding whether to shift the design, choose another motif or ask for an alternative layout.
Protect the subject before protecting the offcut
The first crop decision is visual. Circle the important parts of the artwork: a face, a building, the strongest flower, a mountain peak or a distinctive curve. Compare the wall-specific crop with your separate drawing of the openings. If a window removes the only focal point, shift the artwork horizontally, change its scale if the source allows, or choose a different design. Trying to minimise offcuts can make the visible mural worse.
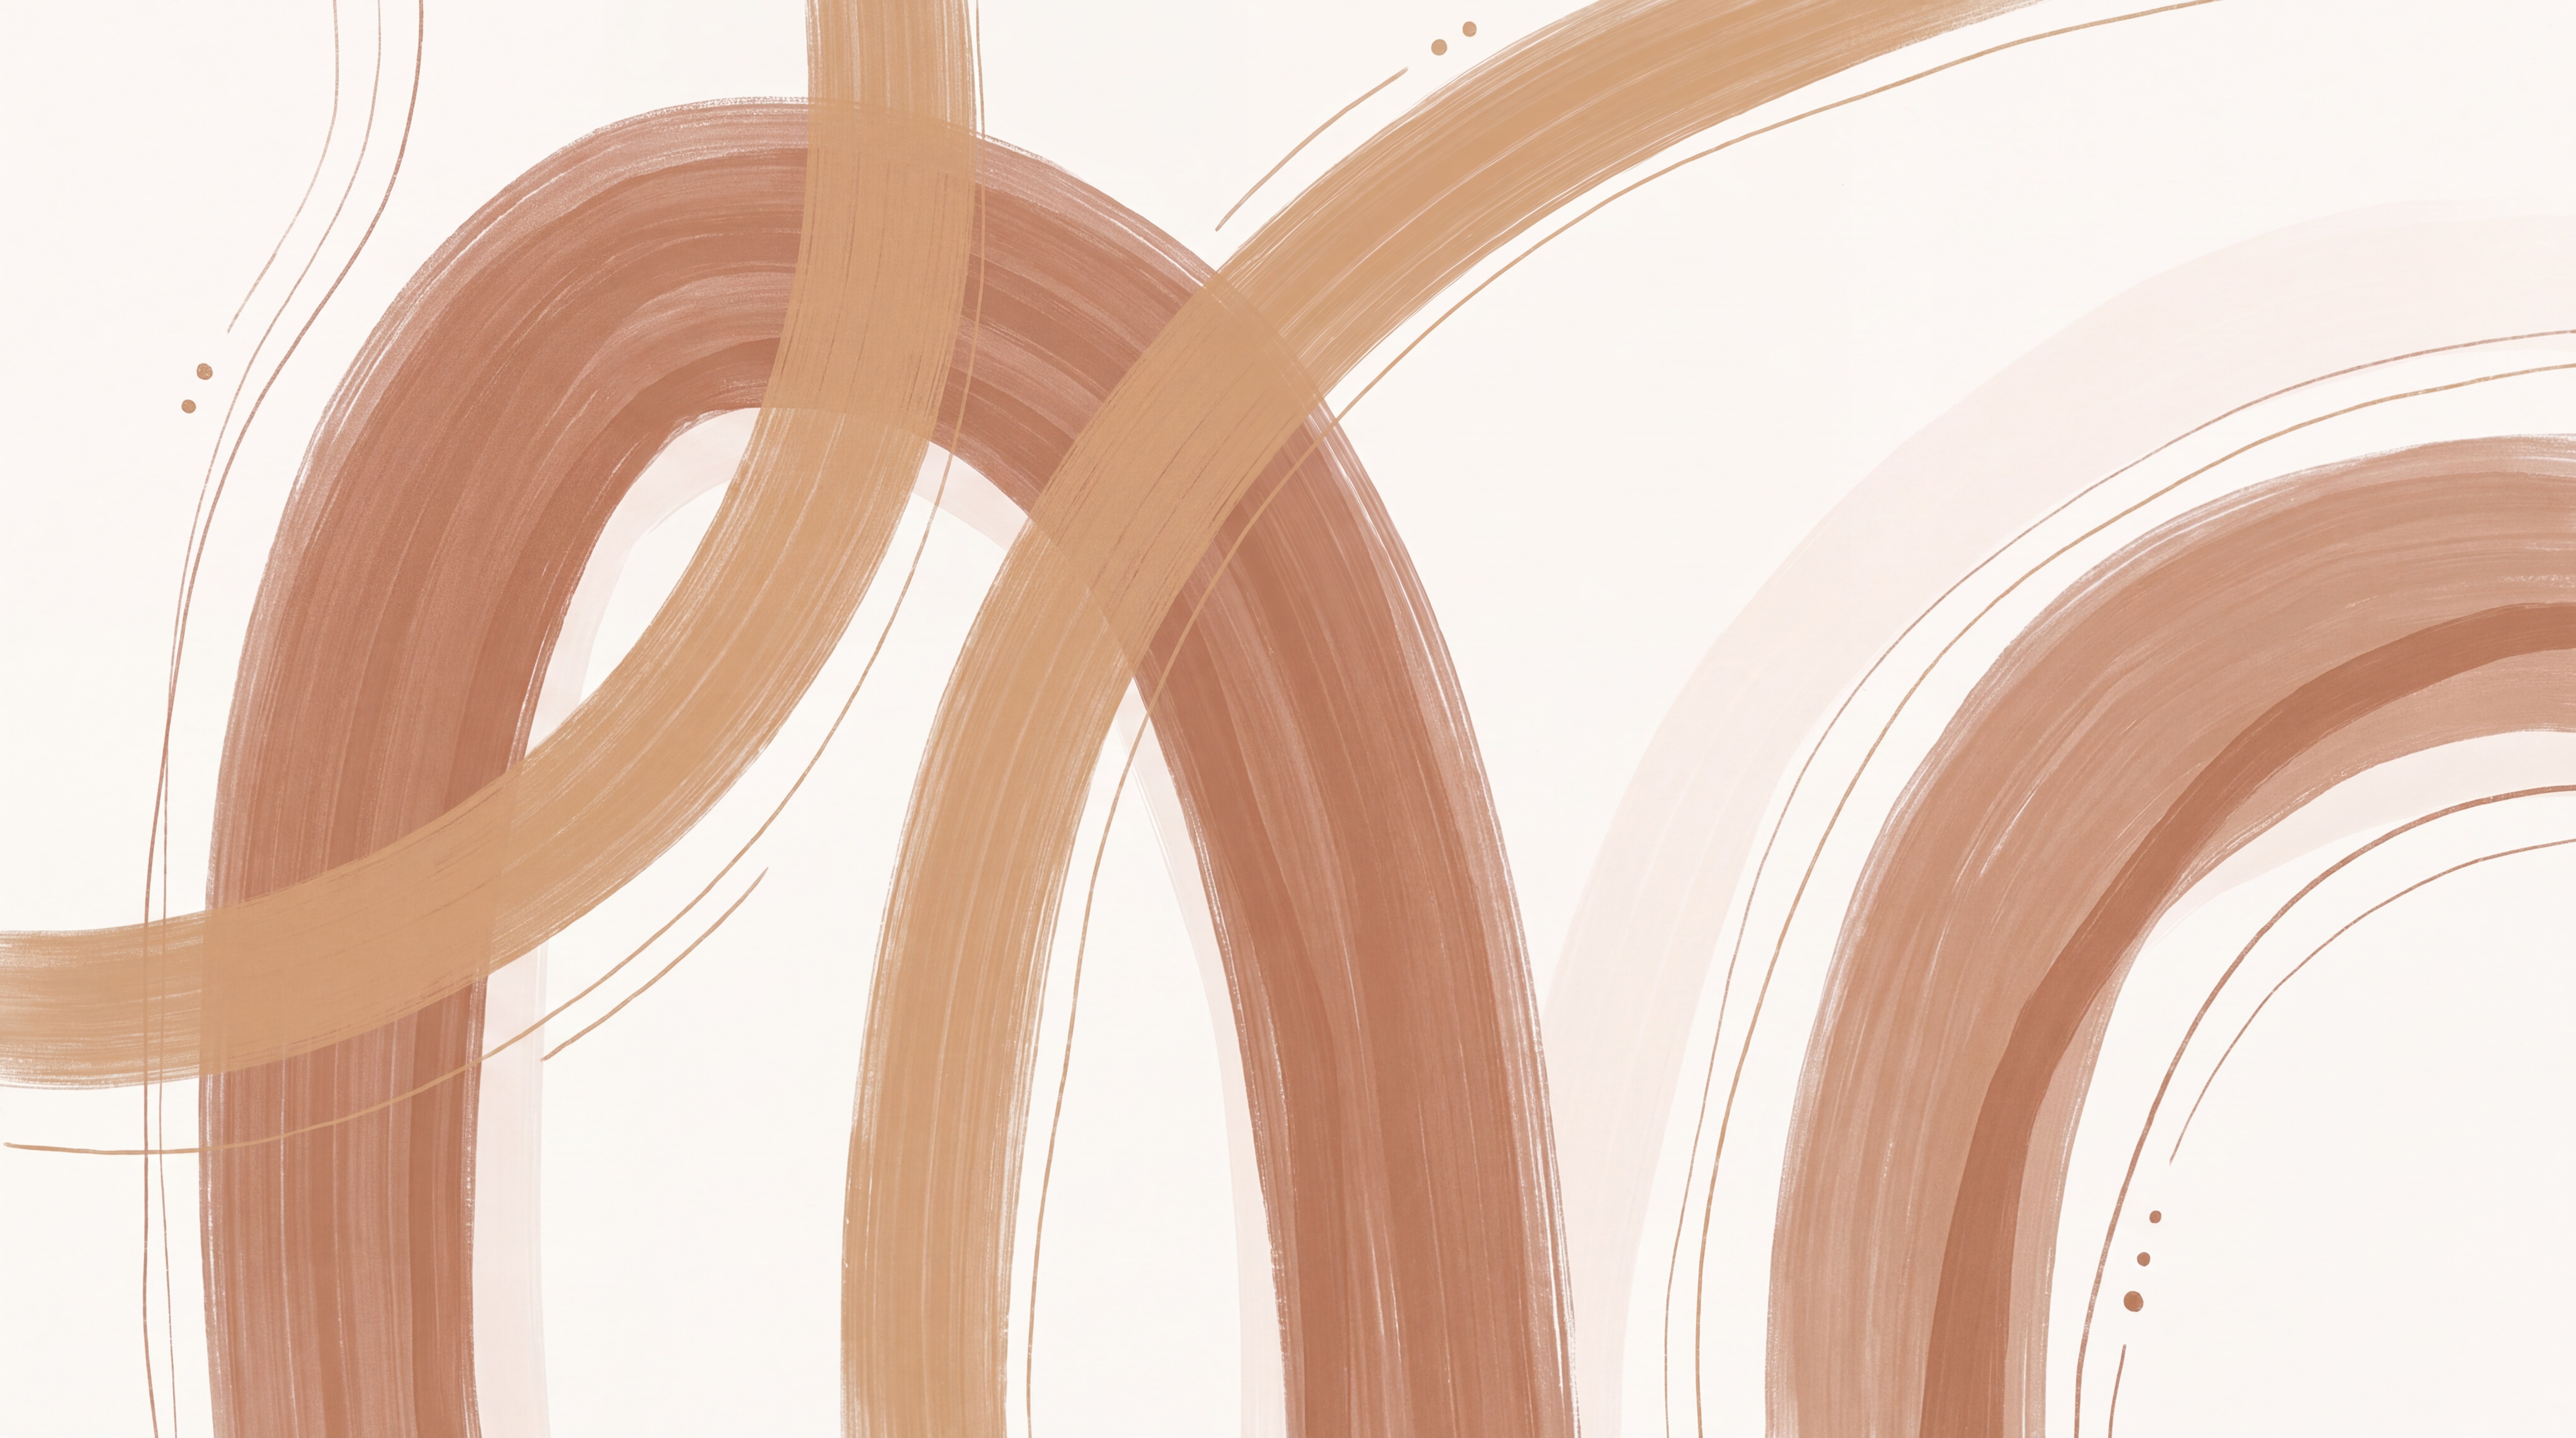
The broad clay and beige arches in the artwork below cross the image in different directions. Their subject is distributed, so a window at one side would not necessarily destroy a single focal point. Yet a major curved stroke could still look abruptly cut if its visible remnant were very narrow. Mark the actual window and door positions on the wall elevation, then compare the rhythm of shapes left on both sides.
Decide whether the design should continue around the reveal
A deep window reveal or doorway return may be painted to match the surrounding wall, left in a contrasting finish, or covered with additional printed material if the supplier and installer support that detail. There is no automatic continuation. Printed imagery wrapped into a reveal changes direction, and strong lines may look distorted around the corner. A plain complementary colour can sometimes make the main wall composition read more clearly.
If the mural must continue into a reveal, measure every return and agree on where the image should change direction. Ask for a panel plan that shows the extra printed area. Do not take a spare offcut and assume it will match the adjacent image: its position in the print may be unrelated. For a patterned repeat, a matched strip may be possible; for a one-off scene, exact continuation needs to be planned before production.
Keep panel logic intact
Most murals arrive as ordered panels. A door opening can remove a large central section of one panel while leaving narrow strips above or beside it. Those strips still need to align with their neighbouring panels. Mark panel sequence and orientation before cutting anything. Dry positioning can reveal whether a critical seam falls at an inconvenient narrow section near a frame. If you have a choice of panel width or start position, discuss it with the printer or installer before approving the order.
Installers commonly work with excess material at edges and openings, then trim it to the actual architecture. The exact method depends on the selected wallcovering and its installation instructions. Cutting a rectangular hole in a loose panel before positioning it can leave too little material when a wall or frame is slightly out of square. Do not improvise around switches or fixed hardware; isolate electrical work appropriately and use a qualified person when required.
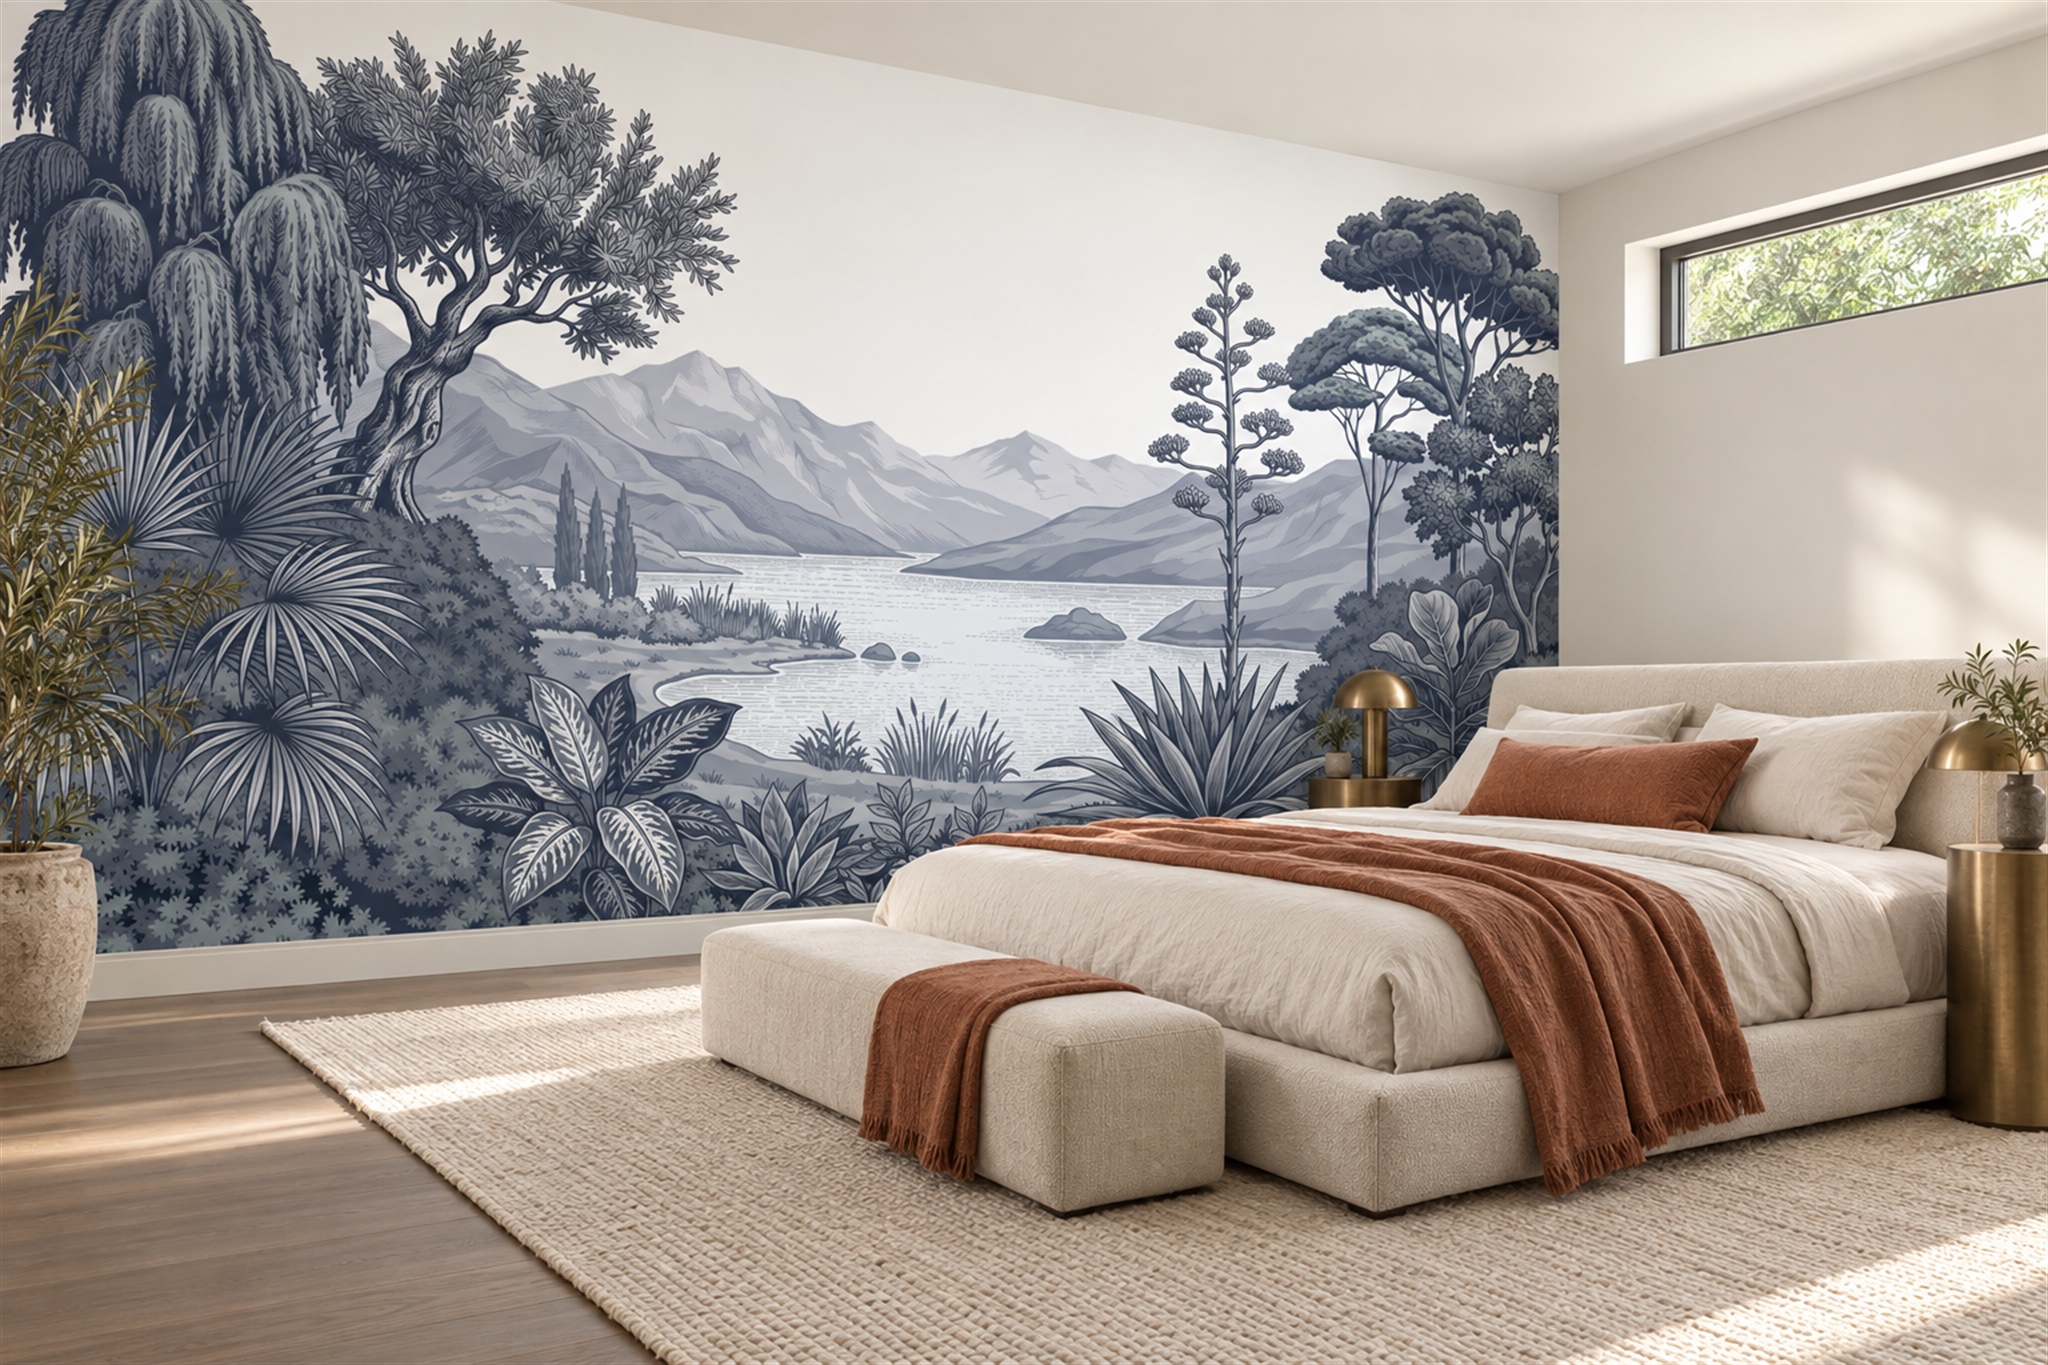
The bedroom below offers a different test. A high window is on the adjoining wall, not cut through the mural itself. The blue-grey lake scene ends at the corner, while the bed hides part of its lower-right edge. Mountain peaks and open water remain visible to the left. This image illustrates how the corner and furniture change the visible composition; it does not show how to cut around a window in the printed wall. For that situation, shade the measured opening over the actual crop before approving it.
Distinguish visible crop from installation bleed
For a placement-sensitive order, ask the supplier to distinguish the intended visible area from the extra print allowed for trimming. If additional width and height are requested, confirm whether they enlarge the overall image or provide a separate fitting margin around the chosen composition. Move important details away from trim zones and frame edges. A leaf tip that appears just within a screen preview may be lost when a panel is trimmed to a real reveal.
For a door that opens into the mural wall, check what is visible when the door is both open and closed. A cupboard door may conceal a central portion most of the day, while an open room door may reveal the mural behind it only briefly. Make the composition work in the state that matters most to daily use. There is rarely a perfect crop for every position, so choose the primary view intentionally.
Hand the installer an opening-specific plan
After the visible composition is approved, label each opening on the final elevation: the trim boundary, any reveal to be covered, and the panel numbers that run across its top or along its sides. Note which door position is normal in daily use. The artwork preparer can then confirm that a continuous line lands at the same height on both sides of a frame, while the installer can assess whether a very narrow strip beside it is practical for the chosen material. These are separate checks: a sound visual crop does not automatically provide a workable cutting plan.
Keep the approved masked view with the panel map at the wall during installation. Before trimming a panel around a frame, confirm its number, orientation and relationship to the next visible section. In the beige brushwork, a missing mark may leave the overall rhythm intact, but a broad arch that reappears beyond a door still needs to align. In a landscape, a broken shoreline is more conspicuous. If the delivered panel layout no longer matches the approved view, pause and resolve that difference before cutting; an installer cannot recover artwork that was assigned to the wrong side of an opening.