What Mural Wallpaper Suits a Busy Hallway?
Balance traffic, visual scale, lighting, furniture clearance and practical care in a frequently used passage.
Article focus: installation and removal
The installation choice in practice
The right installation method depends on the chosen material and wall condition, so prepare the wall before ordering and follow the material-specific instructions.
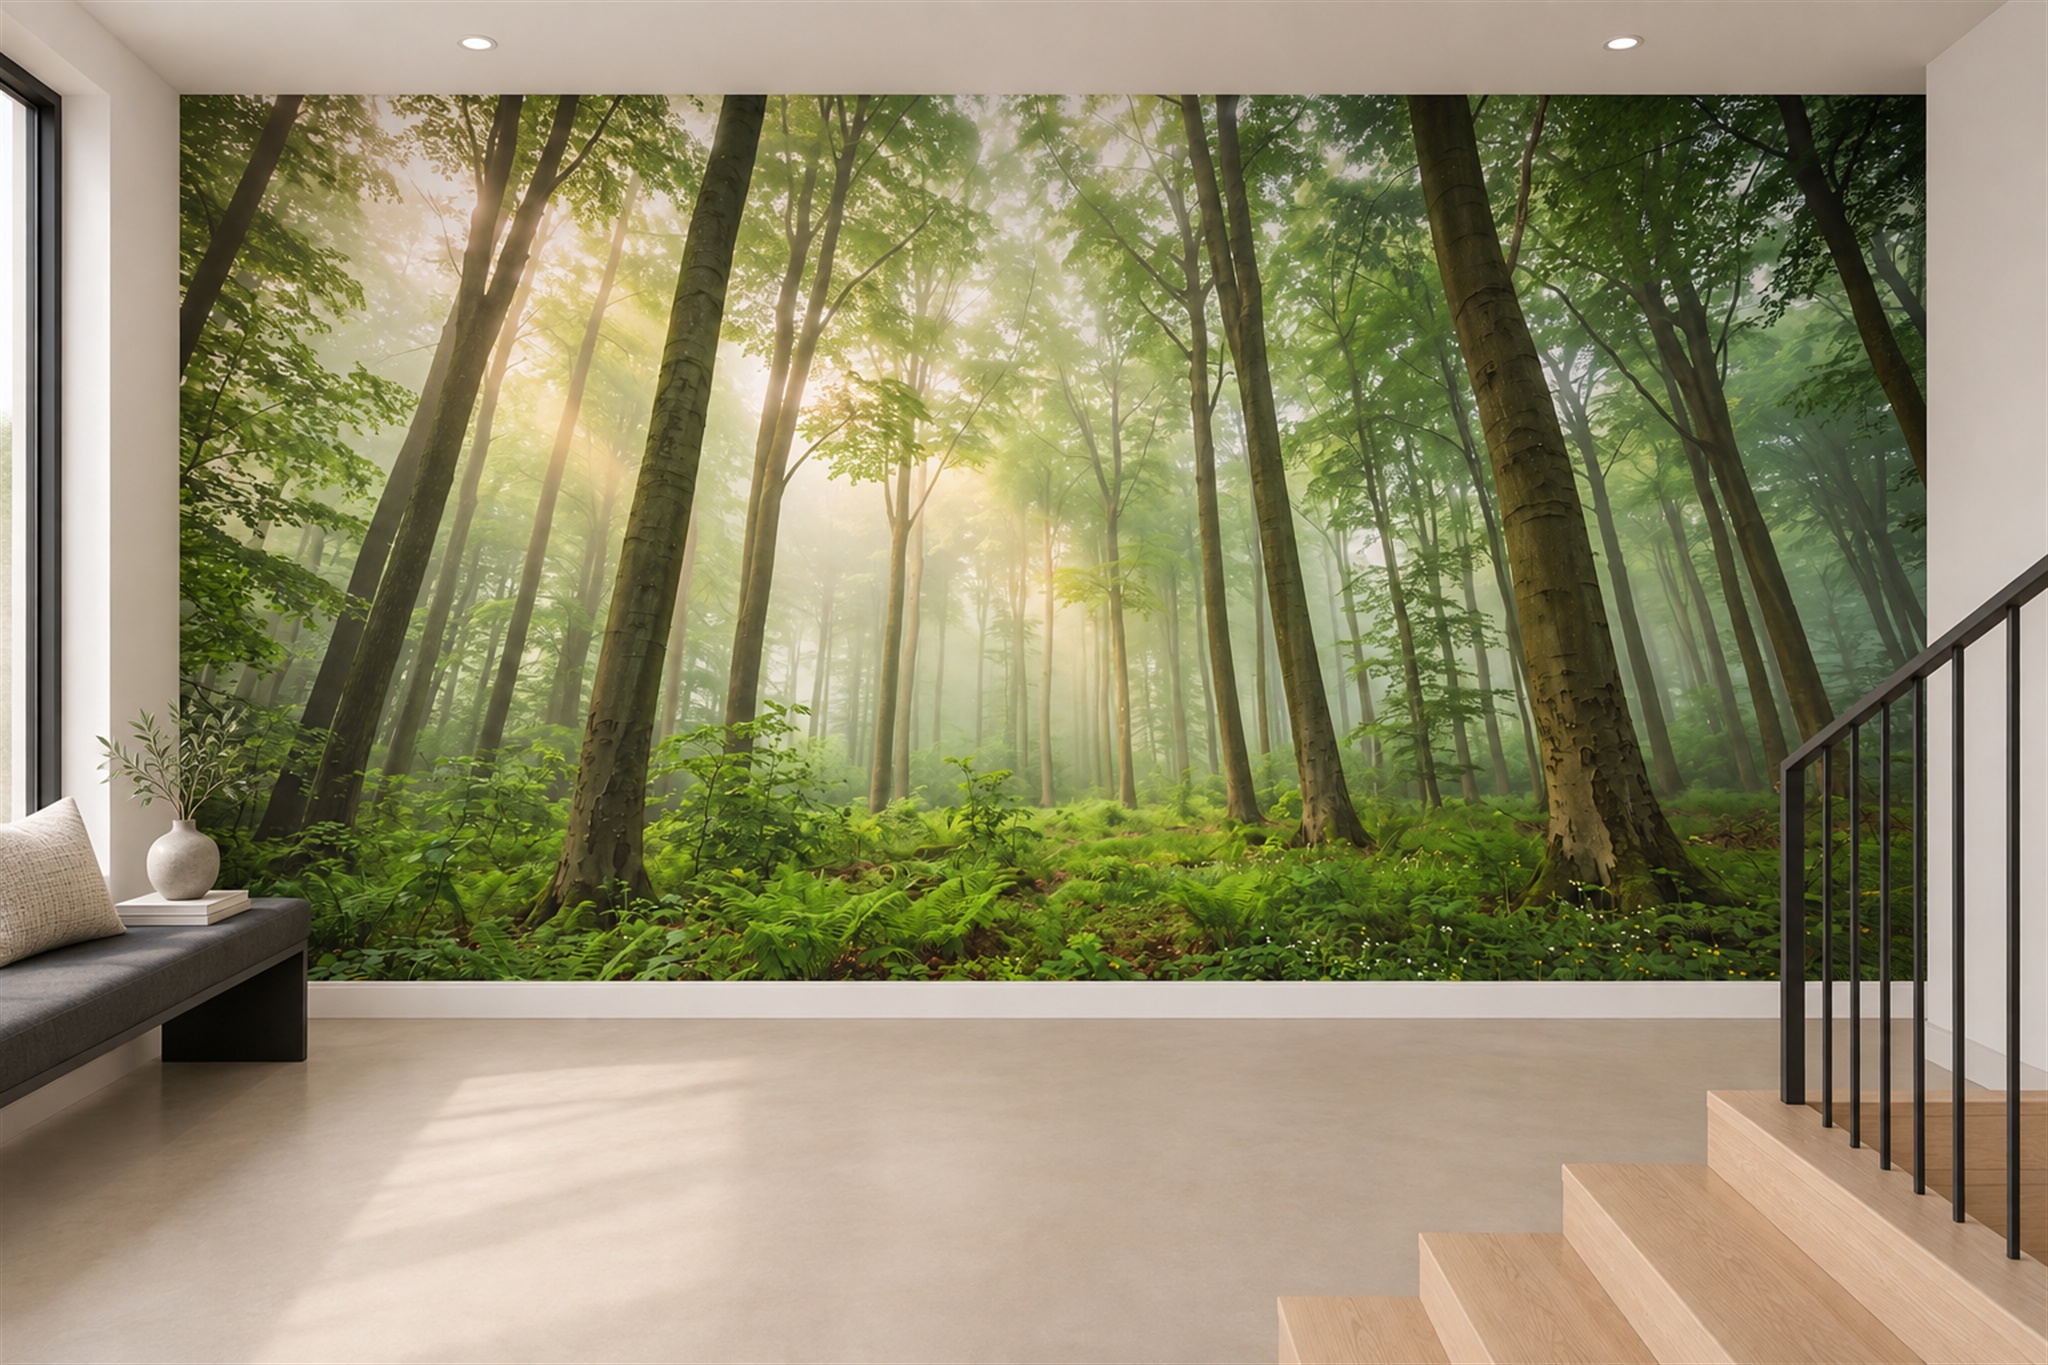
Example application: Bedroom · installation and removal
In a busy hallway, people see a mural while moving, often from less than a metre away and through uneven light. Coats, bags, shoes and door handles also come closer to the wall than they would in a quiet bedroom. The best choice is therefore not simply a “durable-looking” dark pattern: it is artwork whose scale and crop work along the route, placed on a wall that can avoid repeated contact. The print's actual cleanability or abrasion performance must be checked separately for the material ordered.
Mark the wall's contact zones before choosing coverage
Observe a normal arrival, not an empty corridor. A swinging door can strike one spot, a backpack may brush a wider band, and a bench back may rub a narrow line every time someone sits. Mark those zones on a wall photograph with the doors in their usual positions. The first choice is whether the mural should cover those places at all; a different wall, a deliberate lower boundary or moving storage may be more sensible than relying on a patterned print to conceal repeated contact.
Distinguish occasional contact from predictable daily impact. A bag carried past a wall is not the same as a handle hitting the same corner. The latter needs a door stop or a changed layout before any wallcovering is fitted. A shoe basket, coat rail or umbrella stand can be repositioned if it makes the artwork vulnerable. Mark the locations that cannot move—switches, frames and fixed cabinetry—on the intended mural elevation.
Plan the printed rectangle from finished boundary to finished boundary, then overlay the marked contact zones. Furniture may be moved later, so a mural ending exactly at today's bench can look accidental after a rearrangement. If only a protected upper section is appropriate, give it a clear architectural edge rather than an arbitrary cut through a tree or figure. The general hallway guide deals with how an image reads along a route; this one first asks where the installed surface is likely to be touched.
Keep the design's important parts outside vulnerable zones
If the lower metre is likely to be obscured by shoes and storage, choose artwork whose main subject remains above that area. A mural can be printed across the full wall while its composition puts less essential detail behind a bench. This does not make the printed lower section tougher; it simply prevents the room's normal contents from hiding the only meaningful part of the image.
The green forest mural in the feature image uses tall trunks that remain visible above the floor-level route. Its broad stair-side wall also gives people more distance from the print than a tight coat-storage passage would. In your own hall, draw the bench, coats and bags at realistic height over the crop. If a single animal or building vanishes behind them, reposition the artwork or choose a more distributed image.
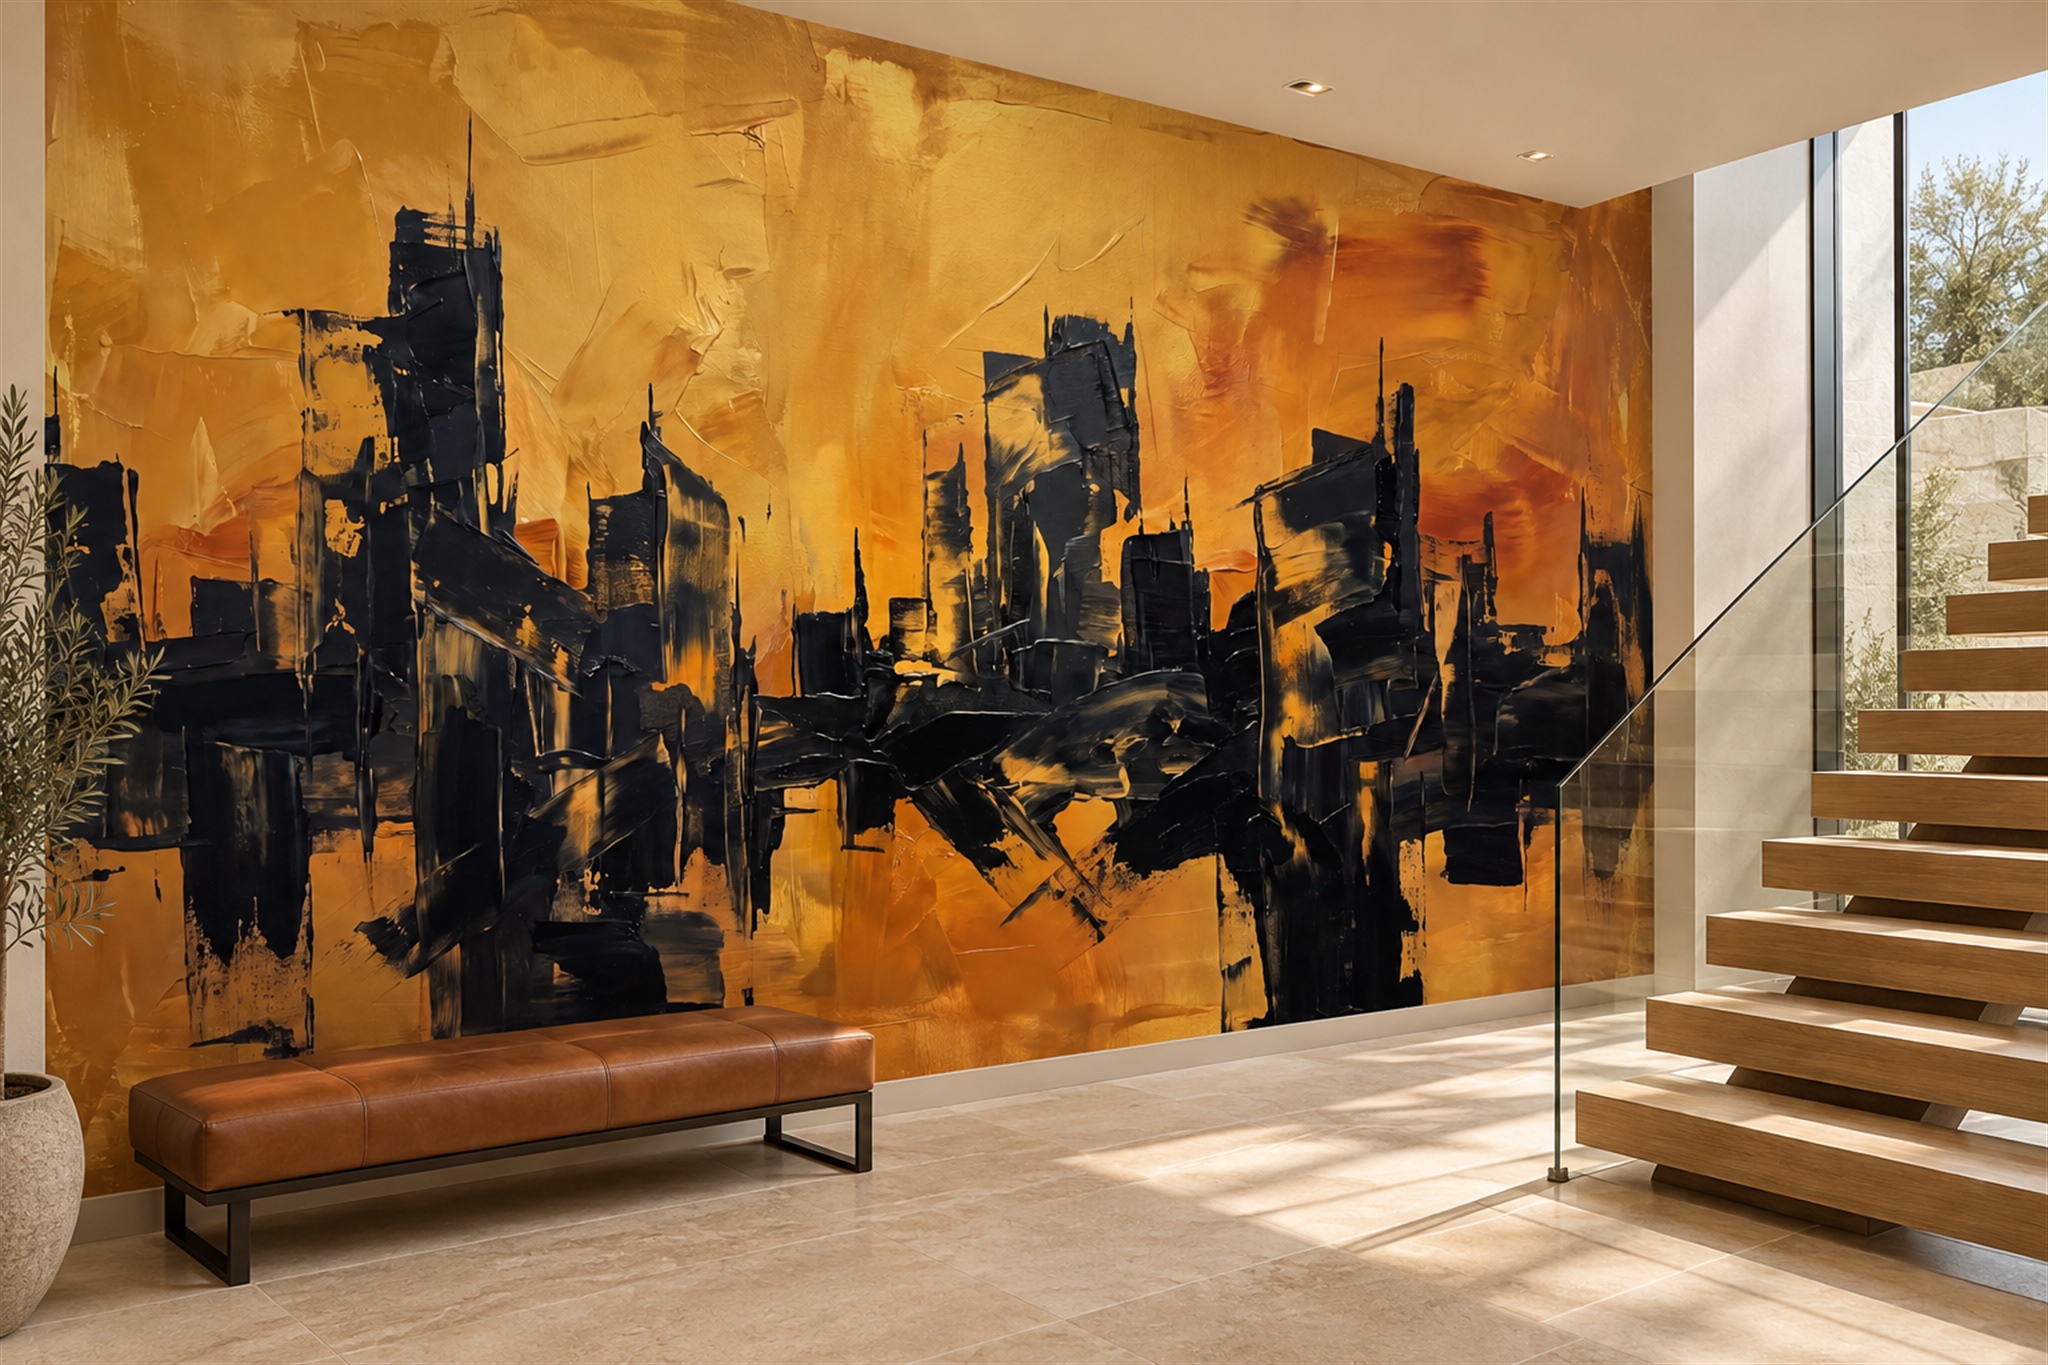
The amber-and-black abstraction below provides a different case: its dark vertical marks suggest a skyline without depicting a literal street scene. They remain readable above the bench, but the edge nearest the stairs may be within reach of hands or carried objects. The apparent brushwork is part of the printed image, not evidence of raised paint or an abrasion rating. Keep the artwork's focal detail clear of the likely contact path and check the exact finish separately before ordering.
Use colour and pattern honestly
A lively print may make a small mark less conspicuous from the far end of a hall, but it cannot prevent abrasion where a bag brushes the same corner each day. Pale backgrounds reveal dark scuffs quickly; deep colours can show pale dust or a rubbed edge. Compare the sample from the entrance and then from arm’s length beside the coat storage. Repeat the view with the hall’s evening lights on: a windowless passage may make a dark mural feel heavier than a bright product photograph suggests, while side lighting can reveal seams or wall bumps. The two viewing positions answer different questions about the same design.
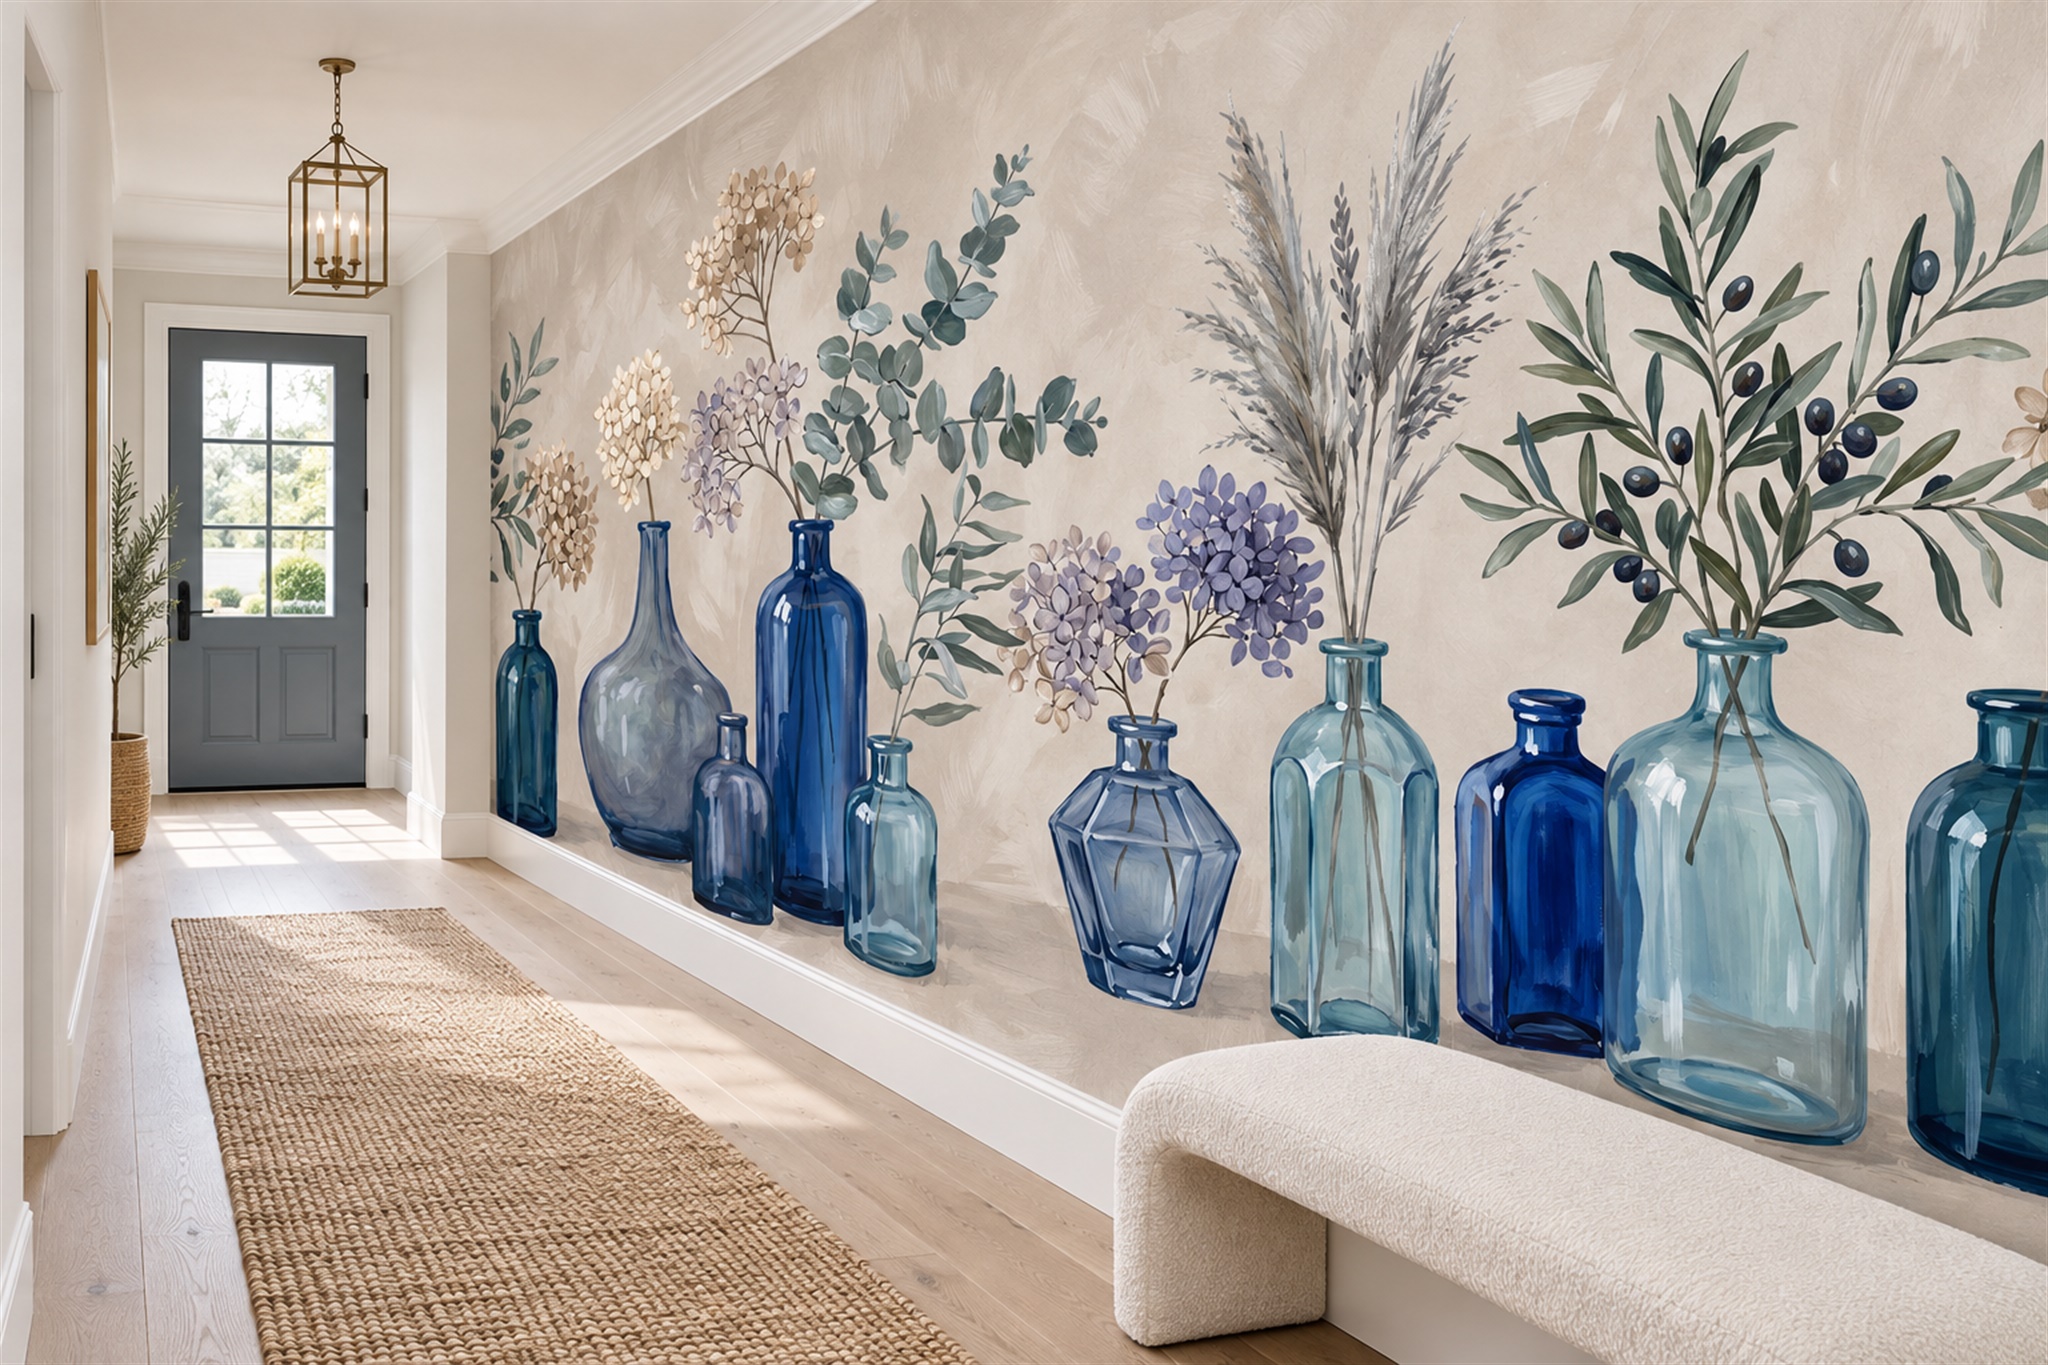
The second hallway example uses large blue glass vases and foliage on a light wall. Its repeated objects keep the eye moving down the passage, but a crop that removes half a vase at a doorway would be conspicuous. It demonstrates why composition matters in a corridor with a long sightline; it is not a claim that the depicted finish can be wiped with any household product.
Notice the difference between this vase design and the stair-side abstraction. The vases form a readable sequence as someone walks towards the front door; the black marks in the abstraction are experienced more as one large field from the landing. Neither visual strategy is intrinsically better for a busy hall. The question is how much of the wall you see at once, where a doorway interrupts it and whether the design still makes sense from both directions of travel.
Ask material questions before deciding
Solowalls offers Non-Woven, Vinyl, Heavy and Peel and Stick, but these names do not state how the exact printed finish responds to a wet cloth, repeated rubbing or a bag brushing one edge every day. Ask for the care sheet attached to the option you intend to buy. Put a likely event in the question: a muddy handprint beside the coat rail, a scuff near a bench or a damp umbrella touching the lower wall. What cleaning method is permitted, and what should be avoided at a seam? Do not infer abrasion resistance, waterproofing or fire classification from a material label.
Show the installer the marked contact zones before choosing the starting point and panel arrangement. A seam beside a frequently used door frame or the back of a bench deserves particular attention to substrate preparation and the product's approved edge method. That does not mean the seam can always be relocated: the image and panel widths may constrain it. If the supplier can provide a panel map, compare it with the normal path of handles, hooks and carried objects, then agree whether moving storage or choosing the opposite wall is the more reliable solution.
Keep the order's material option, care sheet, panel map and a photograph of the finished hallway together. If a mark or edge problem appears later, these records distinguish the printed finish, the location of daily contact and the correct repair enquiry. Ask the supplier whether a damaged section can be replaced separately and whether a later print would match the existing wall; do not assume it will. The route-based hallway guide covers composition and openings; the busy-hallway decision must also account for how people and objects repeatedly touch the installed surface.
Protect the finished wall through layout
Keep coat hooks, umbrella stands and shoe baskets away from the printed surface if they would rub it every day. Add a door stop where a handle could strike the wall. If a bench is part of the design, leave enough room that its back does not scrape the mural when someone sits down. These small layout changes are often more effective than selecting a denser pattern and hoping damage will disappear inside it.
Before approving the layout, tape the proposed printed boundary on the wall and make one ordinary trip through the hall: enter carrying a bag, hang a coat, sit on the bench, open every door and return towards the exit. Mark any place where a handle, strap or chair back reaches the tape. Move the bench or storage now, or shift the mural to the opposite wall if that contact cannot be avoided. Repeat the walk under evening lighting to confirm that the main subject remains readable from both ends. After installation, keep the selected finish's care sheet with the household records so a future mark is treated according to the material rather than with an assumed wet-cleaning method.