What Mural Wallpaper Works Best on a Staircase?
Plan a staircase mural around changing viewpoints, ceiling height, landings, lighting and safe installation access.
Article focus: pricing and measurement
Budgeting this wall with confidence
Start with accurate wall measurements; the final custom mural price depends on area, material and any finishing options.
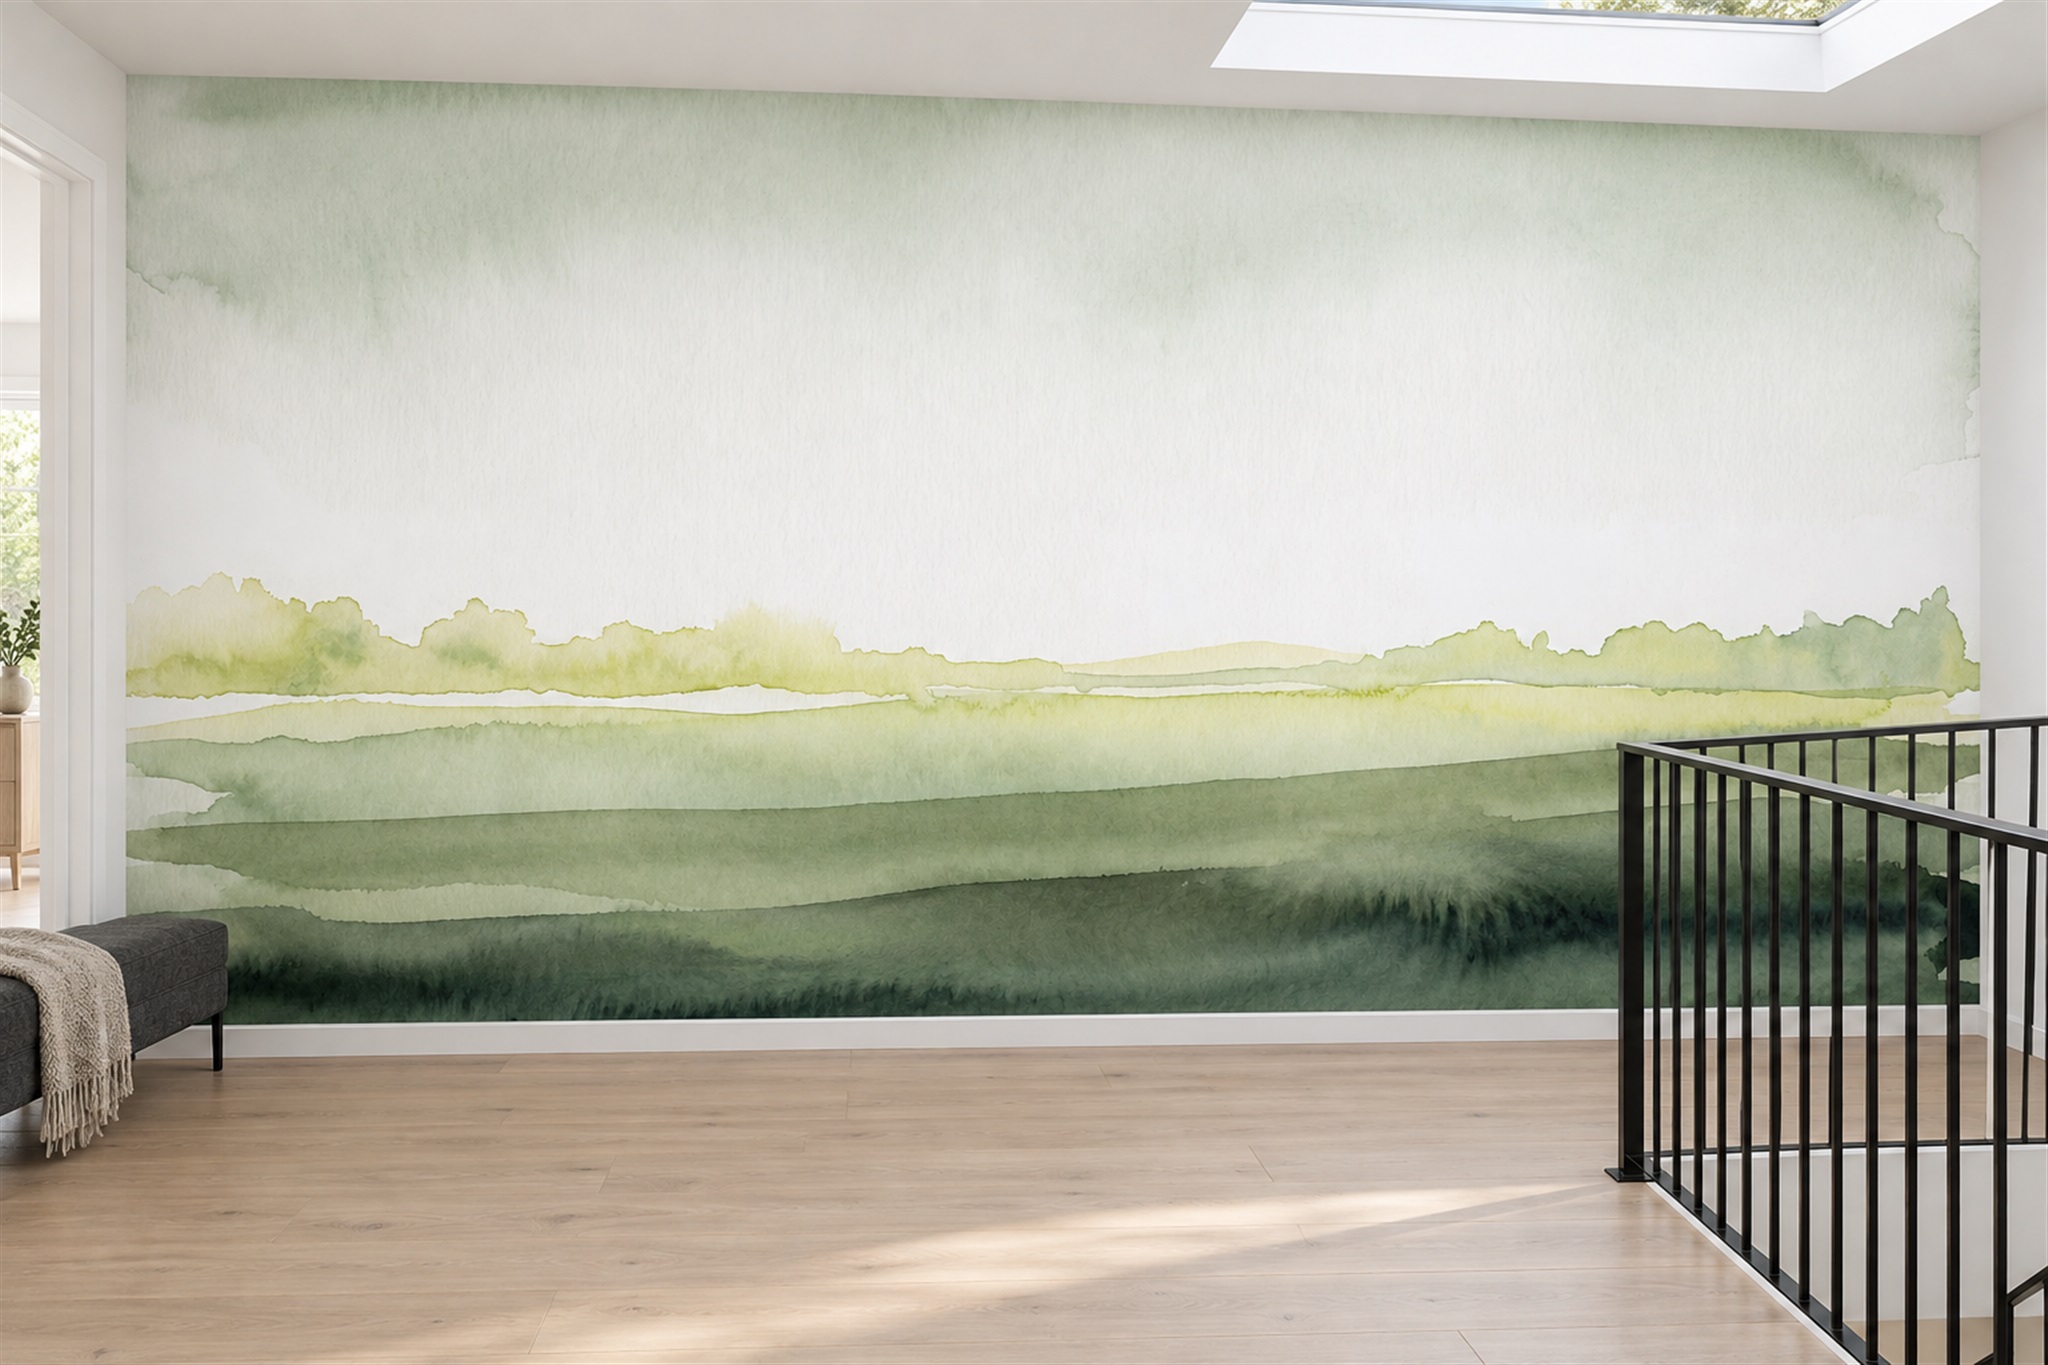
Example application: Any room with a suitable, prepared wall · pricing and measurement
The best mural for a staircase depends first on which wall you mean. A broad landing wall, like the pale green watercolour scene shown above, may be viewed almost as a complete picture. A wall that runs alongside the flight is seen in fragments from the hall, halfway up and again from the landing. The first can carry a defined landscape; the second usually needs a composition that survives a sloping rail, changing eye level and interrupted views. Choose for the route through the space, not for a square catalogue thumbnail.
Walk the route before choosing a picture
Stand at the foot of the stairs and note what is visible above the handrail. Move to the middle, turn around and repeat at the top. On a straight flight, one long diagonal view may dominate; on a turning staircase, the landing may offer the only broad view. Take photographs from ordinary eye height and trace the areas blocked by the balustrade. A central subject that looks impressive in a flat preview may disappear precisely where most people first see the wall.
Also look at the wall opposite the stairs. If the stairwell is narrow, the mural will be seen from close range, so oversized flowers or high-contrast shapes can feel more intense than they do in a large showroom. If the space opens into a hall, the wall may serve as a distant backdrop and can carry broader forms. The question is not simply whether a pattern is large or small; it is how much of a form remains visible from each stopping point.
Choose a composition that survives the slope
Stair treads rise, but printed mural panels remain vertical. Along a flight, a diagonal railing may cross the artwork and the ceiling may slope above it. Distributed foliage, diffuse clouds or broad colour transitions tolerate these interruptions better than a face or architectural landmark positioned at one exact point. A horizon can still work if it remains level and its height is chosen deliberately. Do not rotate the print to mimic the stairs: the horizon will look crooked from the landing and matching panels becomes harder.
The landing scene below shows when a focal landscape can work. The snow-capped peak and waterfall sit well clear of the railing at the right, and the sloped ceiling cuts mainly through sky. That arrangement is specific to this wide wall. On a narrower landing or a flight wall, a more central rail could interrupt the waterfall. Mark the peak, waterfall and palm silhouettes on a separate wall drawing alongside the site's crop preview rather than assuming the staged photograph predicts their placement.
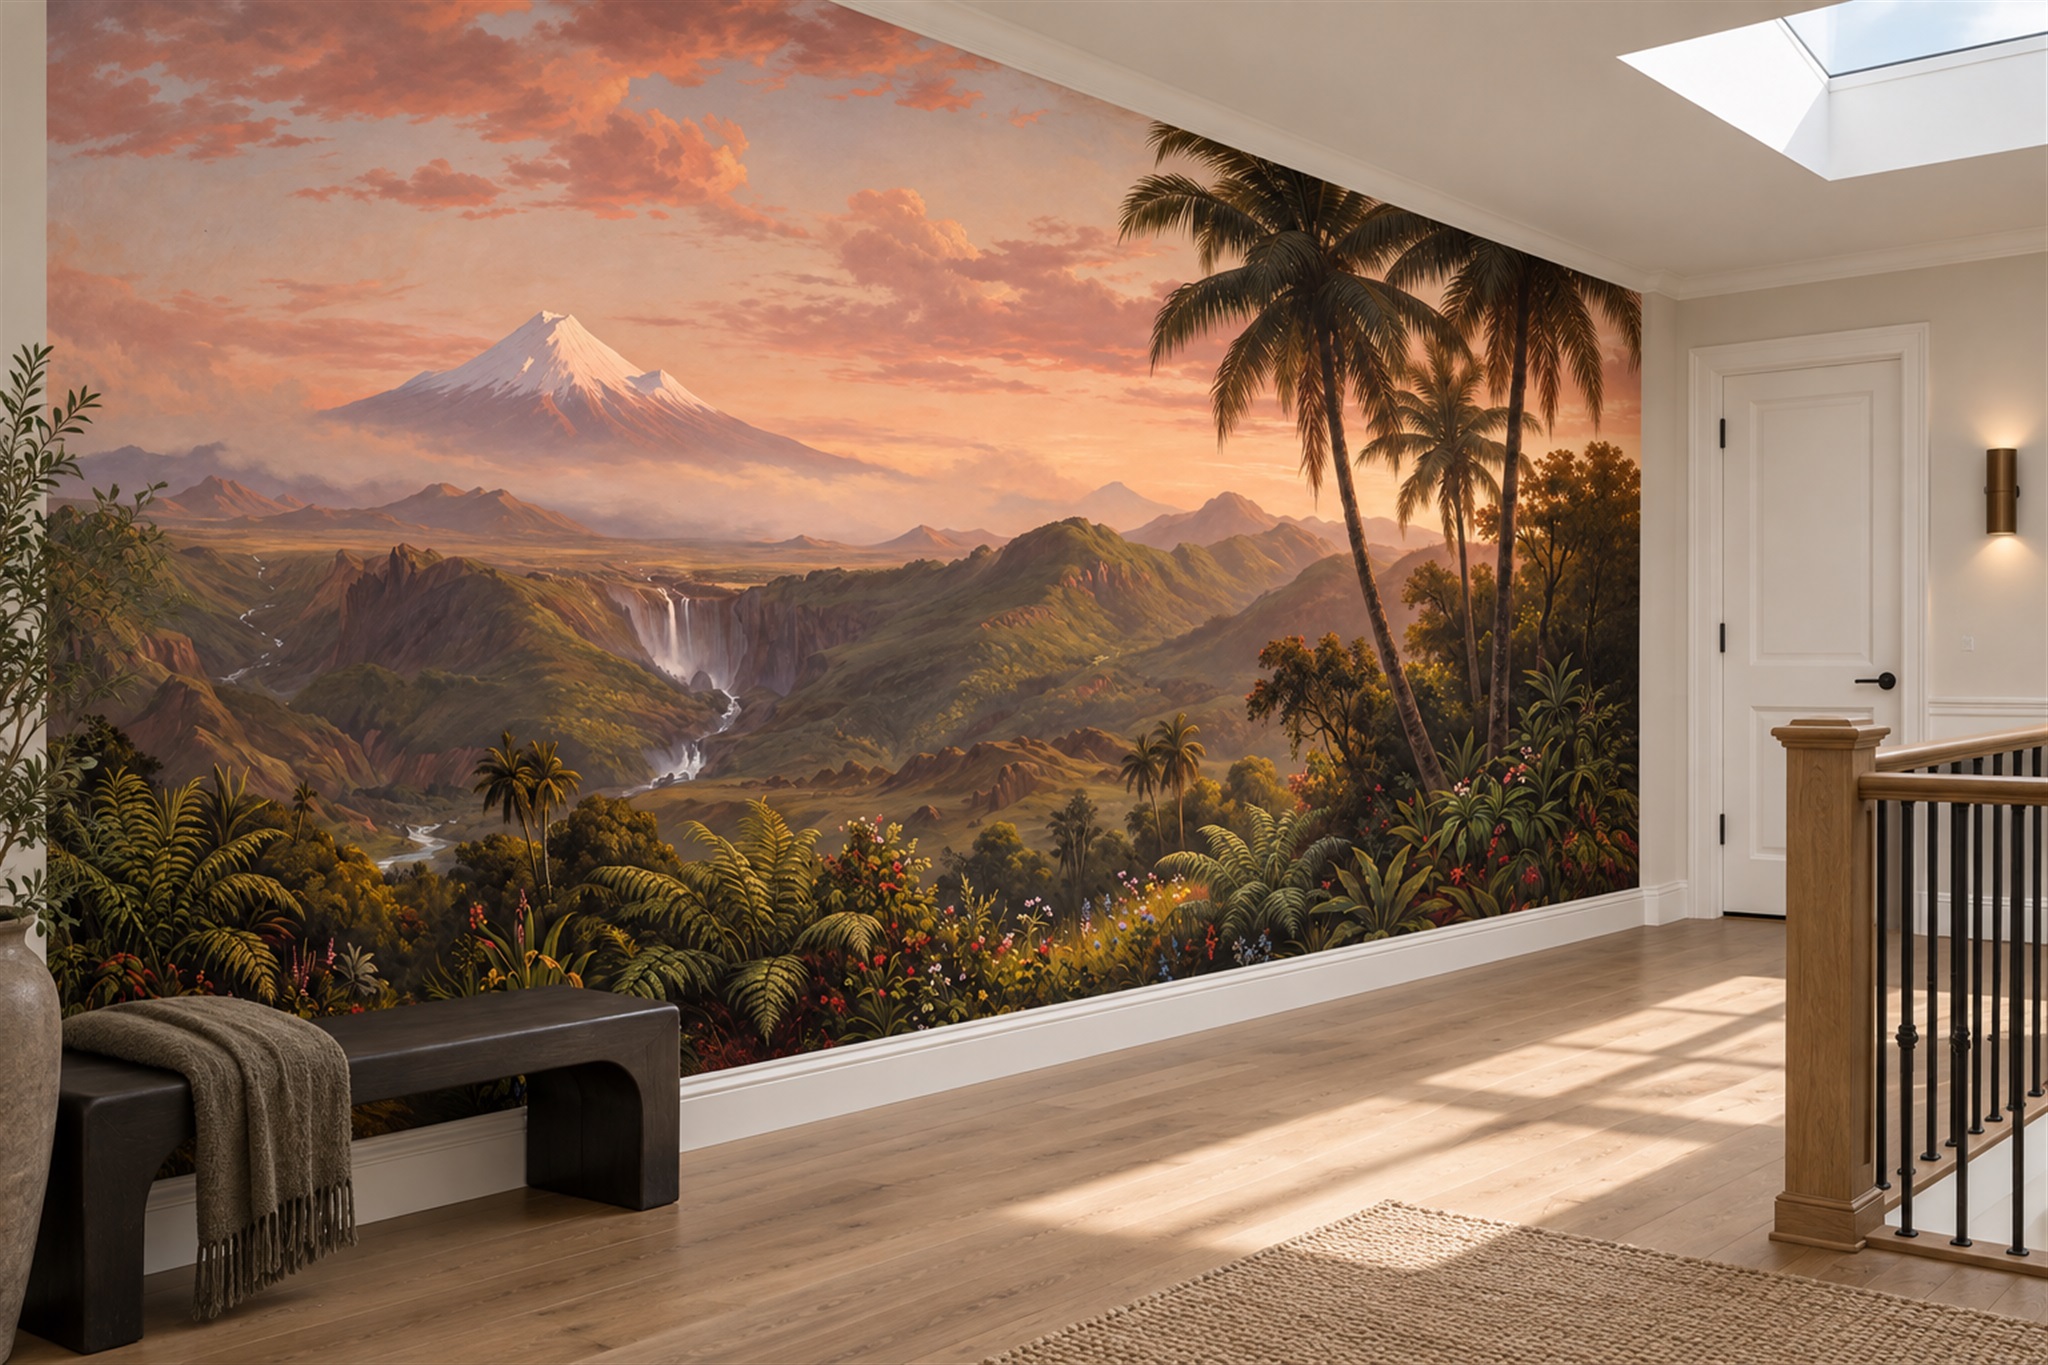
Where should the focal point go?
If you favour an artwork with a distinct subject, mark it on a scaled drawing of the actual wall. A bird, arch or mountain peak may belong above the landing where it clears the rail. Avoid placing the most important detail at a window reveal, the inside corner of a turn or behind a pendant light. Use the crop preview at the ordered dimensions, then compare it with a separate drawing of the real obstructions; a generic stairwell mock-up cannot answer this placement question.
Consider the upper and lower boundaries separately. A tall wall may have a blank strip above the stair line; that can be welcome breathing space rather than an area that must be filled with detail. Conversely, a strong border or obvious horizontal band can call attention to an uneven ceiling. Let the wall's irregularities influence the design selection. If you cannot position the main subject safely, choose a more distributed composition instead of trying to rescue it during installation.
Colour and light in a stairwell
Stairs often borrow light from several spaces. A high window can brighten the upper landing while the lower flight remains shaded. Assess samples at both ends, in daylight and under the lamps normally used at night. Pale grounds can help a tight stairwell feel open, but they also reveal differences between the mural background and neighbouring painted walls. Dark grounds can create an intentional, dramatic passage when lighting is planned, although fine details may disappear in the dimmest section.
Look at the permanent finishes that run beside the mural: timber treads, carpet, skirting, handrail and any painted stringer. You need not match them exactly. It is often enough for the mural to share one undertone with the timber or to provide a measured contrast against a dark railing. Test a physical sample against these finishes on the actual stair wall. A colour selected on a phone screen cannot show how the shaded landing changes it.
Measure the wall as a shape, not a rectangle in your imagination
Record the maximum width and height of the area to be covered, then sketch every step, sloped ceiling, door, window, light switch and return. Include the distance from the bottom of the wall to important features. If the wall changes height along the flight, measure at multiple points and clearly identify which point gives the full height. Do not estimate a diagonal from one photograph. A supplier may still require rectangular print dimensions, but the outline tells them where valuable artwork should not be placed.
Ask how the proposed panels will be numbered and where the joins are expected to fall. Extra material for trimming is useful around uneven edges, but it is not a substitute for accurate measurements. Confirm the supplier's requested allowance on both width and height, and check the preview after that allowance has been included. A stairwell can be awkward to access; a small proofing mistake is easier to fix on screen than after the print has arrived.
The flat artwork below strips away furniture, skylight and railing from the pale green landing scene above. Its layered watercolour bands sit low, leaving a wide quiet upper field. That is why the dark rail can cross the lower right without hiding a unique subject. Compare the clean artwork with the staged view, then ask whether the same low band would be visible from the foot of your own stairs or hidden behind your balustrade.
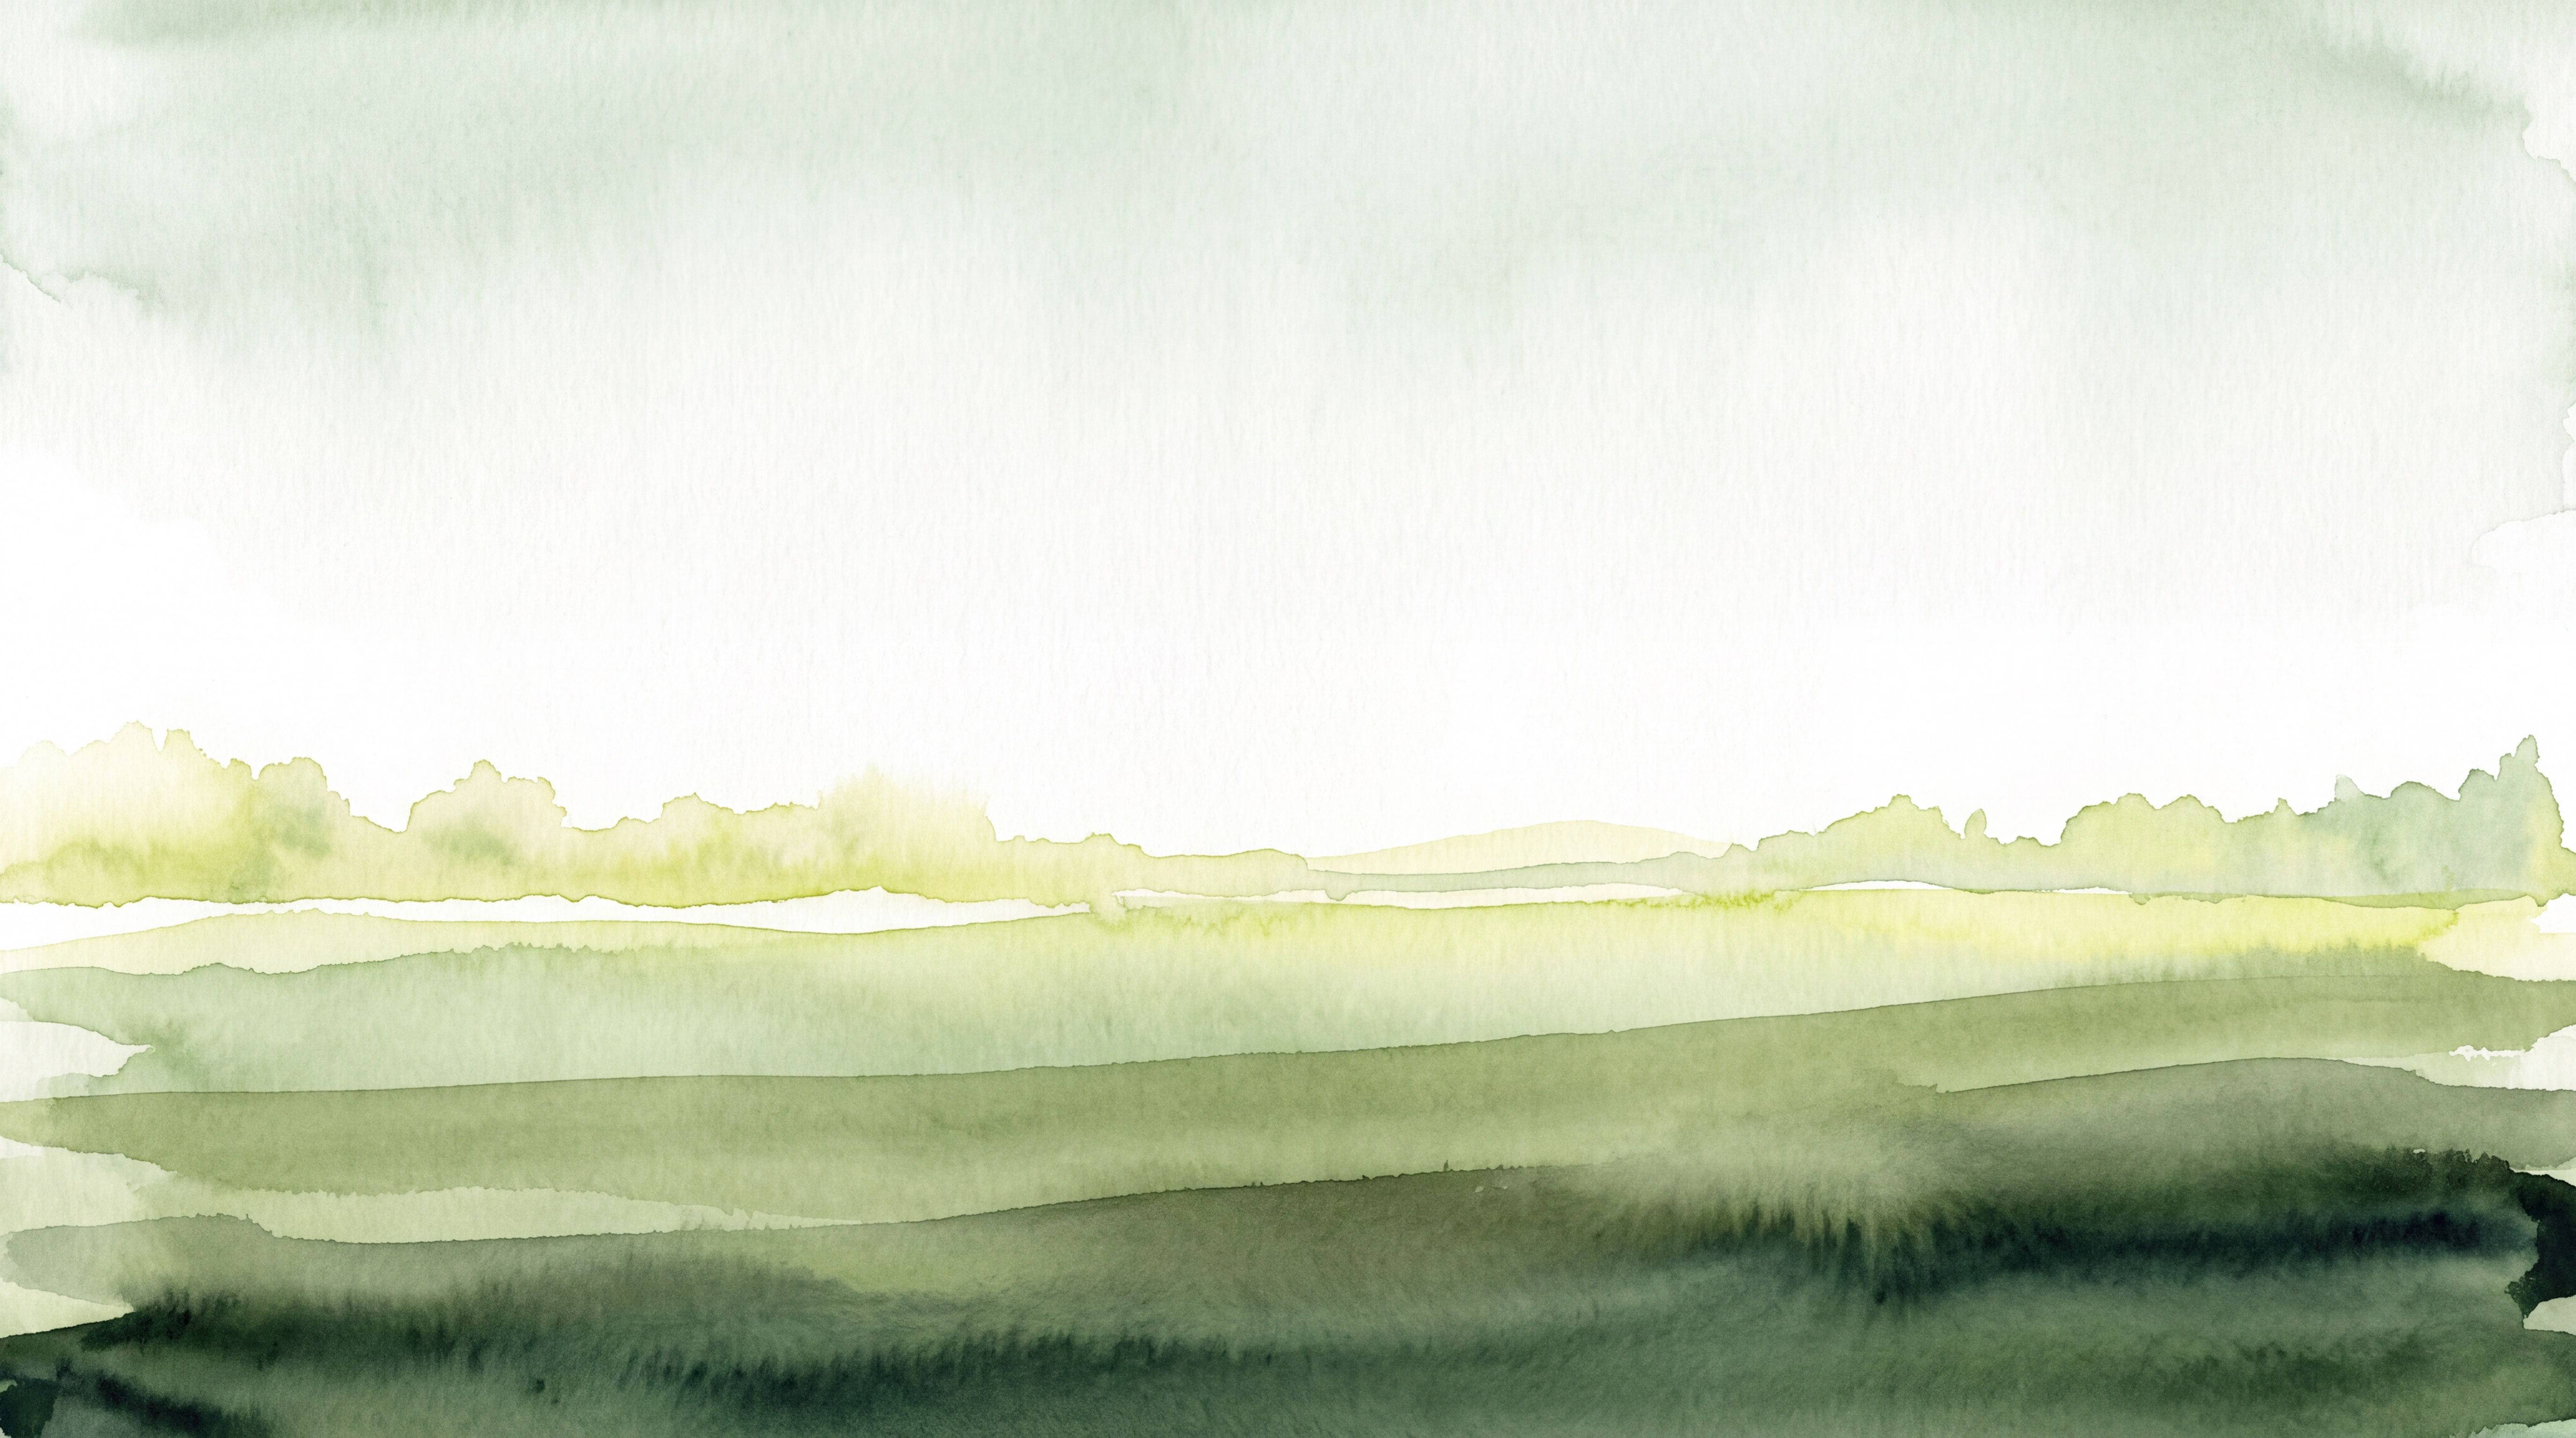
Plan installation around access and safety
Staircase walls are harder to reach than ordinary room walls. Working above steps may require a properly positioned platform or professional installer; a ladder improvised across different tread heights is not a sensible shortcut. Decide how the upper edge will be reached before buying the mural. Keep the route clear, protect treads and handrails, and follow the instructions for the chosen wallpaper finish and wall preparation.
Panel alignment deserves particular attention where a tall print spans a flight. Establish a vertical reference line with an appropriate level rather than using the sloped handrail as a guide. Dry-check the panel order and identify the most visible seams from the landing. If the wall changes direction, ask whether the artwork should end at the corner or continue around it; continuous scenery does not automatically wrap well across every bend. Installing one correctly positioned first panel is more important than trying to work quickly up the stairs.
Use the landing as the deciding viewpoint
The pale green watercolour can lose its low bands behind a balustrade and still leave a quiet, coherent upper field. The mountain-and-waterfall mural cannot lose its peak or falling water without changing the scene itself. Stand on the landing, then look back from the bottom step: if the focal picture only appears for an instant between those positions, the distributed wash may serve the staircase better. If the landing gives a broad view of the peak, that wall can support a more narrative image.