Where Should the Horizon Sit on a Landscape Mural?
Plan horizon height around eye level, furniture, openings and the way the landscape will be viewed in the room.
Article focus: pricing and measurement
What to settle before pricing
Start with accurate wall measurements; the final custom mural price depends on area, material and any finishing options.
Example application: Bedroom · pricing and measurement
There is no standard height for a landscape mural's horizon. Its best position depends on what remains visible above furniture, how much sky or foreground the scene needs and where people usually view the wall. A low horizon can leave welcome open space; it can also vanish behind a headboard. A high horizon can emphasise a coast or field, but may compress the sky. Compare these effects on a full-wall preview rather than placing the line by a fixed fraction of wall height.
First identify the actual horizon
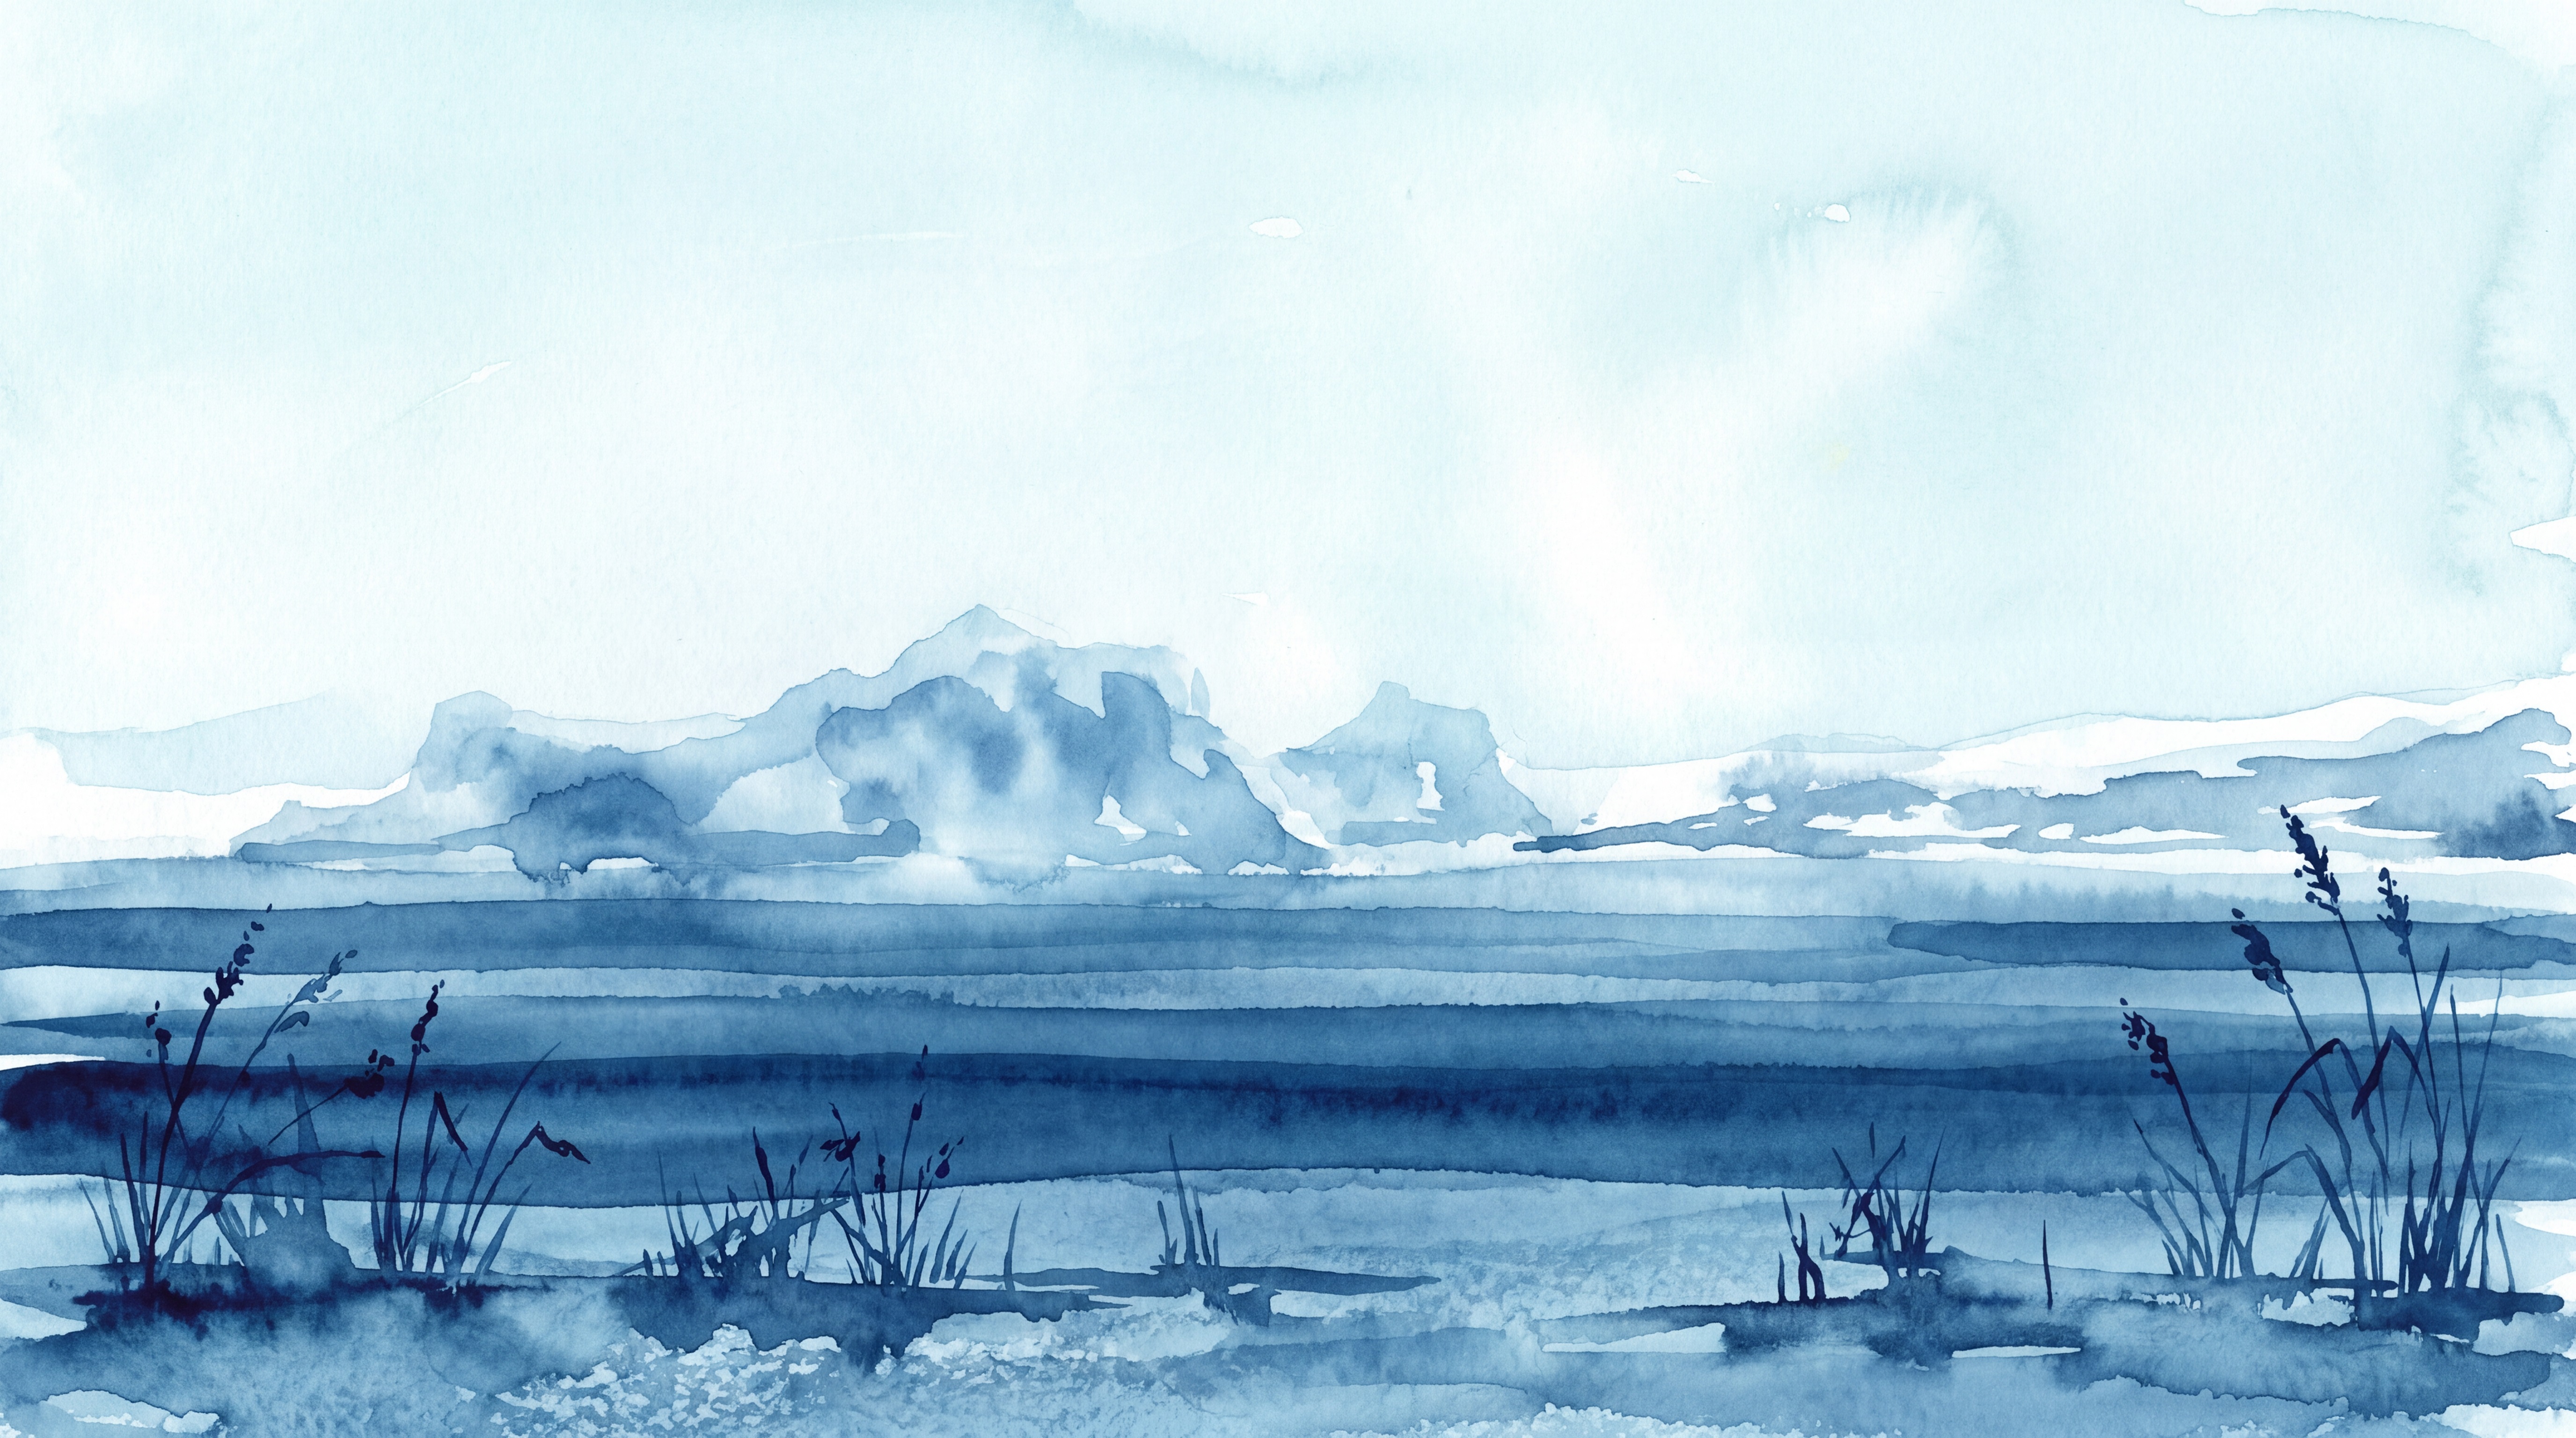
Not every scenic mural has a single crisp line. A seascape may show a clear meeting of water and sky. The blue watercolour image at the top of this article has several horizontal bands and mountain ridges, so a viewer may read the distant ridge as the main line of depth rather than the edge of the water. A woodland scene might show no horizon at all; overlapping trees create distance instead. Decide which feature the eye treats as the distance marker before asking to move it.
In the coastal drawing below, the low distant shoreline is only one part of the composition. Palms rise above it while foreground foliage anchors the lower edge. If you place the waterline exactly at seated eye height, check that the palms still frame the wall rather than becoming accidentally clipped by the ceiling. The composition is a whole image, not a movable line independent of its other elements.

Choose the primary viewpoint
Walk into the room and stop where the scene first becomes visible. Then sit or stand where it will be seen most often. In a living room that may be the sofa or an armchair opposite the feature wall. In a bedroom it may be the doorway and the view from the bed. In a hallway it may be a short approach rather than a fixed viewing spot. Write down these positions before reviewing a wall preview.
Seated and standing eye lines differ. A horizon placed to feel natural to somebody standing can look surprisingly high when viewed from a low sofa. You do not need to make a photographically exact eye-level match; stylised landscapes often work because they depart from literal perspective. But you should make the choice deliberately. If the wall is mainly seen from a dining table, review it at seated height, not only while standing in front of a screen.
Check what furniture will hide
A sofa, sideboard, desk or headboard may conceal a substantial amount of the lower mural. If the distance line falls just behind the top of that furniture, the viewer may see sky without enough land or water to explain the scene. Sometimes raising the crop helps; sometimes a different artwork with more visible middle ground is the better choice. Compare the crop with a separate sketch of the furniture instead of judging a bare wall.
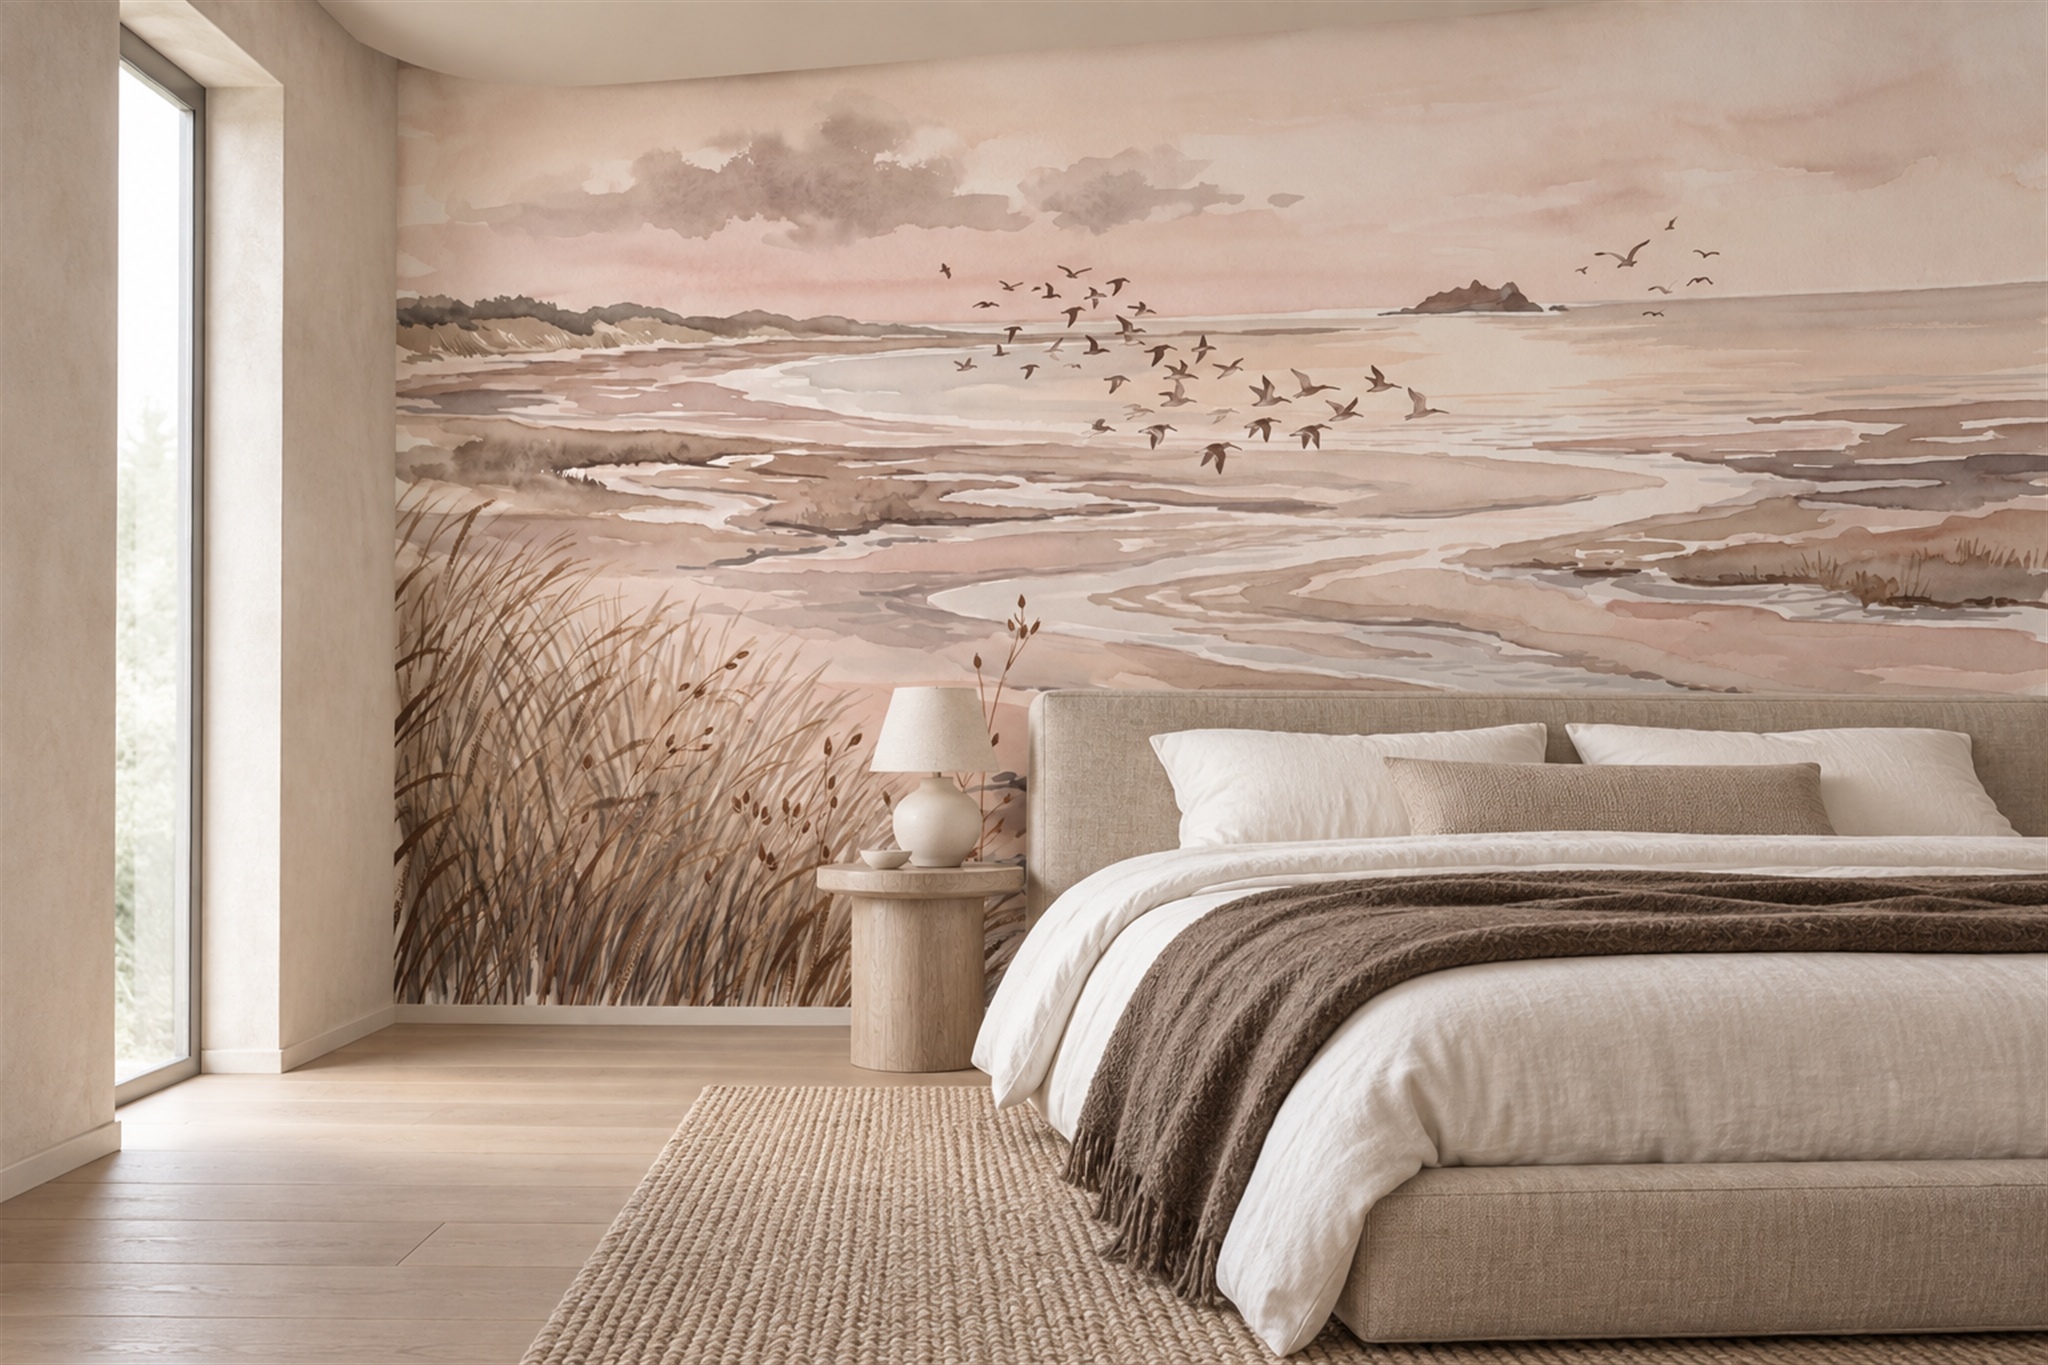
The warm coastal bedroom below shows the difference between the shoreline and the furniture line. The distant sea horizon sits well above the upholstered headboard; reeds and water remain visible to the left. Birds cross the middle of the scene, giving the eye another reference. If the mural were shifted down until the horizon met the headboard, much of its coastal depth would disappear. If shifted up, the reeds might be lost at the lower trim. Check all of these elements together.
Use wall proportions, not a fixed fraction
You may see advice to put a horizon at a particular fraction of the wall height. That can be a starting sketch, but it is not a rule for made-to-measure artwork. A wall that is very wide and low behaves differently from a narrow stairwell wall. Tall ceilings may create a large field above the horizon; a low ceiling may compress clouds or treetops. Windows and doors can remove sections of the scene altogether.
Make at least two previews with the exact wall width and height. In one, favour the sky; in the other, favour land or water. Keep the same scale initially and move only the crop, so you can see what a different horizon position costs at the top and bottom. For the coastal bedroom pictured above, raising the shoreline may sacrifice the reeds; lowering it may hide the sea behind the headboard. If neither option preserves both, test a different scale or artwork rather than treating the horizon as an independent line that can be dragged freely.
Consider how the room's own lines interact
Rooms already contain strong horizontals: dado rails, bed heads, long shelves, curtain poles and the top edge of a sofa. If the printed horizon is almost aligned with one of these, tiny installation differences may make the mismatch noticeable. You can place it clearly above or below the architectural line, or choose an artwork with a softer, irregular horizon that does not invite exact comparison. Avoid putting a critical straight line across a visibly uneven wall without checking the installation plan.
Lighting also changes the effect. A window may wash out the pale part of a landscape by day, while a wall light can draw attention to a darker ridge at night. Review the crop in both conditions if the wall is important to the room. A printed sample can help with colour and contrast, but it cannot tell you whether the horizon is well positioned across several metres of wall.
Plan the crop before printing
Mark the final visible wall area, then note the extra area required for trimming according to the supplier's instructions. Distinguish the horizon position on the finished wall from any installation allowance when discussing the crop. Otherwise a line intended to sit just above furniture may shift. For a placement-sensitive scene, ask whether the supplier can review a separate elevation showing openings, ceiling line and furniture outlines.
If the image is rescaled, request an updated preview. Enlarging a landscape can remove the very shoreline or mountain edge you meant to position; shrinking it may make a distant ridge too fine to read. Confirm resolution at print size and inspect whether any identifiable element lands on a panel seam or door edge. Crop approval is the point to resolve these issues, not after the first strip has been hung.