Can Mural Wallpaper Go on Brick or Concrete?
Understand why masonry texture, porosity, dust, moisture and surface preparation need careful review before installation.
Article focus: pricing and measurement
The cost and measurement decision
Start with accurate wall measurements; the final custom mural price depends on area, material and any finishing options.
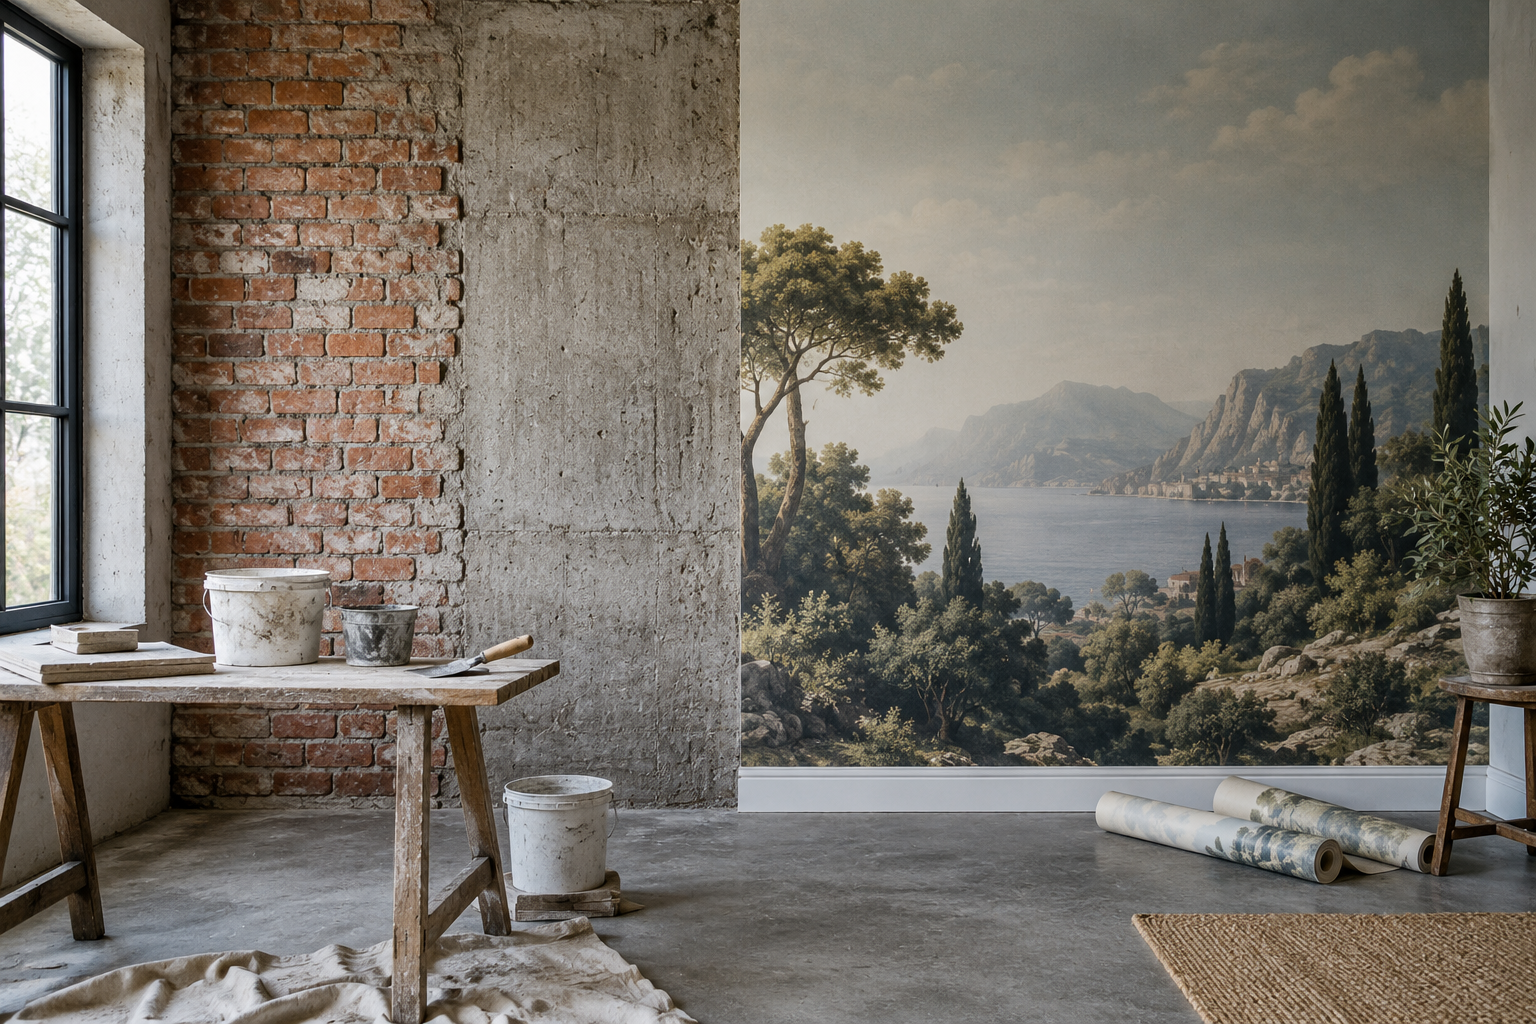
Example application: Any room with a suitable, prepared wall · pricing and measurement
A brick wall can look beautifully textured, but its raised bricks and recessed mortar joints are a poor default base for a conventional mural wallpaper. Bare concrete presents a different problem: it may look flat from a distance while remaining dusty, porous, uneven or affected by moisture. In both cases, the answer depends on the actual surface and the wallcovering system. It is possible to create a smooth prepared background over masonry; that is not the same as sticking an ordinary mural directly onto raw brick or concrete.
Why brick is not just a colourful wall
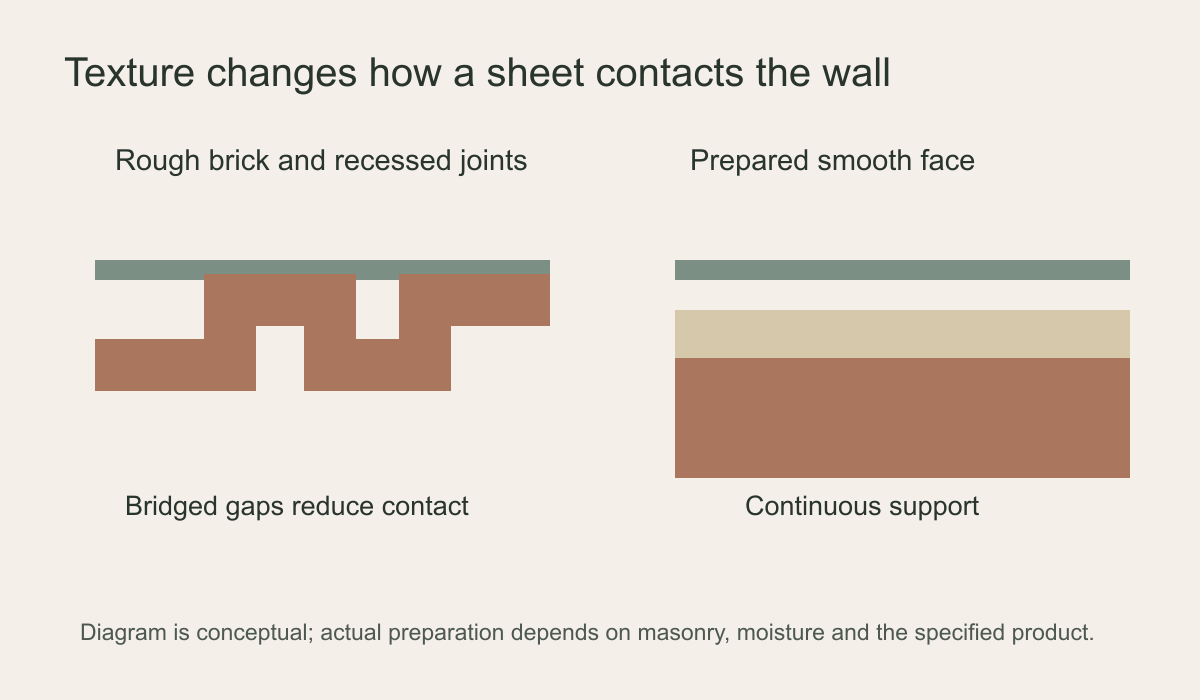
A brick face has high and low points, porous patches and mortar recesses. A flat printed sheet may bridge over the joints rather than contact the base continuously, so the image can show hollows and lose support at the edges. Mortar may shed dust; old paint may flake; salts may appear after moisture moves through the wall. A peel-and-stick adhesive that behaves well on a smooth painted wall need not grip these surfaces. A pasted paper may also reveal every ridge through the printed face.
Before choosing artwork, look closely at the wall you intend to cover. Are the mortar joints recessed? Does a dry hand pick up grit? Is the brick painted, and does that paint come away at an edge? A wall can be structurally sound yet still be too irregular for a conventional mural. A long straightedge makes the depth of the recesses easier to judge than a front-on photograph. Ask an installer to assess the whole field, including corners and reveals, rather than testing one attractive brick near the centre.
Establish whether the brick is an external wall or an internal partition, and ask when damp marks, white deposits or peeling coatings appeared. Photograph the areas after rain and again in dry weather if the pattern changes. Those observations do not diagnose the moisture source, but they give a qualified local professional a better starting point than a single attractive room photograph. Until the cause is resolved and the wall is fit to cover, adding filler, primer or a printed sheet only conceals the evidence.
Concrete needs a moisture and surface check
Concrete may be cast smooth, trowelled, painted, repaired or left with visible form marks. Each finish presents a different adhesive surface. New concrete also changes as it cures; existing concrete can transmit moisture from behind. Do not rely on a touch test alone to declare it dry. Ask a qualified local professional what moisture evaluation is appropriate for the building and the proposed wallcovering. A surface that repeatedly feels cold or shows staining deserves investigation rather than a quick sealing coat.
The Wallcoverings Association's preparation guidance emphasises clean, dry, sound backgrounds. Specialist graphic-film manufacturer 3M warns in its substrate bulletin that graphics on bare concrete can fail where moisture is trapped or moves through an exterior wall. Its statements concern specific films, not Solowalls wallpaper, but they show why a masonry wall cannot be judged only by how smooth it looks. A coating must be compatible with both the substrate and the chosen mural system.
With concrete, ask what is actually on the surface. A smooth-looking slab may carry curing residue, a hard-trowelled sheen, an old sealer or a previous paint layer. A dusty repair can sit beside dense original concrete. The weakest area governs whether a new finish will stay attached; priming over loose paint does not strengthen its bond to the wall. Cleaning, repair and coating specifications should therefore refer to the existing concrete and to the adhesive for the proposed mural.
Build the background the mural actually needs
If the wall is dry and structurally sound, a contractor may be able to fill mortar joints, skim or line the surface, and prime it according to the wallcovering manufacturer's instructions. The exact build-up depends on the brick or concrete, existing paint, room humidity and chosen material. Do not specify a universal filler or primer from a blog article. Ask for a continuous, smooth finish and a documented compatibility check rather than a cosmetic patch over the worst joints. Allow each layer to cure before the next.
There are two distinct approaches to a very uneven wall. One is to create a suitable smooth finish directly on sound masonry using a system selected for that substrate. The other is to build a separate flat lining or panel face and install the mural on that prepared surface. The second approach may help when preserving the brick is important or when extensive levelling would be impractical, but fixing, depth at edges and any building permissions still need planning. Neither approach authorises covering an active damp problem.
The diagram below contrasts a printed sheet bridging a recess with one resting on a level prepared face. Its layers are conceptual: the actual build-up must be selected for the masonry, moisture conditions and wallcovering product.
Specialist textured-surface films are another category
It is possible to find graphics made specifically for rough masonry. That does not establish that every peel-and-stick wallpaper or printed mural will work the same way. For example, 3M's textured-surface film bulletin describes a particular film for moderate textures and stresses testing its suitability for each application. It also notes that adhesion and removal depend on the substrate and application conditions. Unless your mural's manufacturer explicitly approves an equivalent method for the actual wall, do not substitute one product's claims for another's.
That bulletin is a useful boundary, not a shortcut: it even distinguishes shallow joints from deep or undercut ones and calls for a test on each different textured surface. Such specialist films can require their own tools and trained application technique. A consumer peel-and-stick mural should not be heated, pressed into joints or tested by a method borrowed from a different manufacturer's film. Ask for approval of the exact product and wall combination in writing if direct application to texture is the goal.
A very rough exposed-brick look may be central to the room design. In that case, it may be wiser to keep the brick visible and place the mural on an adjacent prepared wall or within a framed panel. Covering a historic or characterful masonry surface can change the room more than expected and may complicate future removal. In rented or protected buildings, get the necessary permissions before altering the substrate.
Check the wall before ordering print dimensions
Measure after any planned lining or levelling has been specified, because the finished plane may differ from the raw wall at corners and reveals. Mark outlets, radiators, doors and changes in depth. Ask whether the mural can be installed as one flat field or whether the designer needs to plan around breaks. A scenic horizon across an irregular surface is less forgiving than a diffuse texture. Confirm trim allowance and panel sequence only once the finished substrate and its edges are known.
For a brick alcove, for example, first decide whether the artwork stops at the inside corners or wraps onto the returns. Levelling adds thickness; this may alter how the finish meets window trim, skirting and electrical faceplates. On a long concrete wall, check width and height at several positions after preparation, not before. Put the design's focal subject clear of unavoidable openings, and review a scaled crop before printing. A handsome mock-up of a perfect rectangle will not account for a protruding column or a sloping floor line.
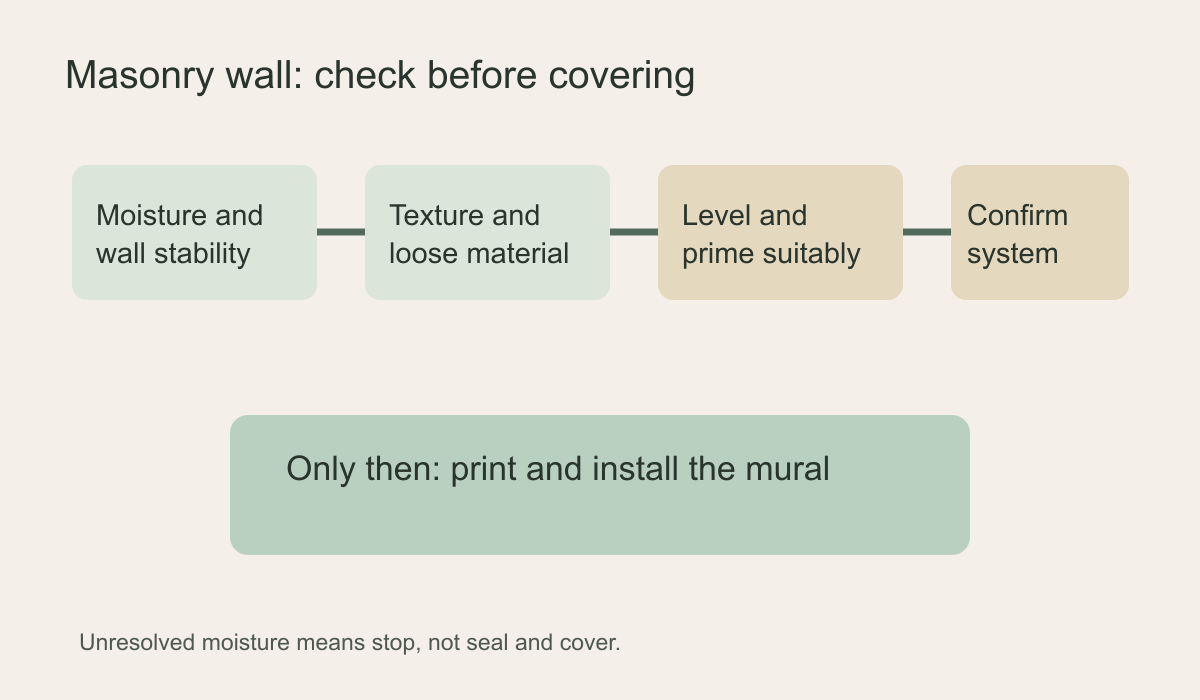
Do not schedule delivery and installation on the assumption that fresh repairs will dry overnight. The contractor should confirm readiness according to the chosen materials' instructions. If testing reveals active moisture, stop and resolve its source. Sealing over a damp problem may trap water and lead to failure or hidden damage. The workflow diagram below keeps those checks separate: condition first, preparation second, print and installation last.
Plan for aftercare and removal
Ask how the prepared wall will behave when the mural is eventually removed. A system can adhere well yet still require repairs later; a weak coating may release along with the wallpaper. Keep the primer and adhesive product names, preparation record and photographs of the substrate before covering it. If a later bubble or lifting edge appears, that record helps distinguish a print issue from a wall issue. No photograph of a finished mural can prove the hidden condition of brick or concrete beneath it.
Where the masonry is an architectural feature, reversibility matters as much as the immediate look. A freestanding or mechanically fixed display panel may avoid bonding a print to old brick, though its fixings and safety still require proper design. In a leased space, agree in advance which surface changes and removals are permitted. If a wall must remain exposed, the best mural location may simply be the adjacent prepared partition rather than a forced installation over texture.
Suppose a concrete wall looks flat but has a pale salt mark that returns after rain. Do not order a mural or seal the mark behind one; ask a qualified local professional to identify and resolve the moisture path first. Now compare a dry interior brick partition with deep recessed joints: moisture may be absent, yet a conventional mural still lacks a continuous flat face. In that second case, discuss a compatible smooth lining or a separate display panel, then measure its finished surface. These two walls fail for different reasons, so a successful adhesion test on one patch cannot stand in for both a moisture assessment and a full-surface preparation plan.