Can Mural Wallpaper Be Installed on Plasterboard?
Check joints, primer, paint condition, surface smoothness and the chosen material before installing on plasterboard or drywall.
Article focus: pricing and measurement
Budgeting this wall with confidence
Start with accurate wall measurements; the final custom mural price depends on area, material and any finishing options.
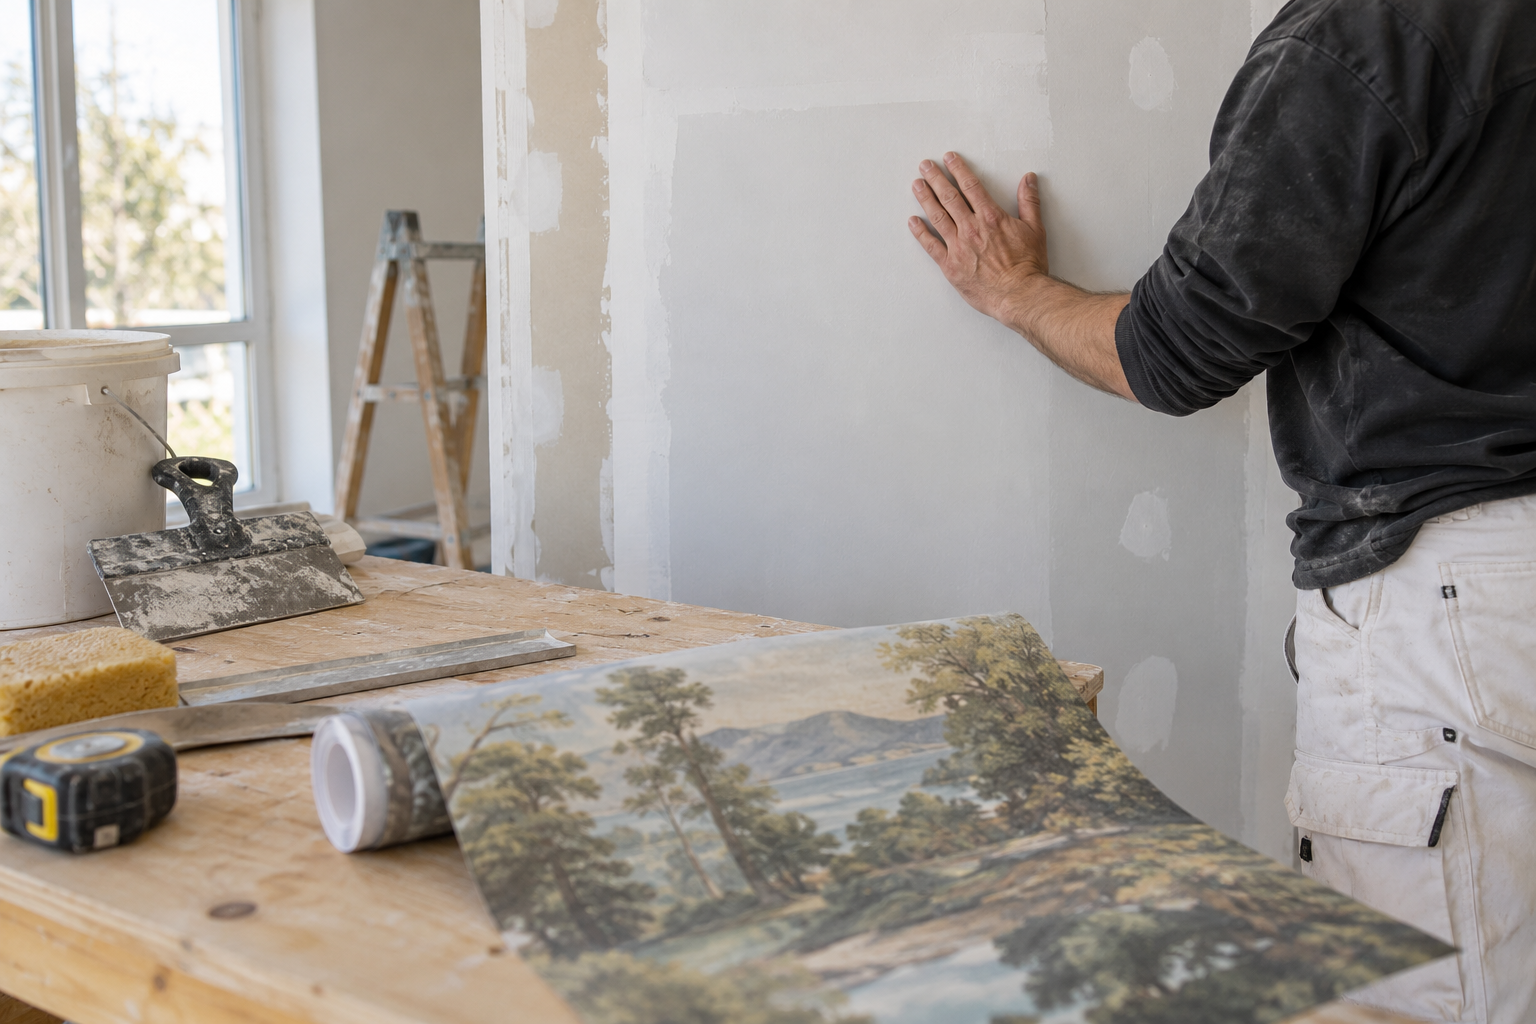
Example application: Any room with a suitable, prepared wall · pricing and measurement
Plasterboard can provide a good surface for a mural, but a newly fitted board is not automatically ready for wallpaper. The paper face, joint compound and any filled screw holes can absorb moisture at different rates. An unsealed surface may bond too aggressively or behave unevenly when paste is applied, making installation and later removal harder. The right question is not simply “Is it plasterboard?” but “How has this particular board been jointed, finished, dried and primed for this particular wallcovering?”
Why bare plasterboard needs thought
A plasterboard wall is a layered construction, not one uniform sheet of smooth white material. Tape and joint filler interrupt the paper face, and the edges of boards can sit at slightly different heights. Under a wide scenic mural, a ridge may catch grazing light even if the image itself is perfectly printed. The first task is to make the wall flat enough for the selected finish. Check every joint, corner bead and screw position with a broad light source, then repair imperfections before priming.
New joint compound must have dried in accordance with its manufacturer's guidance. Sand carefully without tearing the board face, and remove all sanding dust. The British Gypsum primer information explains that a primer can even out differences in surface texture and absorption between the board and jointed areas. That is the underlying reason preparation matters; it is not a reason to assume a named primer is suitable for every adhesive and mural substrate.
Use a long straightedge across board joints and a portable light held nearly parallel to the wall. This reveals raised tape, shallow hollows and screw heads that front-on inspection can miss. A detailed landscape draws the eye across several panels, so a ridge beneath one panel can be more distracting than a small imperfection behind ordinary furniture. If the finished surface is visibly uneven, correct it before deciding where the mural's focal point will fall.
Unfinished board also differs from a wall that has been painted for years. On a previously painted wall, inspect the paint bond as well as the board beneath it: a coating that powders on the hand or lifts at an edge is not a dependable base. Do not assume that one extra coat of ordinary emulsion solves a weak substrate. Record what is already on the wall, because preparation depends on the complete stack of materials, not only the board named in the building specification.
Primer and sealer are not interchangeable labels
Ask which exact primer or sealer the board supplier and wallcovering manufacturer recommend. A product designed to control porosity before decoration may differ from a sealer intended to improve later stripping or limit vapour movement. British Gypsum's plasterboard wallpaper FAQ mentions a sealer for new unpainted board, but warns that vinyl and other low-permeability coverings can restrict the drying of water-based adhesives when applied over that treatment. It also advises referring to the wallpaper maker's instructions. That qualification matters more than a simple “seal all plasterboard” slogan.
If the chosen mural is paste-applied, find out whether the adhesive, primer and substrate form a compatible system. If it is self-adhesive, check that the wall coating has cured and that the adhesive is approved for that paint or primer. A seemingly smooth paint finish can still be unsuitable if it is powdery, flaking, freshly applied or formulated to resist adhesion. A small test in an inconspicuous location may be appropriate when the manufacturer recommends one. Do not use a test patch to excuse obvious dampness or loose board face.
Give the supplier the complete layer sequence rather than asking only whether a primer is “good for wallpaper”: plasterboard and joint treatment, the named primer or sealer, any paint, the mural backing and the adhesive or self-adhesive method. For a pasted product, ask whether water-based adhesive can dry through that combination. For peel-and-stick, ask which finished coating is accepted and how long it must cure. If two manufacturers give conflicting instructions, pause and request a compatible written specification; trying an expensive panel on the wall is not a substitute for resolving the conflict.
British Gypsum's warning about low-permeability vinyl over its Drywall Sealer is a useful example of why product names matter. It does not establish a universal ban on vinyl murals over plasterboard; it identifies a particular combination in which water-based adhesive drying may be restricted. Equally, a primer marketed for paint preparation is not automatically a wallpaper sealer. Follow the written specification for the assembly you are actually installing.
Look for the weak points before ordering
Run a hand across joints and corners. Loose tape, bubbling board paper, chalky filler and visible screws need attention before a mural goes up. An old plasterboard wall can be complicated by previous wallpaper removal that lifted the paper face. Repairing that damage may require more than another coat of paint. If the board is soft from water exposure, locate and fix the source of moisture rather than hiding it. Wallpaper is not a structural repair or a damp-proof layer.
The Wallcoverings Association's surface guidance stresses that a wall should be clean, dry and sound before hanging. New board should also be free of dust and contamination. Read its advice alongside the instructions for the exact material you bought, because wallcovering systems vary. The decision diagram below separates surface condition from finish compatibility; passing one check does not automatically pass the other.
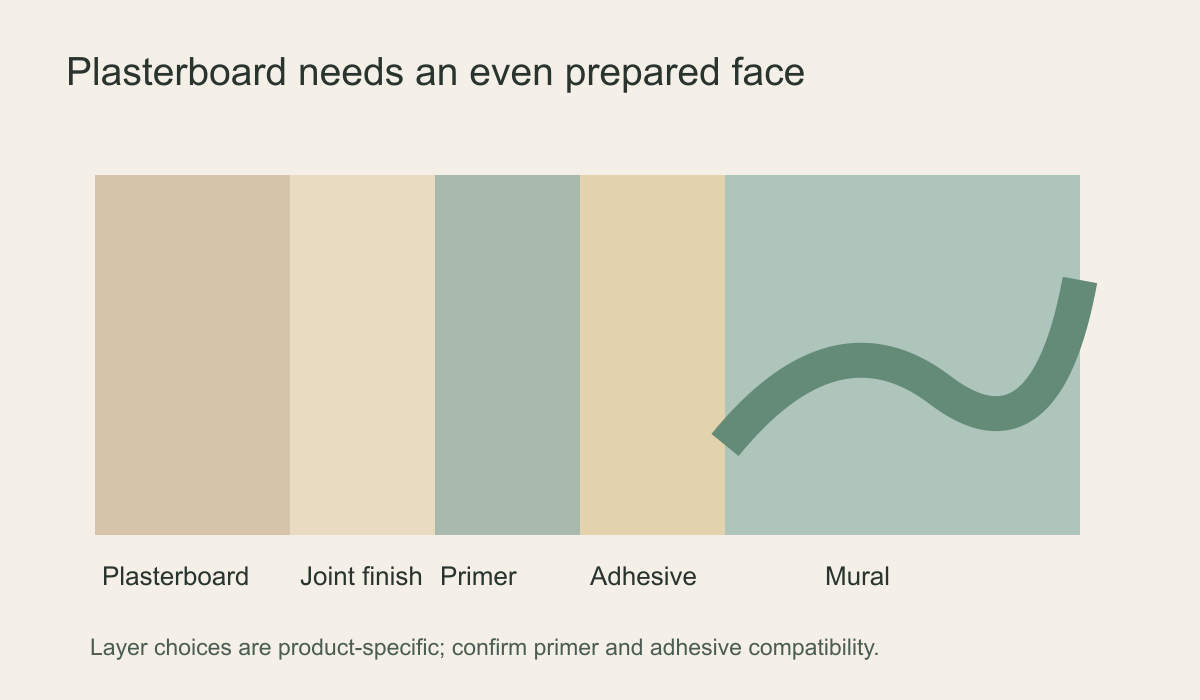
A go, pause or stop check
Go: the board is firmly fixed, joints are level and fully dry, the surface is dust-free, and the selected primer, adhesive and mural are confirmed as compatible. Once the coating has dried or cured for the required time, measure the finished wall and lay out the panels. “Go” means preparation is complete enough to follow the supplier's installation instructions, not that every wallpaper can use the same paste.
Pause: you know the board is sound but cannot identify a previous paint or sealer, or the chosen finish has a special adhesive requirement. Obtain product details and, if advised, trial the complete system on a small area. A trial should include the actual primer and mural material, not only a dab of paste on bare filler.
Stop: the paper face is torn or lifting, the board feels soft, joints are cracking, or staining suggests ongoing moisture. Repair the cause and substrate first. Covering such signs with an opaque scenic print may conceal them temporarily but will not stabilise the wall behind it.
Hand over a finished board surface, not a newly covered frame
Where plasterboard is part of a renovation, the wall should be assessed after the final jointing, filling and coating work, not while it is still an apparently flat run of new sheets. Check the board face and every joint again after nearby sanding or trim work; fine dust can return to a surface that was cleaned yesterday. Keep records of the joint treatment, primer or sealer, any paint and their completion dates. Those facts let the wallcovering supplier or installer judge the actual surface against the chosen material's instructions rather than guessing from the word “plasterboard”.
Ask one explicit compatibility question at handover: does the finished layer stack—board paper, joint filler, named primer or sealer, paint if present, and the selected mural's adhesive system—have an approved application method? For a paste-applied finish, the concern includes how the adhesive dries across board and jointed zones. For a self-adhesive finish, it includes the condition and cure of the coating to which the backing will attach. A trial on one neat central patch cannot excuse loose paper face or powdery filler elsewhere.
Record changes made after the mural was measured. New skirting, a rebuilt corner or a repaired window reveal can alter the finished boundary and the position of a seam or focal subject. Recheck the completed wall against the approved crop before production or fitting. If a joint ridge remains under a planned seam, flatten the substrate rather than asking the installer to press the print harder over it. This board-specific sign-off is separate from the general panel installation sequence.
If an edge of the board paper lifts, a repaired joint powders, or moisture marks reappear while other work continues, stop and investigate the substrate before any panel is attached. Protect electrical fittings and use a qualified person where electrical work is required; do not treat a mural as a way to conceal an unfinished socket cut-out. The aim is to release a stable, documented wall for decoration, not to make the printed image compensate for defects beneath it.
Do not infer the substrate from a finished photograph
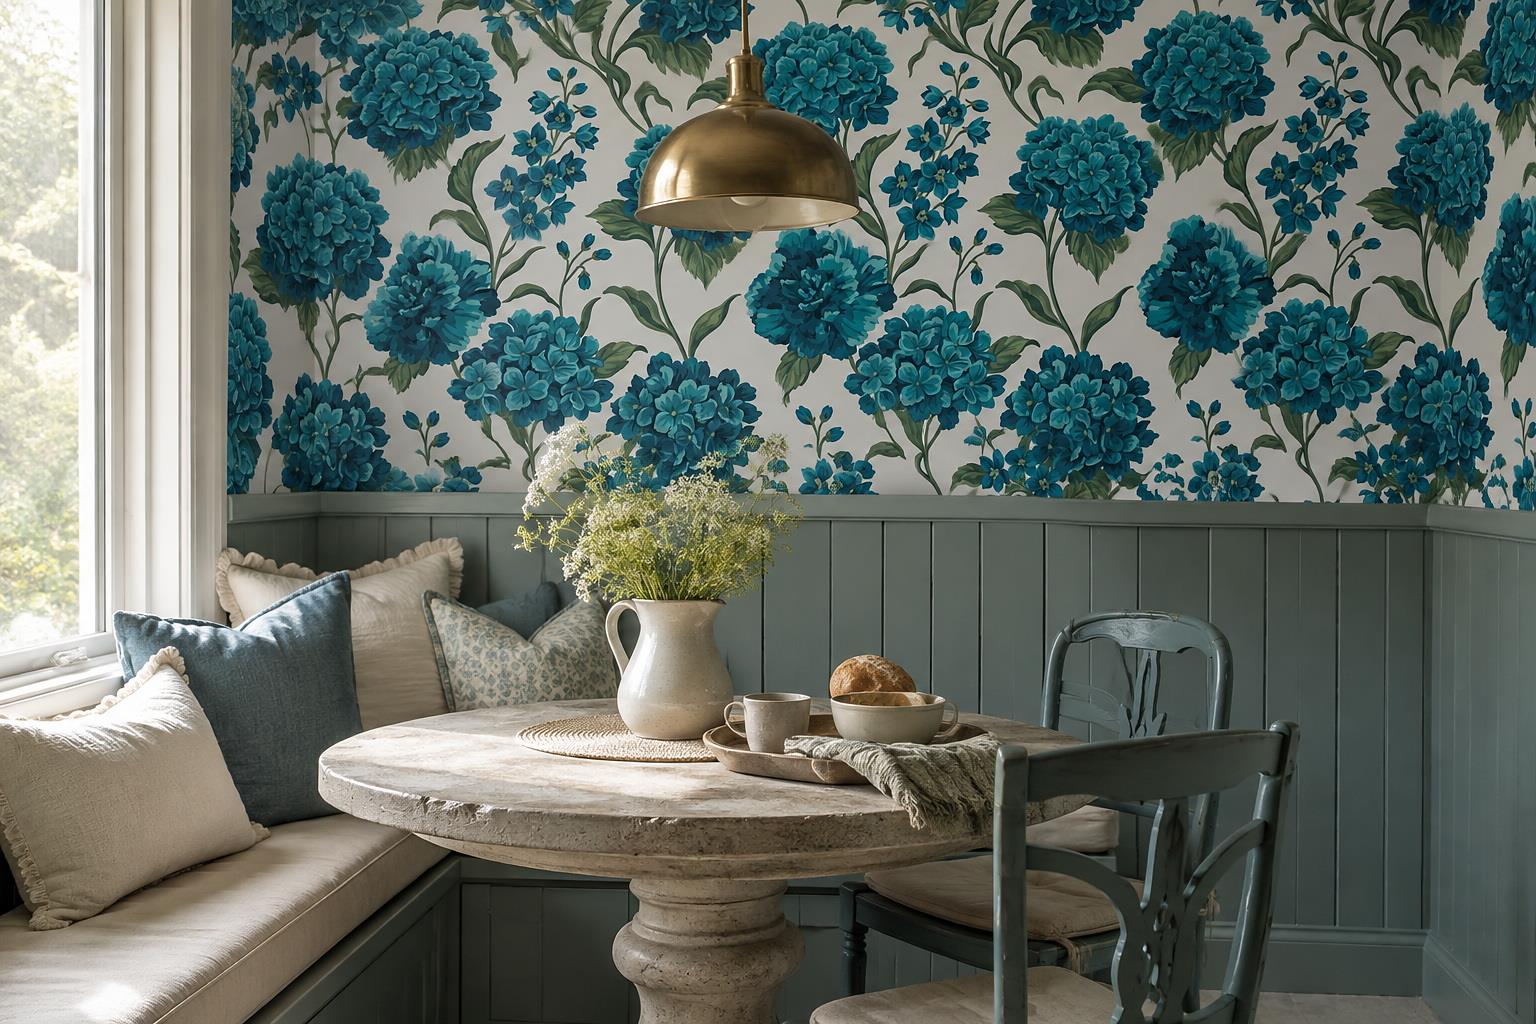
The styled dining nook below shows a bold blue floral mural above panelling. It is useful for seeing how a finished wallcovering can meet trim and a window reveal, but the image cannot reveal whether the wall behind it is plasterboard, plaster or another material. It is not evidence that the same print can be placed on raw board or that its adhesive is compatible with every primer.
Think about eventual removal now
How the board is prepared can affect what happens when the mural is removed years later. Raw board paper may tear, while a suitable sealed surface may be easier to redecorate; the outcome still depends on the wallpaper, adhesive, wall condition and removal method. Ask for the maker's removal instructions before installation. Do not promise yourself damage-free removal just because the product description uses the word “removable”. Keep a record of the primer, adhesive, mural finish and installation date for future work.