Can You Use a Mural on Only Part of a Wall?
Plan a partial mural around furniture, paint boundaries, panelling, alcoves and deliberate feature-wall proportions.
Article focus: pricing and measurement
The cost and measurement decision
Start with accurate wall measurements; the final custom mural price depends on area, material and any finishing options.
Example application: Any room with a suitable, prepared wall · pricing and measurement
Yes, a mural can occupy only part of a wall. The useful question is not whether the printer can make a smaller rectangle; it is where that rectangle will end and how each visible edge will read in the room. A framed panel above a sofa, a scene above wainscoting and a mural fitted into an alcove are three different projects. Each has a different finished boundary, so choose the arrangement before approving the crop or entering custom dimensions.
Option one: a framed panel on a painted wall
A free-standing mural rectangle can work like oversized artwork when its border is deliberate. Temporarily mark the outer visible shape on the wall and view it from the doorway and seating position. Align it to the sofa, bed or another strong room element rather than automatically centring it between two corners. If the painted margin is 25 cm on one side and 80 cm on the other, ask whether the asymmetry has a purpose or merely reflects a measuring shortcut.
Decide whether moulding will cover the mural's outer edge or sit just beyond an exposed cut edge. That changes the order and fitting brief. The print must be large enough to reach beneath planned trim where the chosen method requires it, but the important artwork must stay inside the visible opening. Do not assume the carpenter, painter and wallpaper installer are working from the same rectangle unless the elevation drawing labels both the visible opening and the material behind the frame.
A mural behind a sofa is not necessarily a partial mural. If the print continues to the floor but furniture hides the bottom, it remains a full-height installation. A true framed panel has a finished lower edge above or behind the frame. Consider what the wall would show if furniture were moved later; the boundary should still look intentional.
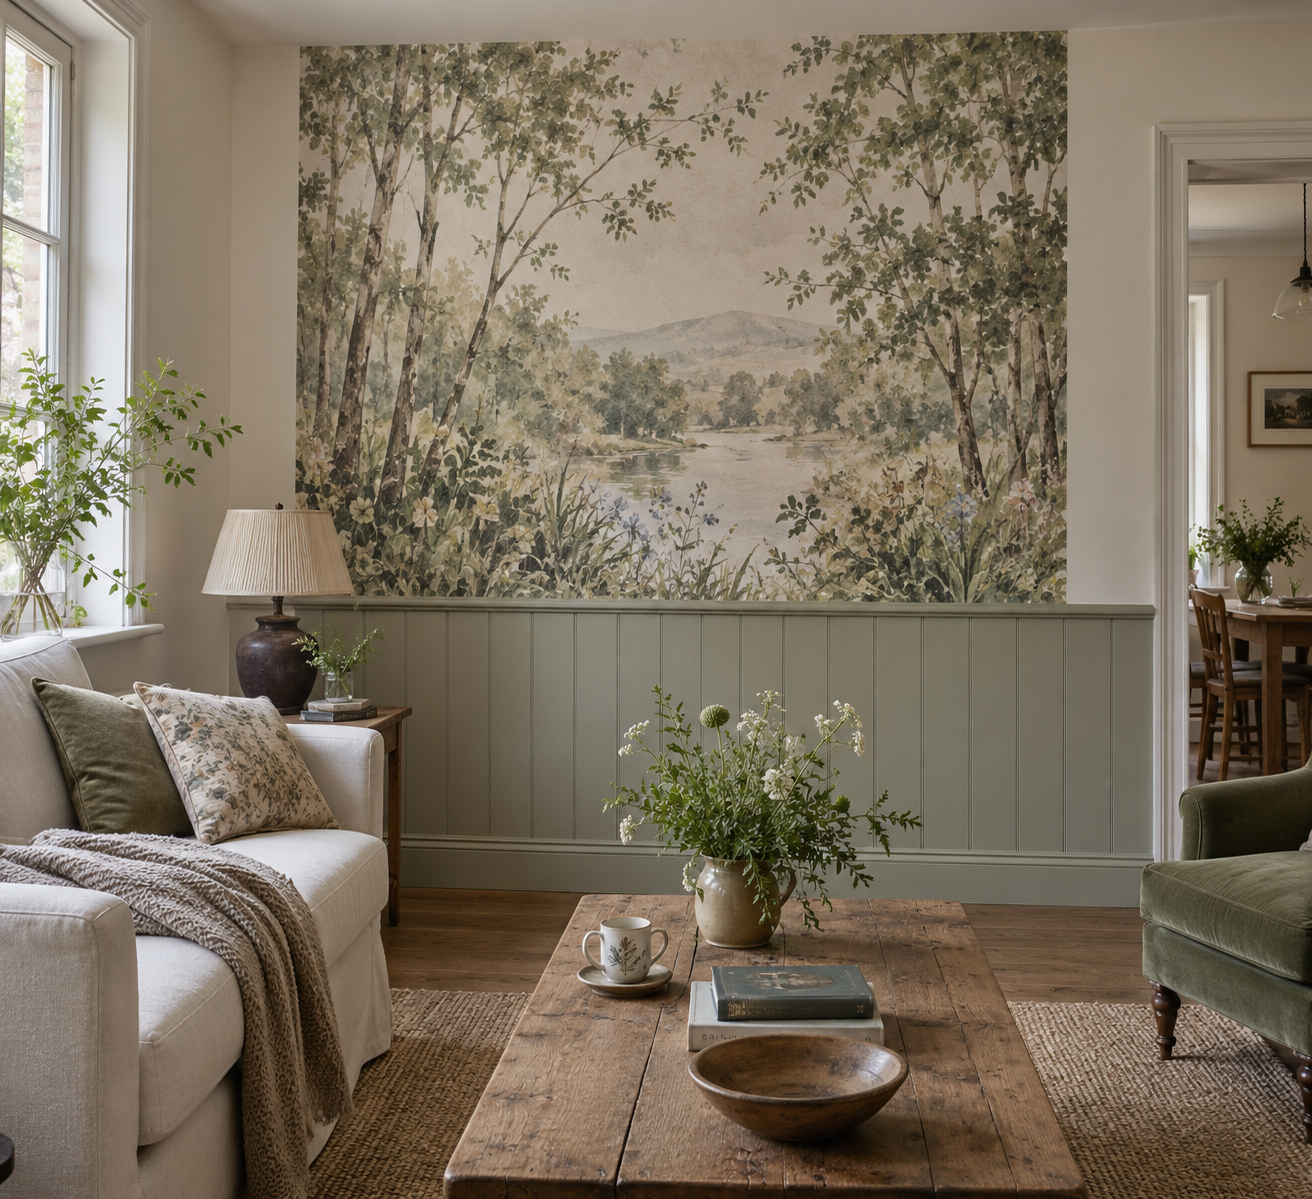
Option two: above wainscoting or a picture rail
Here the architectural line supplies at least one clear edge. Measure from the installed top of the panelling to the intended upper finish, not from a planned but unbuilt rail. Check height at several positions; an old floor can slope while the rail was fitted level, or vice versa. Measure the width of the actual mural area independently of the full wall, especially if the design will end at pilasters or fitted cupboards rather than at room corners.
Review the crop as it will appear above the rail. A long scenic mural can lose its foreground when the lower part is removed from the composition. A panoramic sky may work in a shallower band, while a tall tree could be cut awkwardly. Judge the artwork inside the visible area, not in the catalogue's full-wall photograph. If a moulding cap covers the lower printed edge, give the installer the finished cap height and the supplier's trim instructions before printing.
Confirm the sequence of painting and papering. Surrounding paint should be finished and cured according to the paint and mural suppliers before the mural is attached. Do not rely on painter's tape over a fresh wallpaper edge to create a straight boundary; it may pull at the print. Agree in advance which trade finishes the rail, trims the mural and touches up adjacent paint.
Option three: inside an alcove or built-in recess
An alcove provides natural side edges but may not be square. Measure clear width at the top, middle and bottom and clear height on both sides after shelves or trim are installed. Record the smaller readings as well as the largest so the installer knows how the recess tapers. A drawing made before cabinetry is fitted is not a substitute for measuring the finished opening. If the mural is meant to continue onto the returns, treat those as separate surfaces in the brief rather than assuming the back-wall image wraps automatically.
A recess also changes the viewing distance. An intricate scene may disappear behind shelves, while an oversized motif can be cropped so tightly that it no longer reads as intended. Mark the actual shelves, lighting and objects on a separate sketch beside the crop preview; the standard preview does not place them for you. Ask whether the focal point is visible from the room entrance and from the seat nearest the recess. A background pattern may be more forgiving than a single face or building placed near a shelf edge.
If the recess contains a radiator, outlet or other fitting, show its exact position. Do not plan the artwork as though the opening were empty and then ask the installer to improvise around fixed services. Electrical work should be handled by a qualified person. The crop and finishing details are easier to resolve before the material is printed.
Translate the visible size into an order size
Label two rectangles on the drawing: the finished image opening and the larger printed area, if the chosen edge method requires concealed material behind a frame or rail. An exposed cut edge may instead need a supplier-approved finishing detail. Confirm that detail before you add allowances, because a border hidden by moulding and a border left visible are not interchangeable. Show the same drawing to whoever makes the trim and whoever installs the mural so neither works from a different edge.
Suppose a framed mural's desired visible rectangle is 180 cm wide by 120 cm high. Mark that exact area on a wall elevation and specify whether the frame covers any printed edge. Solowalls' current ordering guidance asks customers to add about 10 cm (4 in) to both overall dimensions for fitting trim. If that guidance applies to this layout and no allowance is already included, the entered size would be approximately 190 cm by 130 cm. Confirm the framing method with the supplier or installer before ordering; do not add the same allowance twice.
A small mural is more sensitive to a careless crop. Ten centimetres of extra printed size may change what is shown near its edges, even though much of that area will be trimmed. Draw the finished visible rectangle inside the ordered print on a sketch and ask the supplier to check the relationship if the crop is critical. The important face, flower or horizon should not sit in the cut zone. The Wallcoverings Association's planning guidance likewise stresses placing key design elements and seams with the architecture in mind.
Exposed edges also make surface condition more obvious. Prepare a clean, dry, smooth and sound wall, especially around the perimeter. The Wallcoverings Association's surface guidance treats preparation as essential to adhesion. Follow the selected material's edge and trimming instructions; do not add an unapproved sealer or extra glue to make a raw border look “finished”.