How Long Should Mural Wallpaper Adhesive Dry?
Explain why drying depends on the material, adhesive, wall, ventilation, temperature and supplier instructions rather than one fixed time.
Article focus: pricing and measurement
The cost and measurement decision
Start with accurate wall measurements; the final custom mural price depends on area, material and any finishing options.
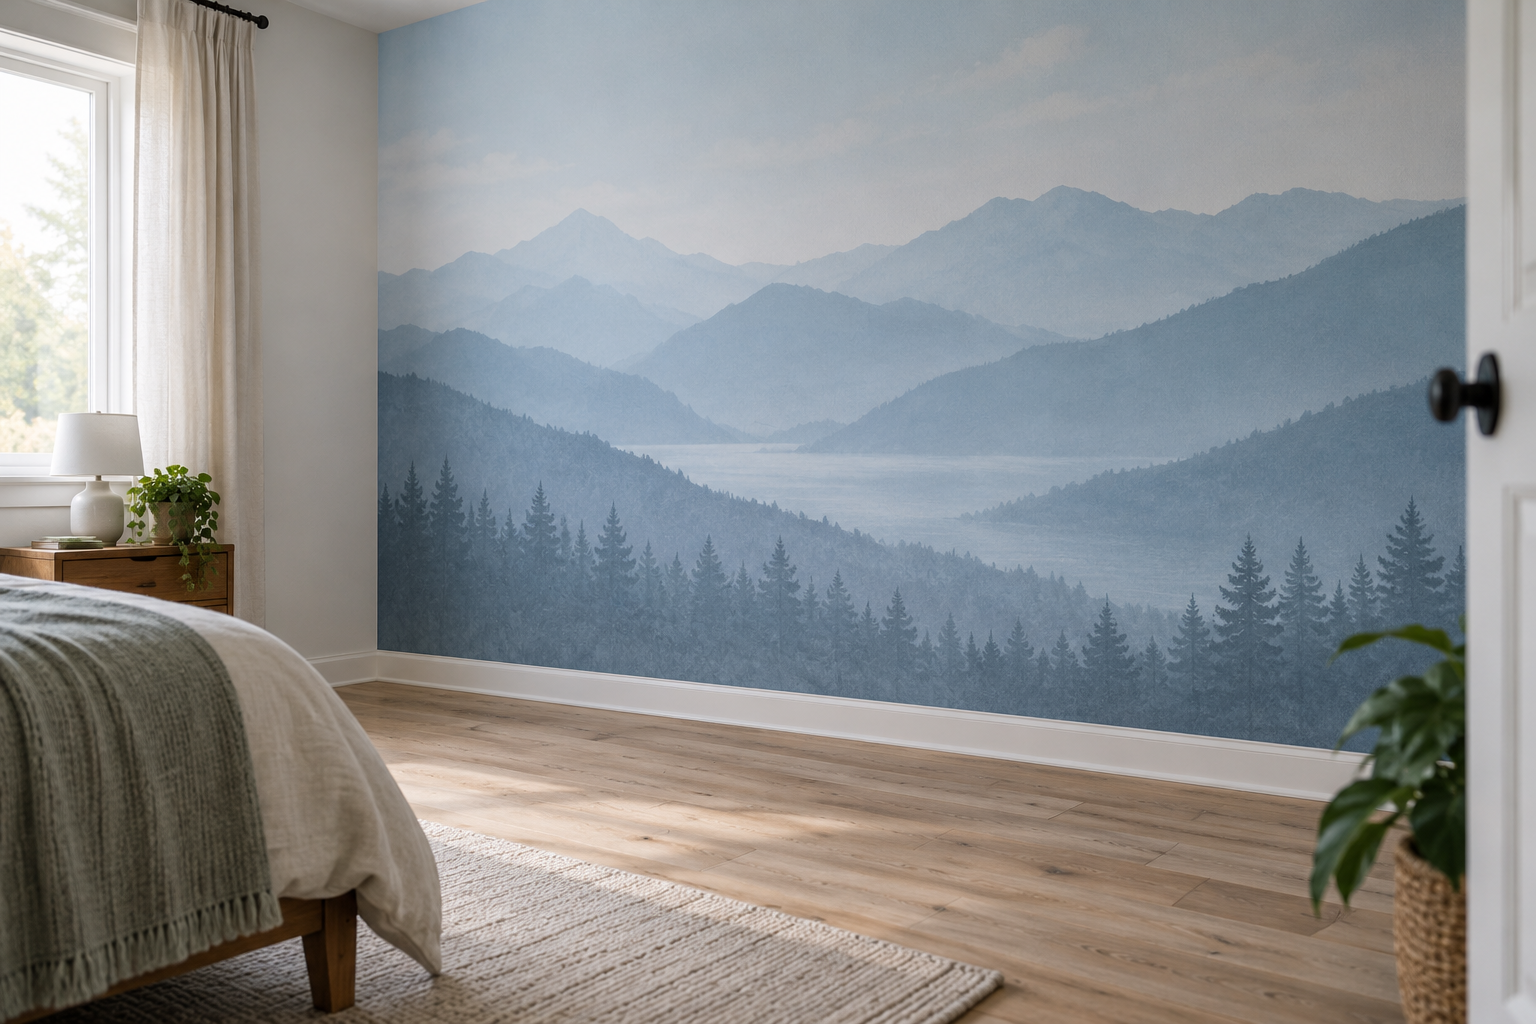
Example application: Bedroom · pricing and measurement
For a mural installed with wet wallpaper paste, allow the time specified by its adhesive and wallcovering makers rather than relying on a universal countdown. As a broad reference, Graham & Brown gives 24–48 hours as an average for wallpaper drying, while noting that some installations take much longer to set fully. That range is not a promise for a particular mural. Humidity, temperature, ventilation, the wall and the adhesive all matter; a peel-and-stick mural has a different process altogether.
First identify what needs to dry
Paste-the-wall and other pasted murals use a wet adhesive, and moisture must leave the assembly while the bond develops. Some papers require booking or soaking before hanging; that is preparation time, not the installed wall's drying time. The York Wallcoverings installation guide explains booking for traditional wallpaper. Pre-pasted products have their own activation instructions and, once hung, their own drying requirements.
Peel-and-stick material arrives with an adhesive layer and release liner. It does not “dry” in the same way as newly applied paste, but it still needs the manufacturer-specified wall preparation and firm contact. A freshly painted wall may need a separate curing period before any wallpaper is installed. The York instructions for one peel-and-stick product give a paint-curing requirement specific to that product; do not turn it into a universal rule for every mural.
For a pasted mural, start the record when the last panel is hung. Keep the adhesive label and note the exact wallcovering finish, not just the artwork name: one design can be supplied on different backings. If a contractor supplied the paste, ask for its product name and aftercare instructions before scheduling furniture, cleaning or another trade.
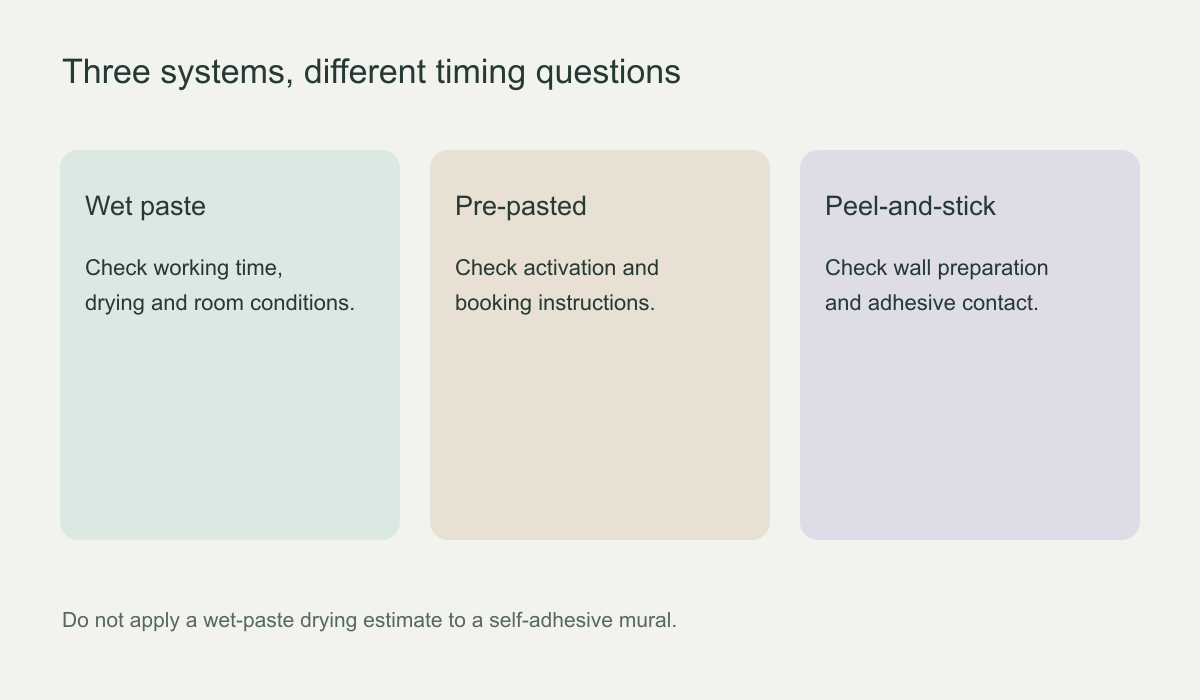 Different adhesive systems have different clocks and preparation requirements.
Why a fixed countdown is misleading
Even a named paste may not come with a guaranteed hour count. ROMAN's GH-34 product information, for example, says drying varies with temperature, ventilation and humidity rather than promising a fixed time. The 24–48-hour industry reference is useful for planning a provisional window, but the maker's instructions and the conditions of the actual installation decide what can happen next.
Separate “initial tack”, “working time” and “dry enough for normal use”. Initial tack is the grip you feel as the panel goes onto the wall. Working time is the period in which the product may still be repositioned or seams adjusted according to its instructions. Drying is the later change as the adhesive and wallcovering stabilise. A panel can hold in place while its paste is still wet; a firm-looking surface is not proof that the whole assembly has finished drying.
Read each time on a label together with its verb. “Apply within” describes working time; “book for” is a preparation step for certain papers; “dry before decorating” is a later clearance condition. None automatically tells you when a headboard can be moved close to the mural or a mark can be wiped. Ask about the next action by name and allow flexibility in the room schedule rather than treating the earliest estimate as a deadline.
Keep paint cure before installation, paste drying after installation and room reopening as three separate milestones. For example, the four-week painted-wall requirement in York's cited peel-and-stick instructions applies before that product is installed. It is not four weeks of wallpaper-adhesive drying afterwards. Conversely, a 24–48-hour wallpaper estimate cannot shorten a paint manufacturer's cure requirement.
Room conditions can lengthen or disrupt drying
Humid air and poor ventilation can slow moisture leaving a pasted wallcovering; low temperature may also affect the adhesive. Do not try to force a timetable with intense heat or a fan aimed at fresh seams. Keep the room within the adhesive and mural makers' stated environmental range and avoid abrupt changes. The next article considers humidity during installation in more detail; here its practical effect is that a stated drying range may not describe your room.
Wall preparation matters as much as room air. A damp wall, leaking pipe or persistent condensation is not merely a reason to “wait longer”. Fix the source and assess the substrate before hanging. Loose paint or an unsuitable primer can cause failure even after the paste has apparently dried. The Wallcoverings Association's surface-preparation guidance emphasises a suitable wall before installation.
If one area remains different, note whether it is an external wall or a newly repaired patch. Uneven absorption may be relevant, but staining, a musty odour, soft plaster or repeated lifting warrant investigation rather than a longer countdown. A wall with an active leak is a substrate problem, not slow paste.
In the pictured bedroom, the blue mountain scene looks finished, but its flat appearance cannot reveal the adhesive, paint age or installation date. The real scheduling question may be when the bed and bedside furniture can return without rubbing the lower mural. Ask the installer about that action; a photograph, a dry-looking colour and a neat seam are not measurements of the bond behind the print.
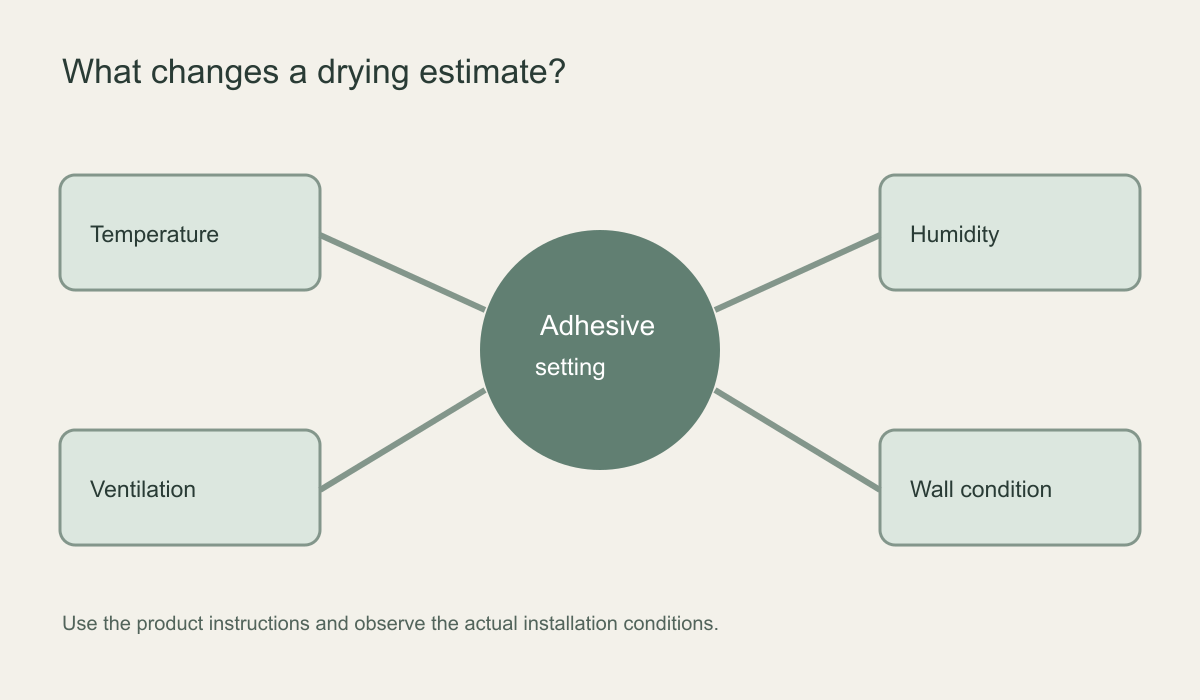 Drying time is an interaction between product and environment, not just a clock.
What should you avoid while the mural settles?
Do not pull open seams or keep lifting panels to test whether they have dried. Repeated handling can disturb the bond and image alignment. Avoid aggressive wiping on a fresh printed surface; clean paste residue only as the product instructions direct. Keep furniture from rubbing the wall while the installation is vulnerable, especially at edges and joins. If you need to inspect progress, use sight and gentle observation rather than pressing or peeling.
Look at the seams in normal light and date photographs of any change. A stable cosmetic variation is different from a gap that grows, an edge that keeps lifting or a patch that stays damp. Give the supplier or installer the product and adhesive names, wall preparation, hanging date and photographs. Do not assume every bubble will vanish with time or add adhesive to an opening join before its cause is known.
Where do published time estimates fit?
A printed time is meaningful only for the product and conditions named beside it. The broad 24–48-hour figure describes an average, not a test that the wall has passed. Graham & Brown also notes that some wallpaper can take substantially longer before adhesive is fully set. If the installer and the current product sheet disagree, ask them to resolve the difference before cleaning, painting nearby or scheduling other work. Do not average estimates from unrelated adhesives.
Ask for clearance for the action you need
Give the supplier or installer the exact finish, adhesive name, wall preparation, installation date and room conditions. Then name the action: moving a headboard back, wiping paste residue or restoring normal heat. Ask when that action is appropriate for this material. A different answer for each action is more useful than one unexplained number of hours.
Return the room to use in stages
Once the installer confirms that ordinary room use can resume, return movable items without touching the wall and keep headboards or heavy cabinets clear until their separate clearance is given. Clean residue only by the approved method, and leave drilling or refitting wall-mounted objects until the installer confirms the installation is ready for that work. If a seam opens or damp staining appears at any stage, pause that next activity and report the change; elapsed time alone does not clear the wall for every task.