Why Do Mural Wallpaper Edges Peel?
Review surface preparation, adhesive coverage, wall moisture, handling and room conditions when edges begin to lift.
Article focus: installation and removal
Planning the work and the exit
The right installation method depends on the chosen material and wall condition, so prepare the wall before ordering and follow the material-specific instructions.
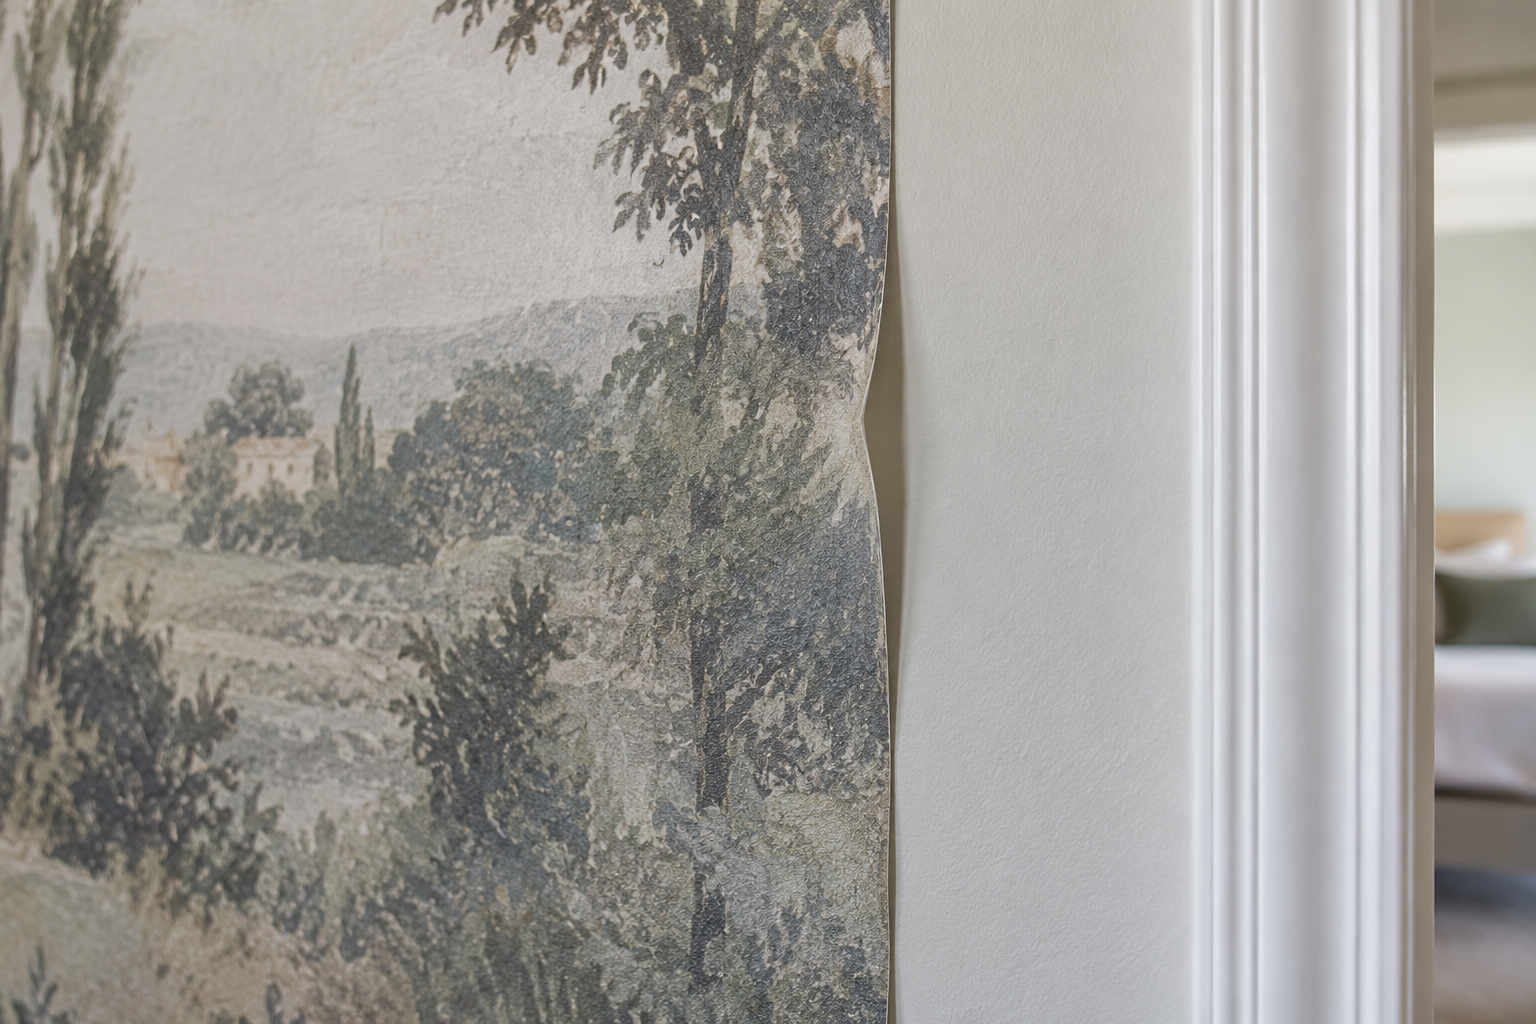
Example application: Bathroom or powder room · installation and removal
A lifting mural edge usually means that one part of the bond has failed, but the failed layer is not always the wallpaper adhesive. A dry corner may have been disturbed by handling, several seams may point towards installation or surface conditions, and paper coming away with paint suggests the wall coating itself is weak. Dampness is a separate stop sign. Identify the pattern and the layer that has released before choosing any repair for the particular material.
Locate the peeling pattern first
Look at whether the problem is limited to an outer edge, appears along a panel seam or occurs across broad areas. A single edge near a door can be exposed to handling or repeated rubbing. Several joins lifting in different places may suggest installation or surface-preparation issues. Wallpaper separating together with loose paint is different again: the bond may have failed in the wall coating, not between paper and adhesive.
Photograph the edge without pulling it farther away. Record when it appeared: during installation, just after drying, following a temperature or humidity change, or much later. Note whether it is close to a bathroom, kitchen, external wall, leak or condensation-prone window. These details help a supplier or installer identify the cause without guesswork.
Timing narrows the questions. Lifting during hanging calls for an immediate installation check; seams opening during drying call for a review of the specified adhesive, wall and room conditions. An edge that had been sound for months raises different questions about contact, cleaning, rubbing or changes beneath the covering. These are clues, not proof of any one cause.
Inspect only what is already exposed. Paint flakes on the back of the covering suggest the coating may have released; a powdery wall or stained patch points to another substrate question. Do not peel sound material back to investigate, and avoid repeatedly touching self-adhesive backing. If the print or wall begins to tear, preserve the condition for the supplier or installer to assess.
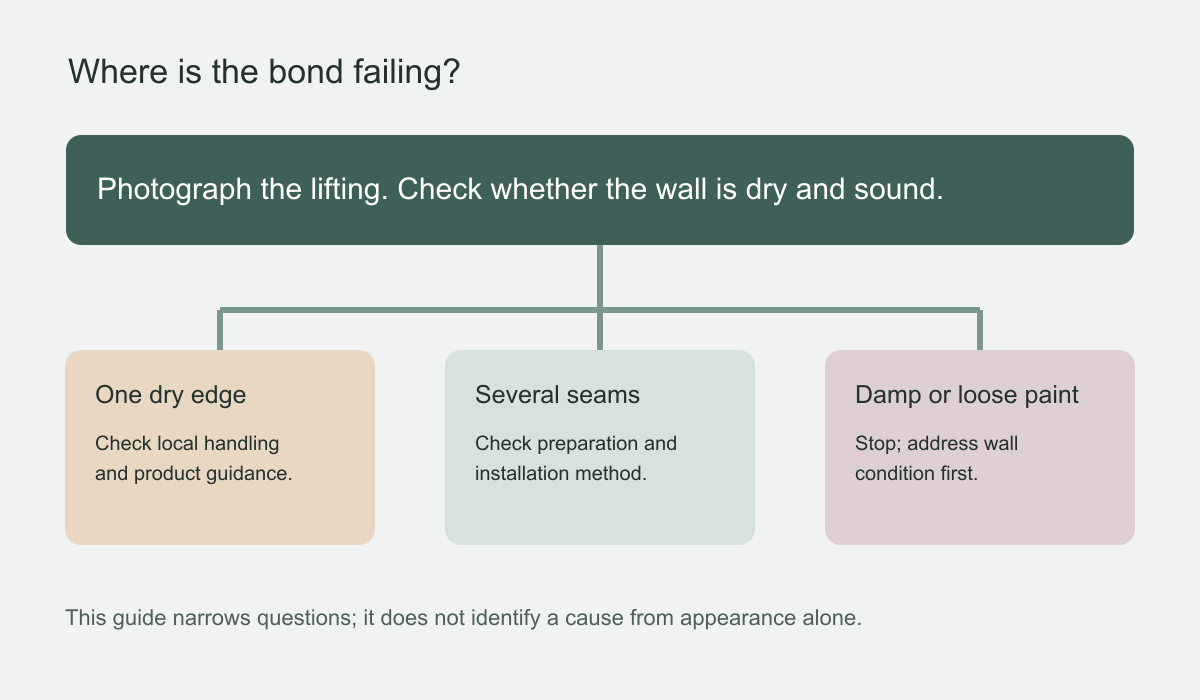 Start with the pattern of failure before choosing a remedy.
Surface preparation is a common place to investigate
Wallpaper needs a sound, suitable substrate. Dust, grease, chalky paint, loose filler or an unstable old coating can prevent reliable adhesion. A wall may feel smooth to the hand and still be poorly prepared. New paint may also need the curing time required by its manufacturer; “dry to touch” does not necessarily mean ready for a wallcovering. Follow both the wallcovering and paint-maker's instructions.
If the wallpaper comes away with flakes of paint attached, do not assume a stronger glue will solve the problem. Adhesive cannot make a weak paint layer sound. The affected coating needs proper assessment and preparation before a durable reinstallation. Likewise, textured walls can leave too little continuous contact area for some peel-and-stick products. Do not treat a small lifted edge as proof that the entire mural was printed incorrectly.
Compare the failed zone with a sound part of the same wall. A lifted strip that follows a filled patch or newer paint points to a local preparation difference worth checking. Several panels releasing on one wall, while panels elsewhere remain sound, similarly directs attention to that wall's condition before any assumption about the entire print run.
The York Wallcoverings peel-and-stick instructions emphasise a clean, dry, smooth surface, alignment and smoothing during installation. Those directions are product-specific; another material may require paste, primer or a different wall condition. Use the instructions for the exact mural and finish purchased rather than a generic video.
Moisture must be ruled out before any repair
A wet, stained, musty or repeatedly damp area is not a place to simply stick an edge down again. Water can weaken coatings and adhesive and may indicate a leak or condensation issue. If the wall feels damp or shows staining, stop and address the source before repairing wallpaper. Repeated peeling in the same area after a cosmetic fix is a reason to investigate the substrate, not to add more adhesive each time.
Pay attention to the location. Peeling directly beneath a window, near plumbing or on an external wall may have different causes from a dry internal wall beside a busy doorway. Humidity by itself does not prove the cause, and a photograph cannot diagnose hidden moisture. If you cannot tell whether the wall is dry and sound, ask a qualified local professional to inspect it.
Do not cover a stained or softened area with another panel simply because it can be smoothed flat. Record whether marks return after rain, bathing or heating and ask an appropriate local professional to investigate the source. The wall must be suitable before an adhesion repair or replacement is considered.
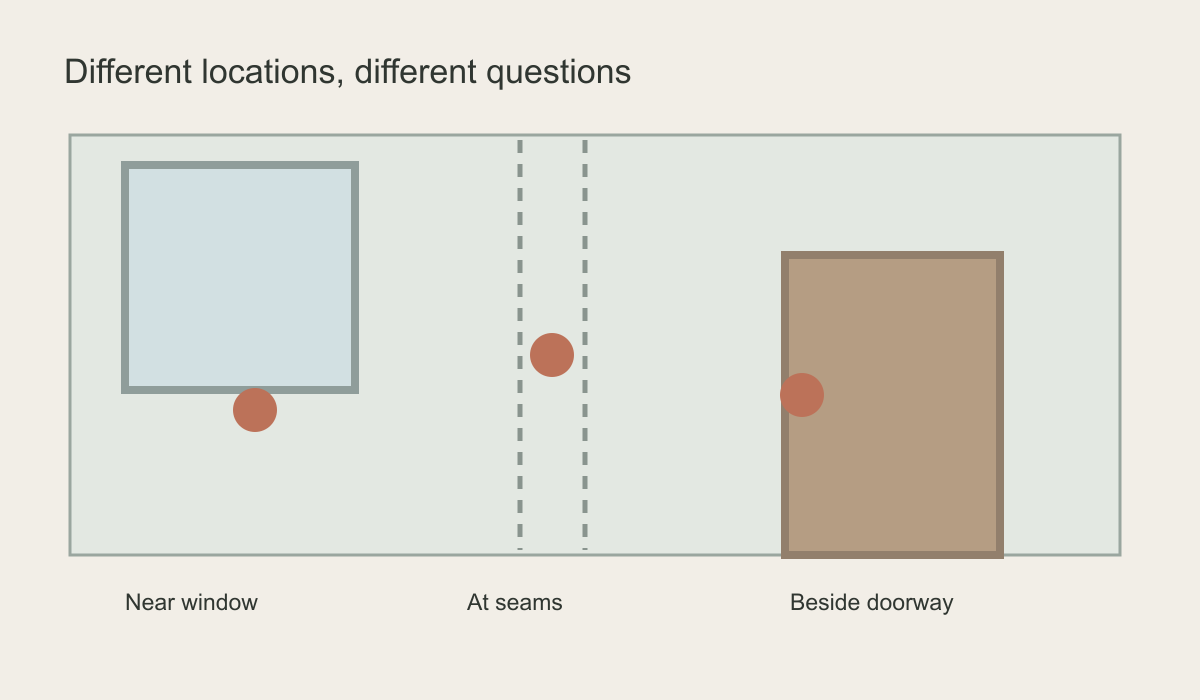 Where an edge lifts can narrow the questions, but it does not prove the cause.
Adhesive and installation method make a difference
Peel-and-stick wallpaper relies on its supplied adhesive layer. Paste-the-wall and other pasted products use a separate adhesive selected for that material and surface. An under-applied, unsuitable or incorrectly handled adhesive may leave sections poorly bonded. On a pasted mural, drying conditions and panel handling can also affect the seams. On a self-adhesive mural, touching the adhesive repeatedly, applying it over unsuitable paint or trapping dust can reduce contact.
Do not assume all lifted edges should be treated with the same tube of seam glue. An unapproved adhesive may stain the print, affect removability or be incompatible with the material. Heat, steam or soaking can make a small problem worse. Check the manufacturer's installation and repair guidance first. If you used a professional installer, let them see the original condition before attempting an irreversible fix.
Seam gaps also deserve careful inspection. Panels that were not aligned or pressed according to the product instructions may show an obvious join. Pulling one panel hard to close a gap can distort the print or create tension elsewhere. If several seams open together, investigate the wall and installation method before treating each join as a separate cosmetic issue.
Is it peeling, bubbling or a visible seam?
These complaints look similar from a distance but call for different checks. A lifted edge has visibly lost contact. A bubble is a pocket beneath an otherwise attached area; the separate guide to mural wallpaper bubbles deals with its timing and causes. A visible line between panels may be a seam or colour difference without any loss of adhesion. View the wall from an angle in ordinary daylight and record a close-up and a wider photograph before describing the defect to a supplier.
In a picture mural, a seam crossing a branch or horizon may be more noticeable than one crossing a plain background. That does not by itself mean it is peeling. If the edges remain flat, compare them with the installation method specified for that product rather than prising them up to test adhesion. Conversely, a raised lip that catches on a cloth or finger is a real edge condition even if the printed image still lines up. Keep those descriptions separate when you request support.
When can a local edge repair be considered?
A short edge on a clean, dry, sound wall may be suitable for a local repair, but only after the supplier confirms a method for that exact finish. Pasted and peel-and-stick murals do not necessarily accept the same adhesive or technique. Do not pull a panel hard to close a seam, apply heat or add an unapproved glue merely because the lifted area looks small. Document the edge first so the original problem can still be assessed.
Repeated curling, several open seams, paint attached to the backing or any sign of moisture moves the problem out of the simple-repair category. Send the supplier or installer a close photograph, a wider wall view, the affected panel number, installation date and the material or adhesive used if known. An installer or appropriate tradesperson can then advise whether the substrate needs work or a panel must be rehung.
Before fitting a replacement, resolve the cause of the first release. New paper over weak paint or a damp patch is unlikely to stay sound. Once the wall and method have been assessed, follow the finish-specific instructions rather than improvising a stronger bond that could stain or damage the mural.