How to Plan for Mural Wallpaper Removal
Understand how material, adhesive, paint condition and installation records affect a future removal project.
Article focus: pricing and measurement
What to settle before pricing
Start with accurate wall measurements; the final custom mural price depends on area, material and any finishing options.

Example application: Any room with a suitable, prepared wall · pricing and measurement
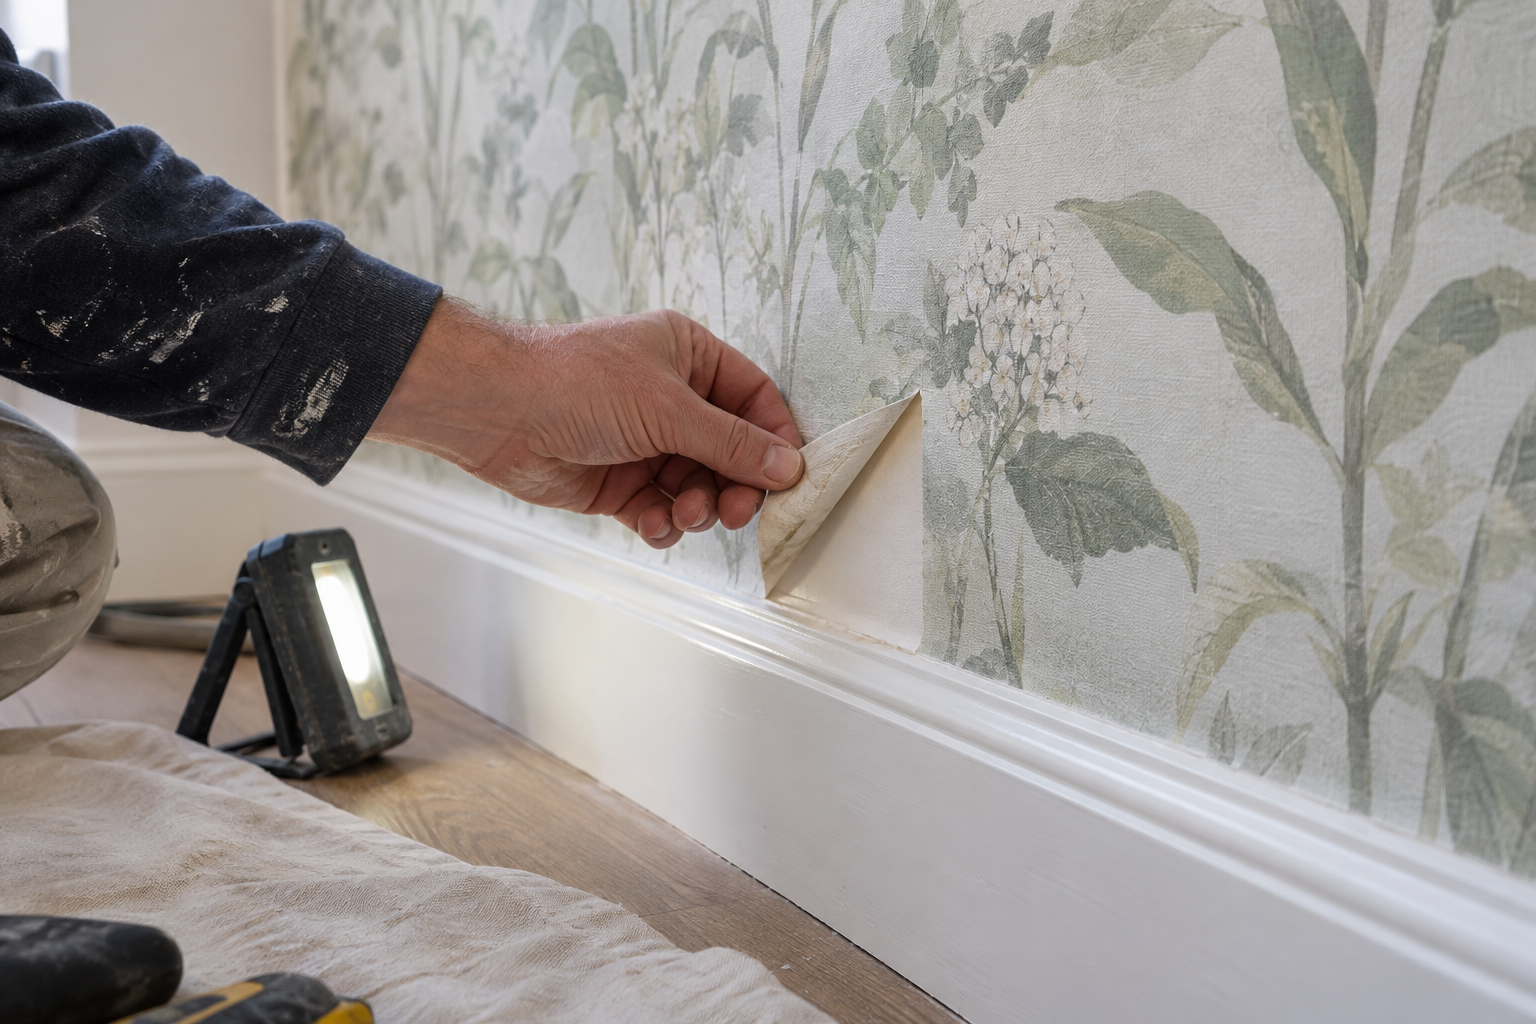
Planning mural wallpaper removal starts with a question that is easy to overlook: what must the wall be ready for afterwards? Repainting a room, replacing one mural with another and handing back a rental all require different levels of finish. The photograph above shows a decorator checking an edge while the room is still in use; that small inspection is far more informative than assuming an entire wall will peel away in sheets. Work out what is attached, what surface supports it and what happens if the first test reveals damaged paint.
Keep a record at installation time
Store the product name, material option, order date, panel layout and installation instructions with photographs of the prepared wall. If a paste was used, record its name and any primer or sealer. If the mural is self-adhesive, retain its specific removal guidance rather than treating all peel-and-stick products alike. Photograph the paint finish, patched sections and areas where the wall was not fully uniform. Years later, these details may explain why one panel releases while another resists.
It is useful to retain a small spare piece of the wallcovering if available. A sample can help identify the material and its face/backing construction when packaging is gone. It may also let a decorator discuss the likely removal approach before working on the whole wall. A spare piece cannot reveal the condition of paint behind the installed mural, so it is only one clue.
Define the end state
Are you removing the mural to repaint, install a replacement, inspect suspected water damage or return a rental to its previous finish? Decide this before booking labour. A new wallcovering still needs a sound, clean substrate suitable for its adhesive; it cannot simply conceal loose paint or old backing. Paint will reveal leftover paste, ridges and patch repairs under side light. For a rented room, confirm the agreed handover finish with the owner or manager before ordering work.
Make the programme conditional rather than booking a new mural for the same afternoon as removal. Set one decision point after the small test and another after the entire wall is exposed. The first tells you whether the planned removal method is appropriate; the second reveals whether cleaning, filling, sealing or repainting is needed. Reserve time for those stages and their specified drying or curing periods before confirming the replacement date. If removal exposes damp or unstable material, the project becomes a wall-repair job first, not a faster wallpapering job.
Make a small test part of the schedule
Choose a discreet area that represents the main wall, not merely a corner that has already lifted. If the wall has known patches or a different paint finish near a window, those may need separate assessment. Follow the product's instructions and note whether the face releases, tears, leaves backing or takes paint with it. Do not interpret a small clean peel as proof that every panel will behave identically. If the wall surface begins to come away, pause before expanding the damaged area.
The close-up below shows the idea of checking a small edge first. It is an illustration of planning, not a universal removal technique. The correct action depends on the wallcovering and the surface behind it. Forcing a dry peel, adding water or using heat without reference to the product and wall can make a manageable task worse.
Identify vulnerable areas in advance
Mark patched plaster, older paint, recently repainted sections, window reveals and corners before anyone starts. These zones may respond differently from the centre of a sound wall. Plan how to work around switches and sockets safely; do not introduce water, tools or heat near electrical fittings without the appropriate precautions and qualified help where needed. If removal reveals damp, mould or a leak, stop treating it as a decorating problem and arrange assessment of the underlying cause.
Ask whether skirting boards, shelves or heavy furniture will limit access to the full panel edge. A mural can run behind a fixed unit, leaving material that cannot be removed without moving the unit. Photograph such areas and agree how far the removal work extends. This is particularly important if a new finish will stop at a different point from the old one.
Gather materials and people before starting
Move furniture far enough away to reach the full wall, protect the floor and skirting, and make space for removed sheets and waste. Keep the product instructions and photographs close to hand. The test should determine which tools and cleaning materials are appropriate; an aggressive scraper, solvent or steamer is not a universal shortcut. If the wall is high, fragile or difficult to access, seek a decorator's assessment before assuming it is a short do-it-yourself job.
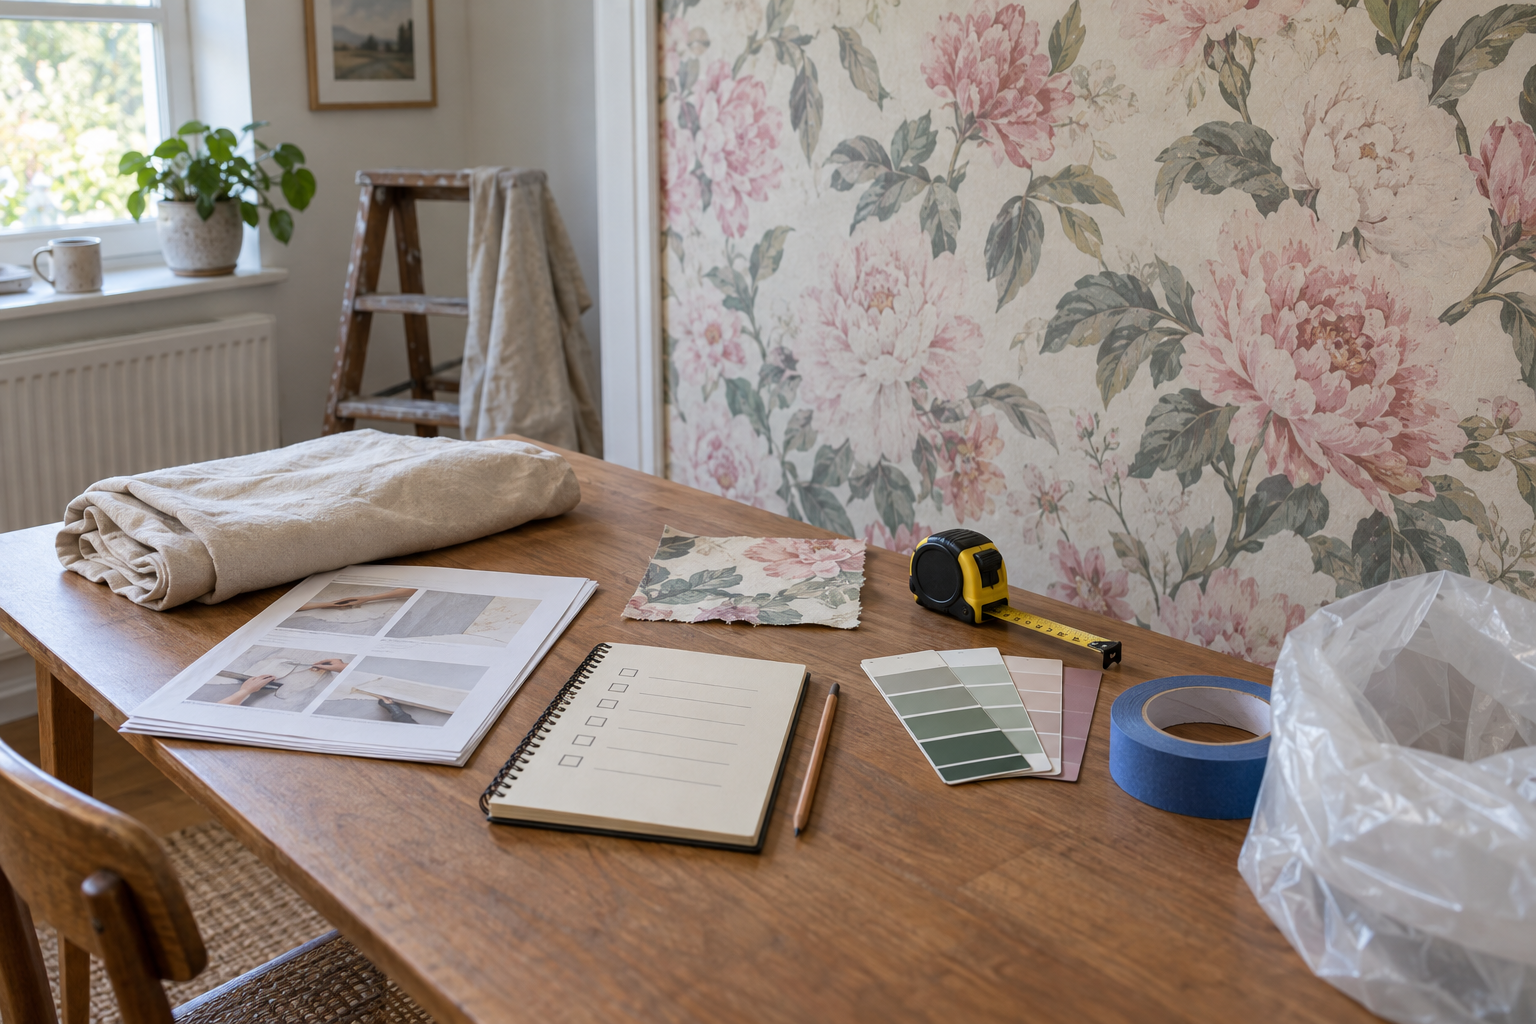
The preparation photograph below shows the sort of documentation and supplies worth assembling: sample, notes, colour reference, floor protection and waste bag. It is not a prescribed kit. A rented property may also require a written record of the wall's condition and an agreed restoration plan. A commercial space may have additional specification or access requirements.
Budget for what the mural may conceal
Removal may uncover uneven paint, old filler, stains or previous wallpaper. Some defects may pre-date the mural; others may occur as the covering comes off. Set aside a repair allowance rather than pricing only the peeling work. Ask a decorator to separate removal, adhesive clean-up, substrate repairs and final preparation in the estimate. If the test exposes a larger problem, agree the revised scope before the work spreads across the room.
Take progress photographs. They help distinguish pre-existing wall issues from damage during removal and provide a useful record for future decorating. Keep removed material and adhesive residue contained rather than letting it contact flooring or furniture. If a wall is being inspected for a moisture issue, photograph the exposed areas before patching them.
Decide whether you need professional help
A smooth, sound wall with a material specifically designed for removal may be a reasonable small project for a careful homeowner. An old wall with several paint layers, unknown wallpaper backing or repeated patch repairs is less predictable. A professional decorator can help assess the substrate and select an approach based on a test, not a label. Specialist building problems such as active damp need the relevant trade, not simply a wallpaper remover.
The important distinction is between planning and method. A blog can help you prepare records, timings and questions; it cannot tell you the safe force, moisture or heat level for every wall. Use the exact product instructions and stop when the wall shows distress. Good planning leaves room for the wall to tell you what work it needs next.