How Visible Should Mural Wallpaper Seams Be?
Learn what affects seam visibility, including wall preparation, panel alignment, lighting, material and installation technique.
Article focus: installation and removal
The installation choice in practice
The right installation method depends on the chosen material and wall condition, so prepare the wall before ordering and follow the material-specific instructions.
Example application: Any room with a suitable, prepared wall · installation and removal
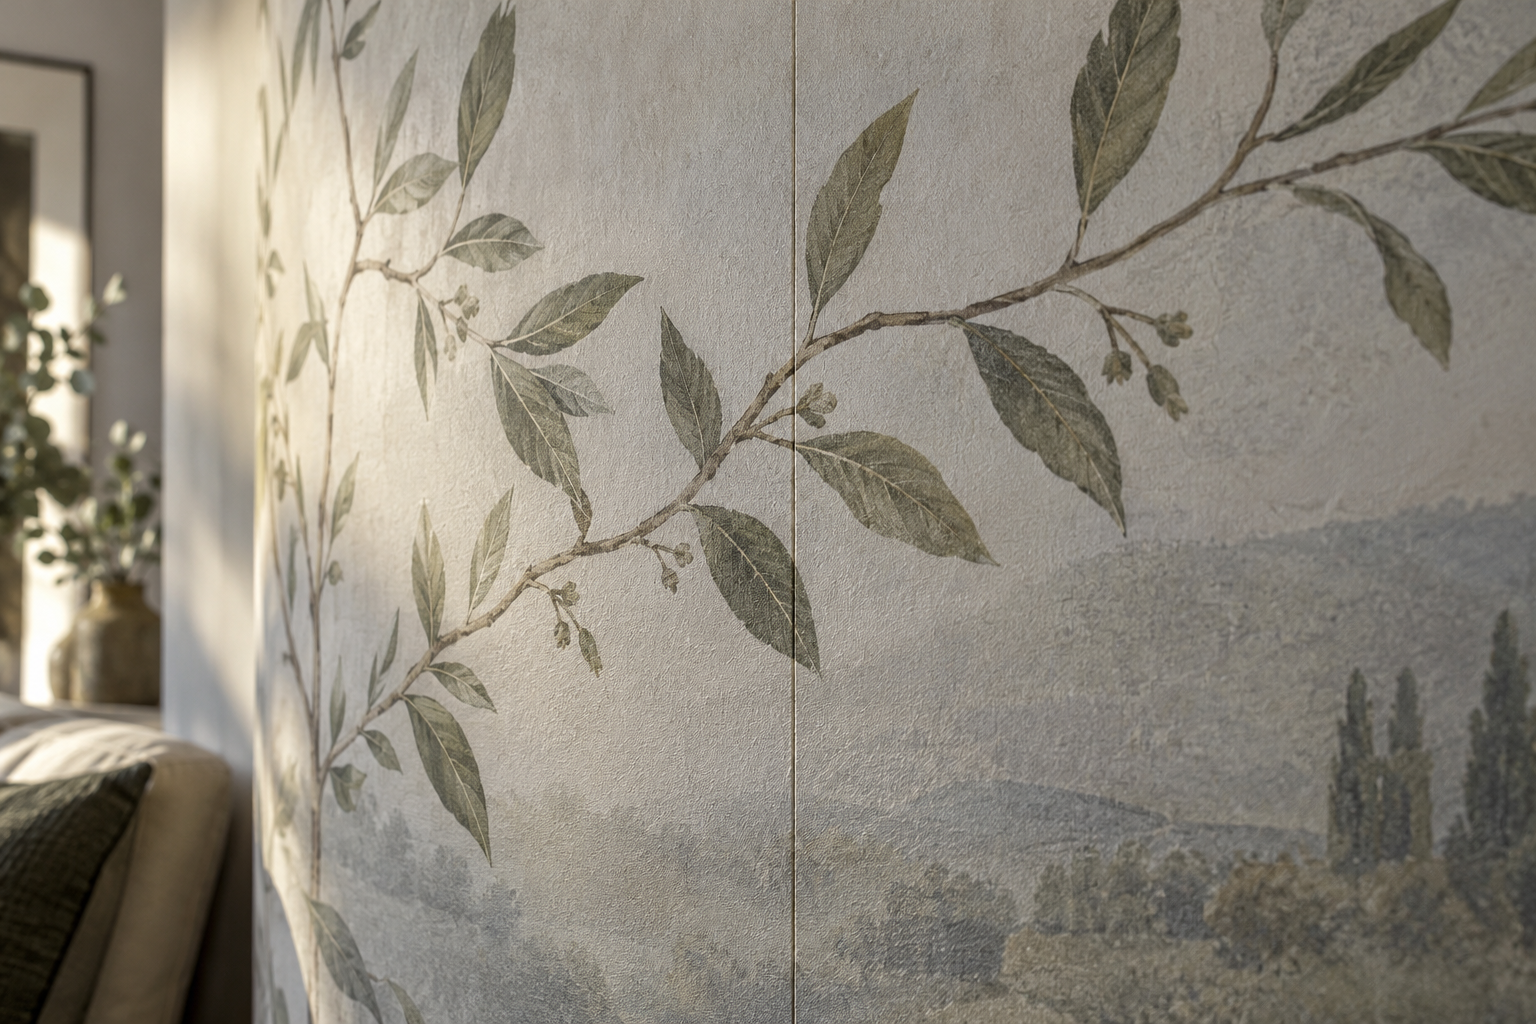
From normal room distance, mural panels should read as one continuous image, although a join may be visible up close or under side light. The illustrated close-up above shows a fine seam with a branch continuing across it; it is not a Solowalls quality standard. A gap showing the wall, a raised edge, a colour stripe or a misaligned branch needs investigation. Check both the physical edge and the printed image before deciding whether a seam is acceptable.
What a well-matched seam looks like
Assess a seam twice: first from your usual seat or doorway, then close enough to inspect the edge. From the room, the composition should continue without a conspicuous stripe. Near the wall, you may be able to find exactly where the printed sheets meet. That alone is not a defect. Check that both edges lie flat and that an identifiable line crosses at the same height. A small colour field can make even a good join easier to locate; a broken branch or horizon points to an alignment problem rather than normal visibility.
Do not assume every material uses the same joint. The site's general installation guide says to butt seams unless the supplied instructions specify an overlap. Some products may require a particular overlap or trimming method. Follow the directions for the actual finish before cutting anything away. Excess pressure cannot turn the wrong seam method into the right one, and an irreversible trim should not be your first response to a visible line.
Why the same join changes with the light
Light arriving almost parallel to a wall reveals tiny changes in relief. A nearby window or wall lamp may show a ridge that disappears under diffuse daylight. Inspect under the light in which you normally use the room, and also under the light that reveals the concern. A strong line that casts a shadow may indicate a lifted edge, trapped material or a bump in the substrate. A line with no shadow but a colour change may be a different issue, so separate the physical and printed evidence.
The scenic mural below is a broad room view, not a close-up of installed seams. Its cranes, trees, bridge and lakeside forms help explain what a good overall match should preserve. If two printed sections were positioned at different heights, a branch or shoreline would visibly jump. This image cannot establish whether its own seams are invisible at arm's length; use your actual wall for that close inspection.

Artwork can either reveal or soften a join
In the close-up, the fine join remains findable against a pale ground even though the olive branch crosses it. A denser floral or brush-like design might draw attention away from a fine straight line, while a nearly plain sky can reveal a slight tone change. A dark mural can make a pale gap to the wall beneath stand out sharply. Pattern complexity changes how easy a join is to spot, not whether correct alignment and a closed edge matter.
Distinguish a physical join from a print variation. If both edges lie flat and the picture matches but one whole panel looks warmer or cooler, compare it with the order image, any physical sample and unused panels in consistent light. Photograph the issue and contact the supplier before cutting further. Stretching a strip cannot change its colour. Conversely, if the hue is consistent but one edge casts a ridge shadow, inspect the wall and fitting rather than blaming the print.
The wall beneath the seam matters
Two edges cannot sit neatly together over a lump, loose paint or dusty repair. The wall must be clean, smooth, dry and prepared for the selected finish, with paint cured as directed. Check for raised filler or projections before the first panel goes up. A plumb starting line also matters: if panel one leans, later joints drift and the temptation is to pull the image into line. That can trade a visible seam for a distorted print.
With peel-and-stick, expose the liner gradually and place each edge carefully before smoothing the rest. With paste-the-wall, use the recommended adhesive and working method; extra paste is not a universal remedy for an uneven join. For either finish, align the next panel to the preceding printed detail without stretching it. Smoothing is meant to seat the sheet and release air, not to rearrange the design.
How to inspect a mural before calling a seam defective
Use three separate checks. First, is the line physical: a gap, overlap, lifted edge or ridge? Second, is the artwork aligned: does a branch, brush stroke or horizon continue correctly? Third, when is it visible: only under severe side lighting, or from a normal seat as well? Take one straight-on photograph and one under the light that makes the problem apparent. If the mural was just fitted, follow the material's drying or settling instructions before deciding what can be judged, but do not assume an obvious gap will close by itself.
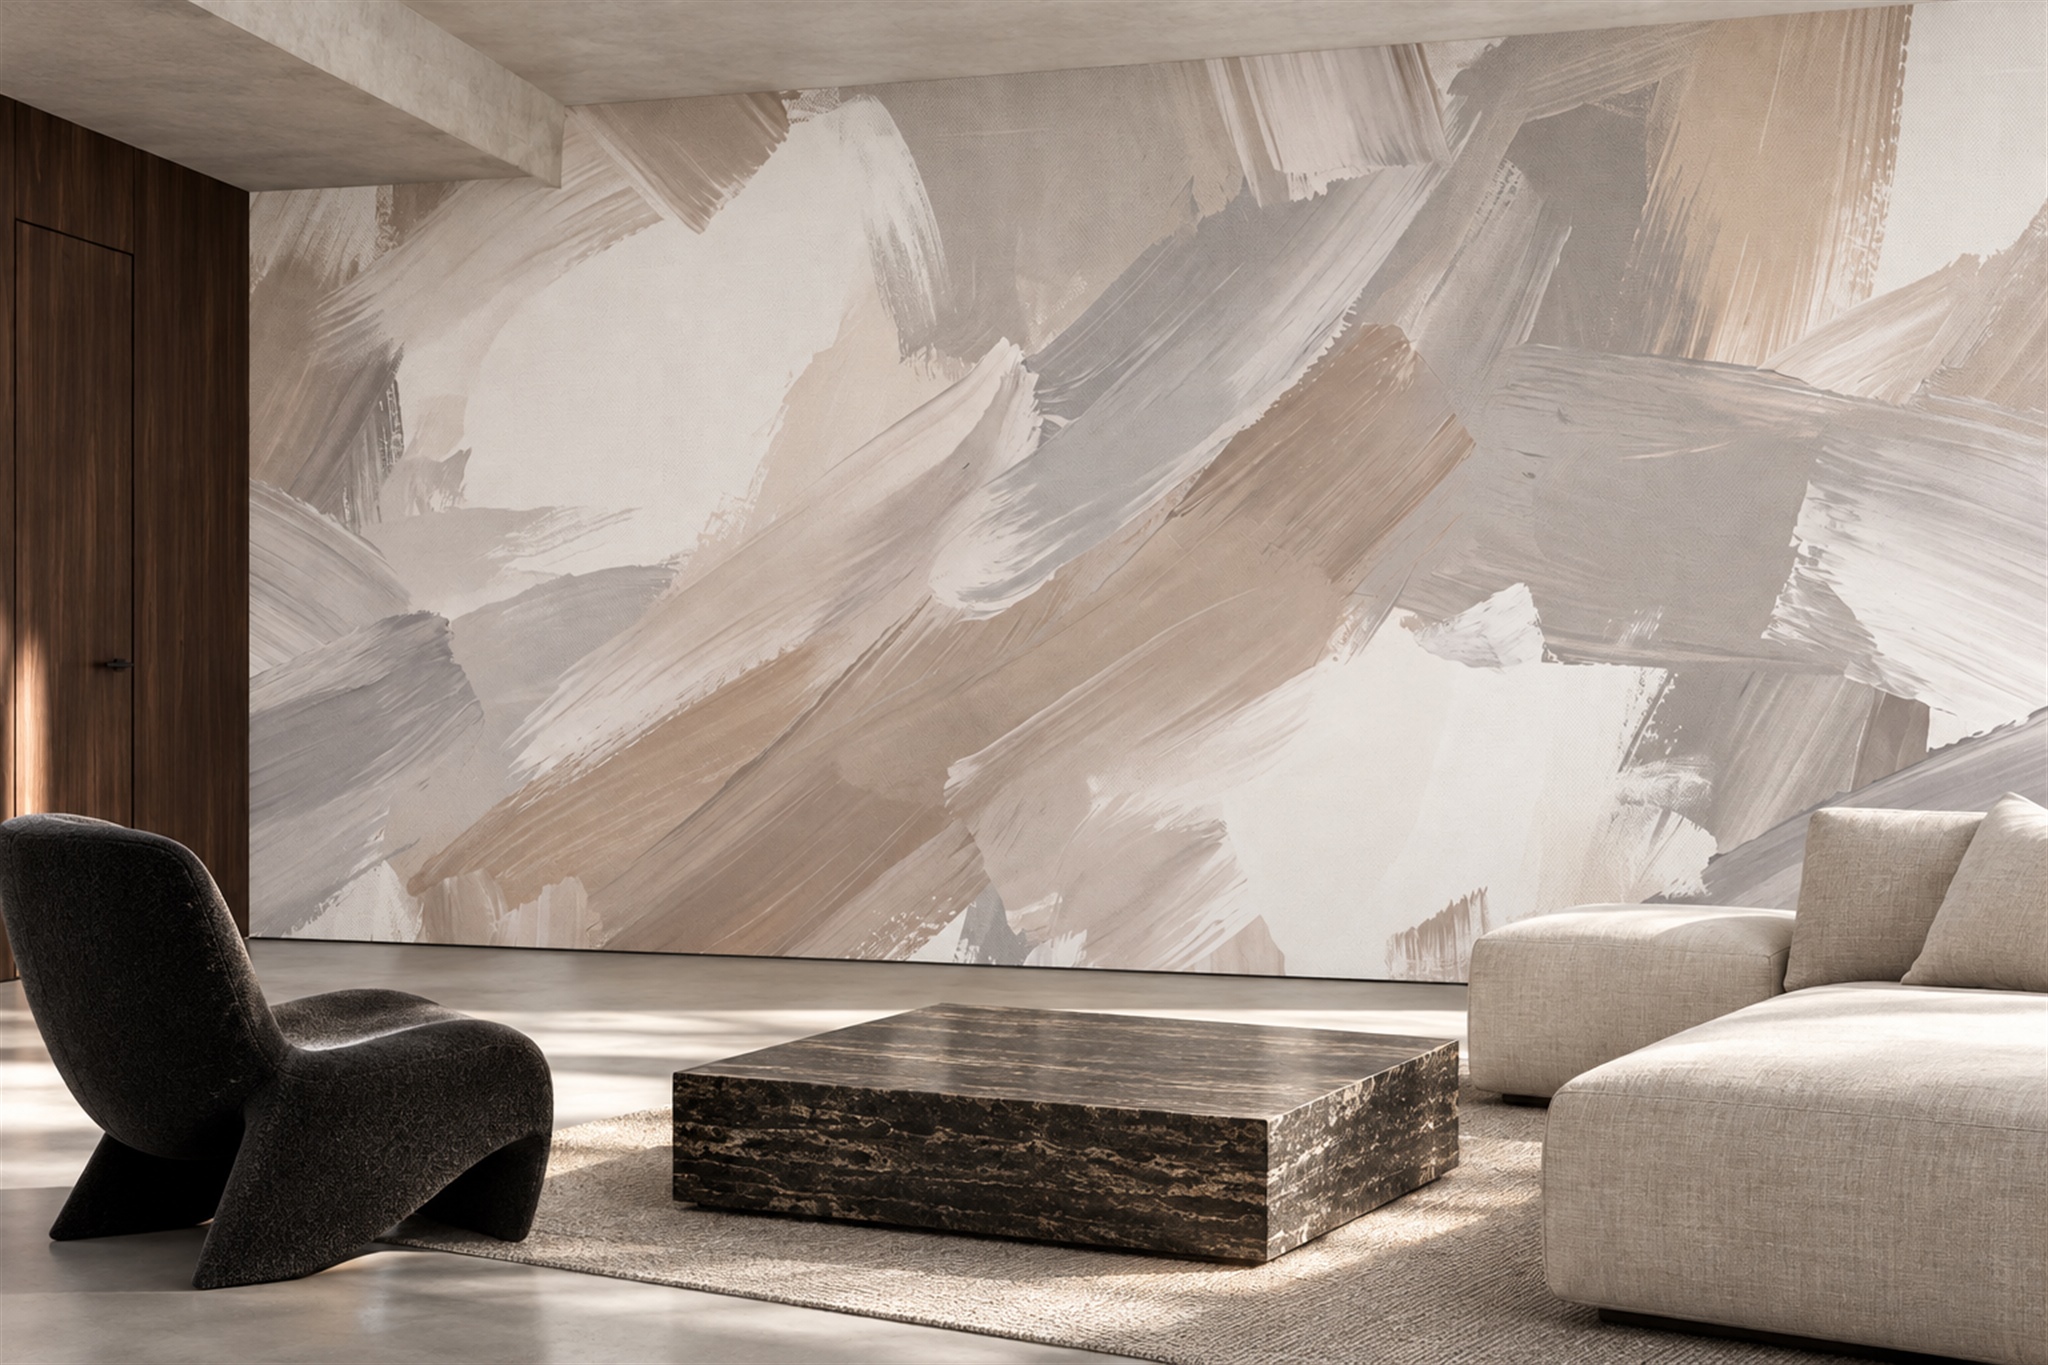
The second room view below uses a different design: broad taupe and cream brush strokes, with large light areas between them. Those calmer fields give an eye fewer details to follow, so a contrast line may be easier to notice than amid dense florals. The image does not show a documented seam close-up or prove a particular installation quality. It illustrates why artwork and room light affect what draws attention; the decisive inspection must be on your own wall.
When to stop rather than keep working
Stop before trimming or adding another panel if the printed edges repeatedly refuse to meet, a strip seems reversed or alignment requires obvious stretching. Recheck the supplied sequence and compare the dry pieces with the order image. Continuing after one wrong panel can move the problem across the entire wall. Preserve photographs, packaging and the installation instructions if there is damage, a substantial print mismatch or unexplained size difference; ask the supplier for guidance before making an irreversible cut.