How to Use Plants with Botanical Mural Wallpaper
Coordinate real plants with the mural’s scale, colour, light requirements and the amount of detail already on the wall.
Article focus: pricing and measurement
The cost and measurement decision
Start with accurate wall measurements; the final custom mural price depends on area, material and any finishing options.
Example application: Any room with a suitable, prepared wall · pricing and measurement
Real plants can give a botanical mural a convincing foreground, but they should not be chosen simply because their leaves resemble the print. First find positions where the plants can live well. Then use their size, silhouette and distance from the wall to create depth without concealing the mural's flowers, birds or open spaces. A good arrangement should still work when a pot is moved for watering or seasonal care.
Start with the plant's needs, not the illustrated species
A printed palm may thrive visually on a north-facing wall; a living palm has requirements that the artwork does not. Observe the light at the exact spot where the pot would stand. A plant beside a bright window and one two metres into the room can experience very different conditions, even though they appear in the same photograph. Also notice nearby radiators, draughts and the temperature behind closed curtains.
The Royal Horticultural Society's houseplant guide recommends selecting plants for the light, temperature, water and humidity a home can provide rather than placing them only for decoration. If a plant's preferred position does not suit the mural composition, change the plant or the composition. A strong visual match is no consolation if the leaves soon decline.
Begin with healthy plants you already own where possible. Place each pot temporarily in the proposed position for a day, then look at the wall in ordinary daylight. You can judge both whether the growing conditions are plausible and whether the living plant obscures an important part of the print. Keep any species identification or care advice tied to the actual plant label; the illustrated leaves may be stylised rather than botanically exact.
Use real foliage as a foreground layer
The most useful contrast is often one of scale. Large, glossy leaves in front of fine printed stems read as a separate layer. A smaller plant with compact foliage can sit against a broad pale wash without becoming lost. If real and printed leaves have almost identical size and silhouette, the two can blur together, making the wall look busy rather than dimensional.
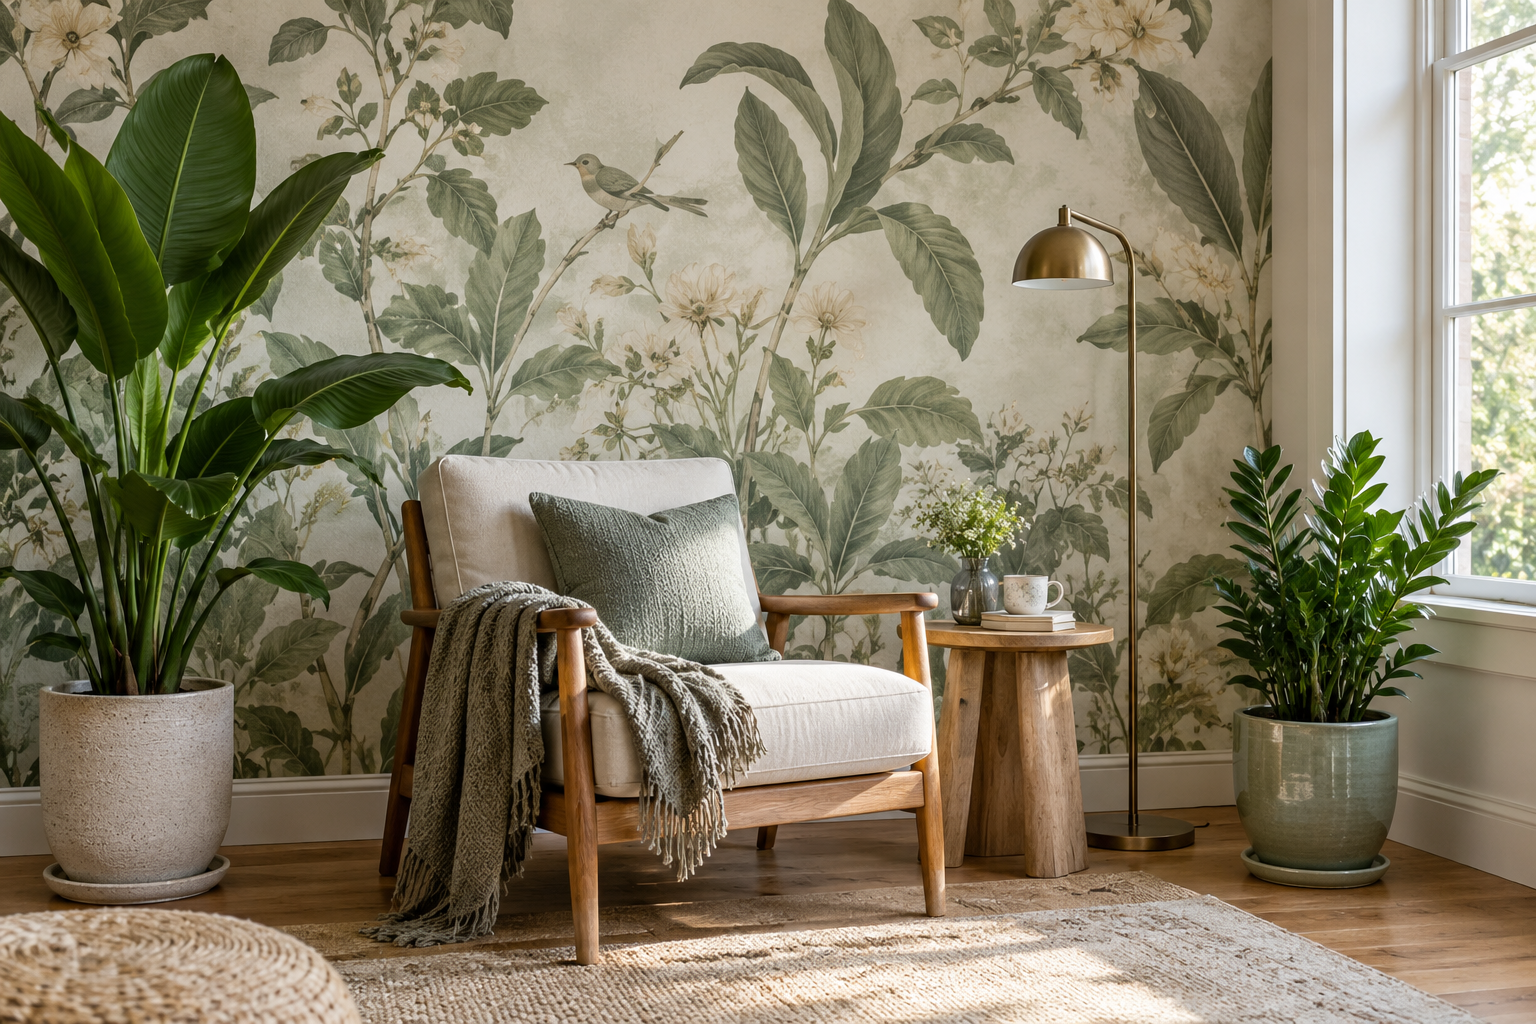
In the room pictured above, a tall broad-leaved plant marks the left edge of the botanical wall. A lower, more compact plant sits beside the window on the right. Their shapes are different, and the chair creates a calm interval between them. The printed bird and pale flowers remain visible in the centre. The relationship would change if both pots were moved in front of those details: the room would contain more greenery but less readable mural.
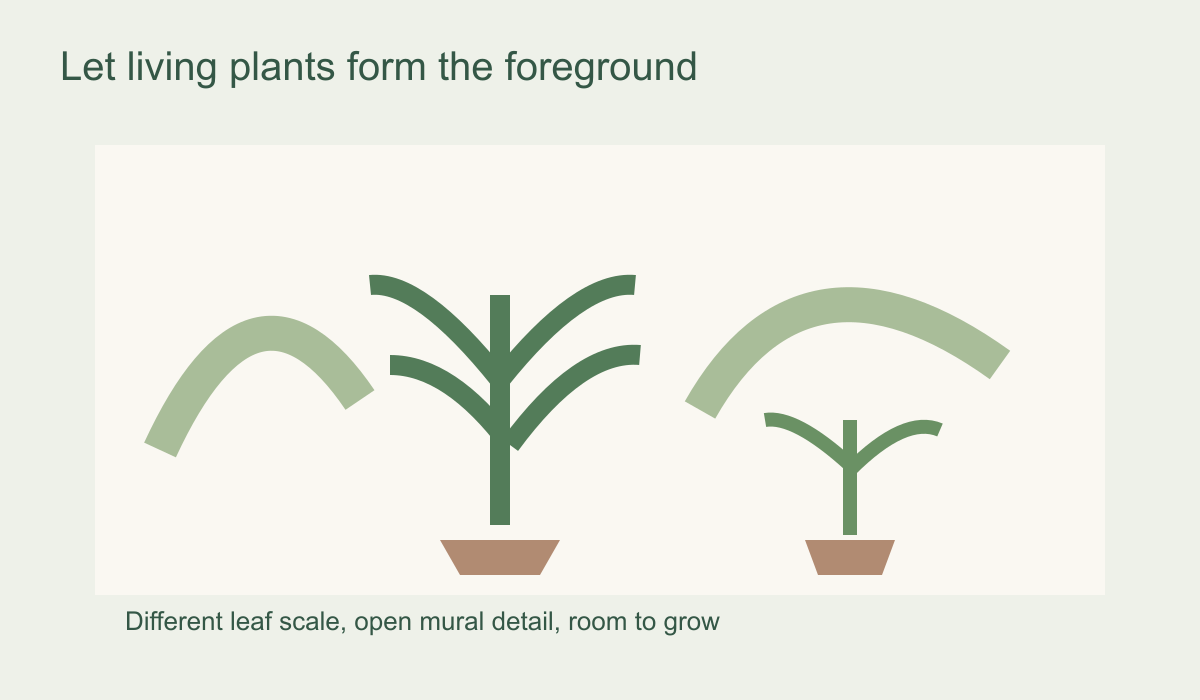 Vary real leaf scale and leave parts of the printed garden unobstructed.
Colour can provide a quieter link than shape. A deep green leaf may pick up an olive note in the mural, while a clay or stone-coloured pot may relate to furniture. It is not necessary to match every shade of green. Living leaves shift in appearance with daylight, health and age; printed foliage remains fixed. One shared undertone is enough to connect the layers.
Protect the mural's focal details when planning the crop
Mark the printed elements you most want to keep visible: a bird, an oversized blossom, a strong branch junction or a clear opening. Then mark the outline of nearby furniture and mature plant growth on the mural proof. Measuring the pot alone is not enough. A broad leaf can extend far beyond its container and cover the precise detail you intended to show.
With a made-to-measure mural, adjust the crop while you still can. A low printed flower behind a console may never be visible; moving the image slightly or choosing another composition can solve that before installation. On an existing wall, move the plant instead. A single specimen at the mural's edge can create a pleasing overlap from the doorway without hiding the central scene from the reading chair.
Test more than one viewpoint. The potted plant may seem to sit beside a painted branch when you stand near the window but cover it from the main seat. Photograph the arrangement from both positions. This is especially valuable in a small room, where a few steps can change whether real foliage looks integrated with the print or simply blocks it.
Leave room for growth and ordinary movement
A plant arrangement is not static styling. Leaves spread, pots are rotated, and some plants need to be moved for cleaning or repotting. Allow space around the silhouette you expect in the future, not just the one you see today. If the mural's only quiet opening is exactly filled by a fast-growing plant, the pairing may become crowded quickly.
Do not press leaves or stems against the wall to gain a few centimetres of floor space. Movement from air, watering or furniture can cause repeated contact. The wallcovering's actual care instructions, not its matte-looking photograph, determine how much contact or cleaning it can tolerate. If the plant needs more room than the corner offers, an adjacent plain wall may be the better place.
Consider what happens when one plant is removed. A mural with its own complete composition can remain attractive while a pot is elsewhere for care. If the design only works when a plant hides an awkward printed area, revisit the crop or placement. Living greenery should enrich the wall, not act as permanent camouflage.
Make watering possible without splashing the print
The strongest practical rule is to keep plant care out of the wall's splash zone. Use a stable pot and an appropriate saucer or tray, and leave enough space to reach the soil without leaning across the mural. A deep chair or console can make an otherwise beautiful corner difficult to water; the problem is often the route to the plant, not the distance between pot and print.
Rehearse the routine before settling the arrangement. Can you lift the watering can into place, check for leaks, and empty the saucer without dragging leaves across the wallpaper? The RHS guide advises allowing watered houseplants to drain and emptying water-filled saucers. A decorative outer pot can conceal standing water, so ensure it can be inspected and moved safely.
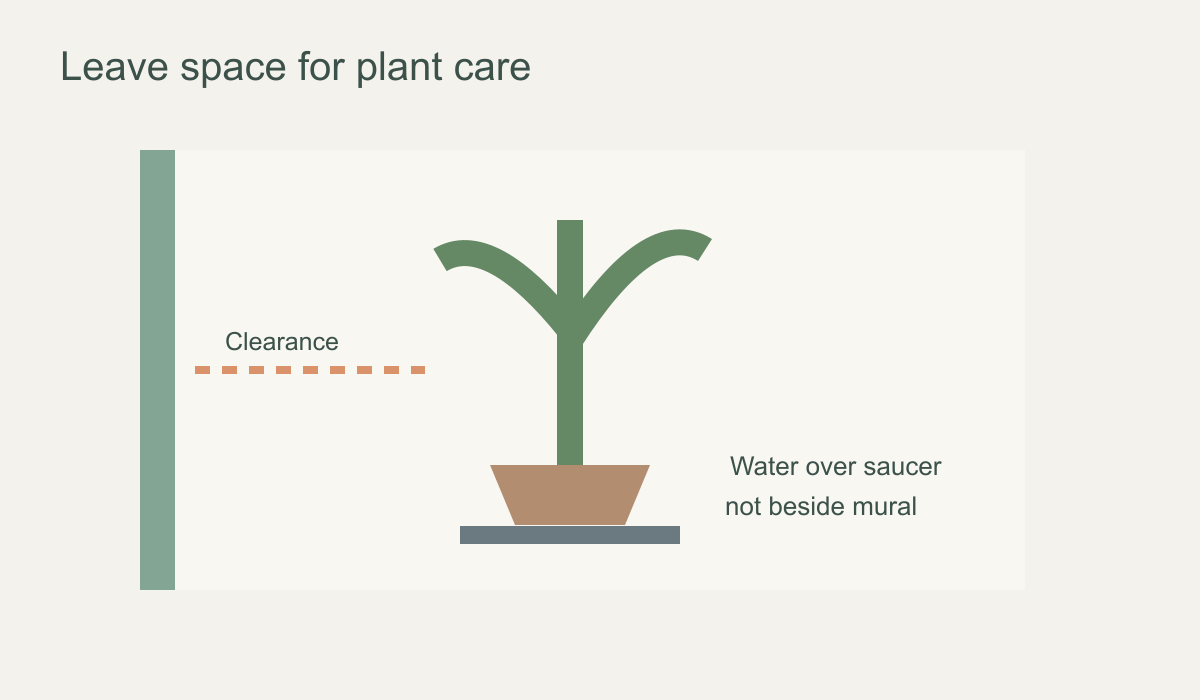 Leave a care route and keep water over the pot and saucer, not against the print.
A botanical print is not proof that the wallcovering is waterproof or repeatedly washable. Follow the supplier's instructions if a splash occurs, and deal with persistent dampness at the wall before decorating. If a plant needs frequent misting or substantially higher humidity than the room provides, choose a more suitable position rather than introducing moisture beside the mural on the assumption that it will be harmless.
Choose an arrangement that works on quiet days too
Before calling the room finished, remove one pot and look again. Then put it back and sit in the chair. Does the mural retain its composition? Do the plants have enough light and space? Can you care for them without treating the wall as a work surface? Those answers matter more than copying a styled photograph of several matching species.
Sometimes one plant is enough. A tall specimen can frame a printed garden while a plain chair or table lets the eye rest. In another room, two small plants on an adjacent wall may echo the artwork without interrupting it at all. Let the mural provide the permanent botanical scene and the living plants provide changeable foreground character. That division gives both parts a reason to be there.