Should You Repair the Wall Before Installing a Mural?
Identify holes, cracks, loose paint, old seams and texture that may need attention before the mural is installed.
Article focus: pricing and measurement
What to settle before pricing
Start with accurate wall measurements; the final custom mural price depends on area, material and any finishing options.
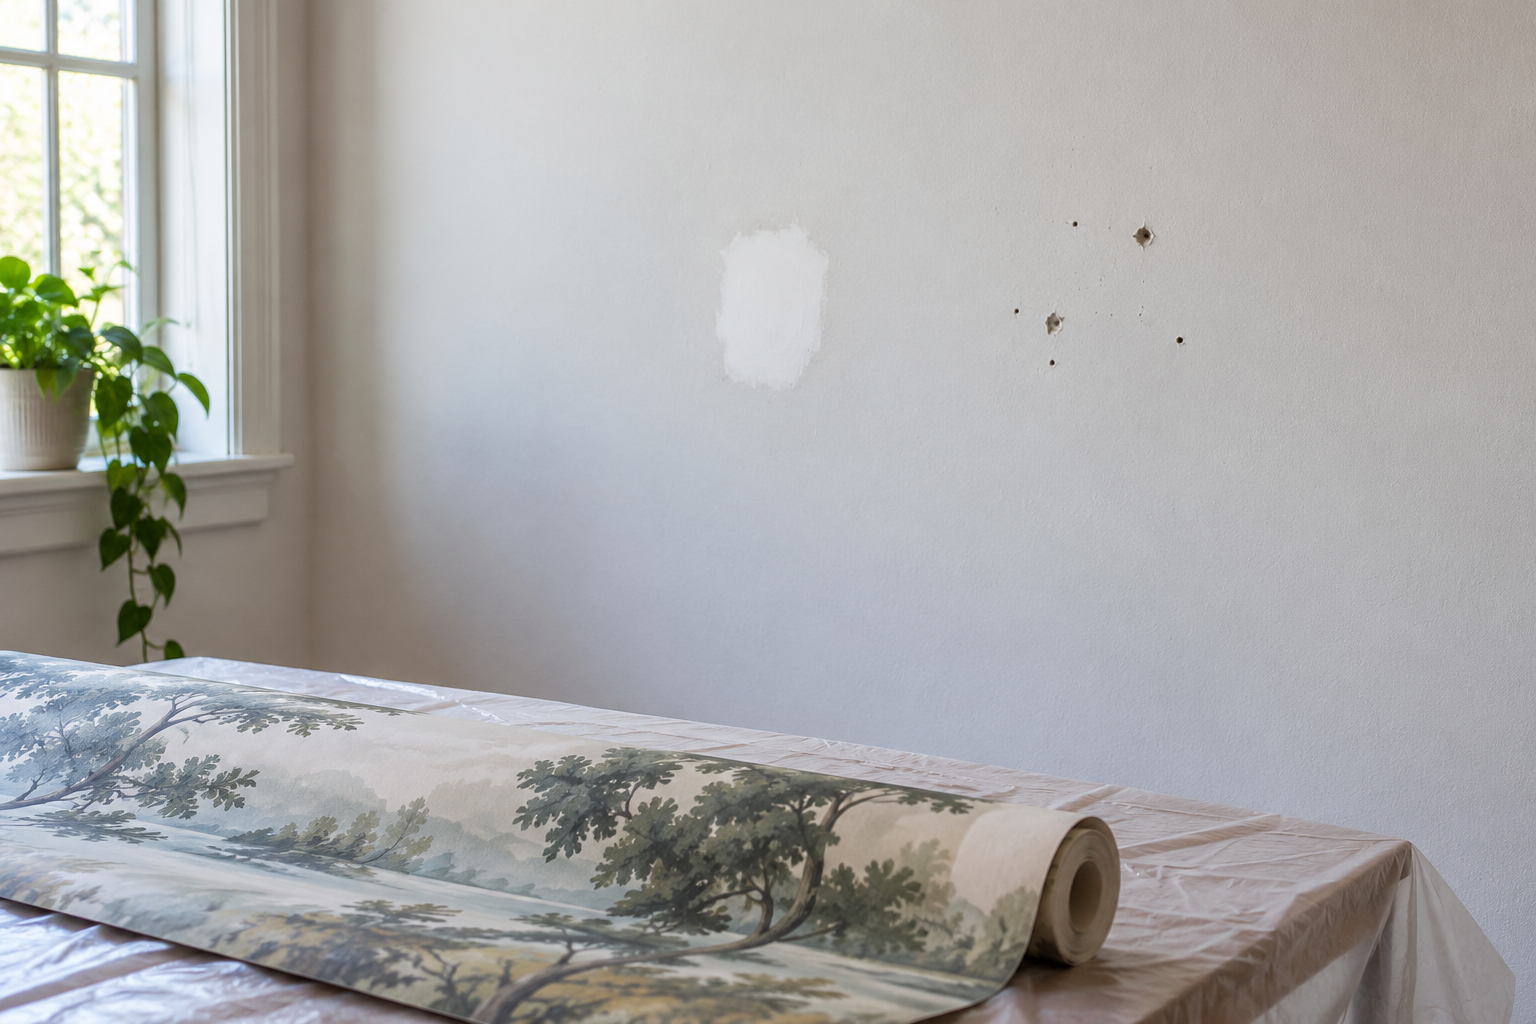
Example application: Any room with a suitable, prepared wall · pricing and measurement
Yes: repair a wall before installing a mural when holes, loose paint, ridges or unstable patches would sit beneath the print. A wall-sized image cannot make an unsound surface sound, and pale areas can reveal relief that a busy pattern might disguise from a distance. The repair route depends on the defect: fill an isolated stable hole, prepare widespread roughness more broadly, but investigate dampness or movement before decorating. The finished substrate must suit the chosen wallcovering.
Start with a close inspection in side light
Stand back to see major defects, then move a portable light across the wall at an angle. Side light reveals dents, ridges, screw holes and uneven sanding that front light may hide. Run a hand gently over the surface for grit or raised edges. Look carefully at old repair patches and along the ceiling, skirting and corners. Mark problems lightly on a wall sketch so they are not missed after furniture is moved.
Sort each mark by behaviour, not just size. A dry, stable screw hole or shelf dent is usually a local surface task. A crack that reopens, a bulge that moves when pressed, a soft area below a window or a stain that returns after repainting may indicate a continuing problem. Do not order a made-to-measure print on the assumption that a cosmetic patch will resolve an unknown cause; seek appropriate building advice first.
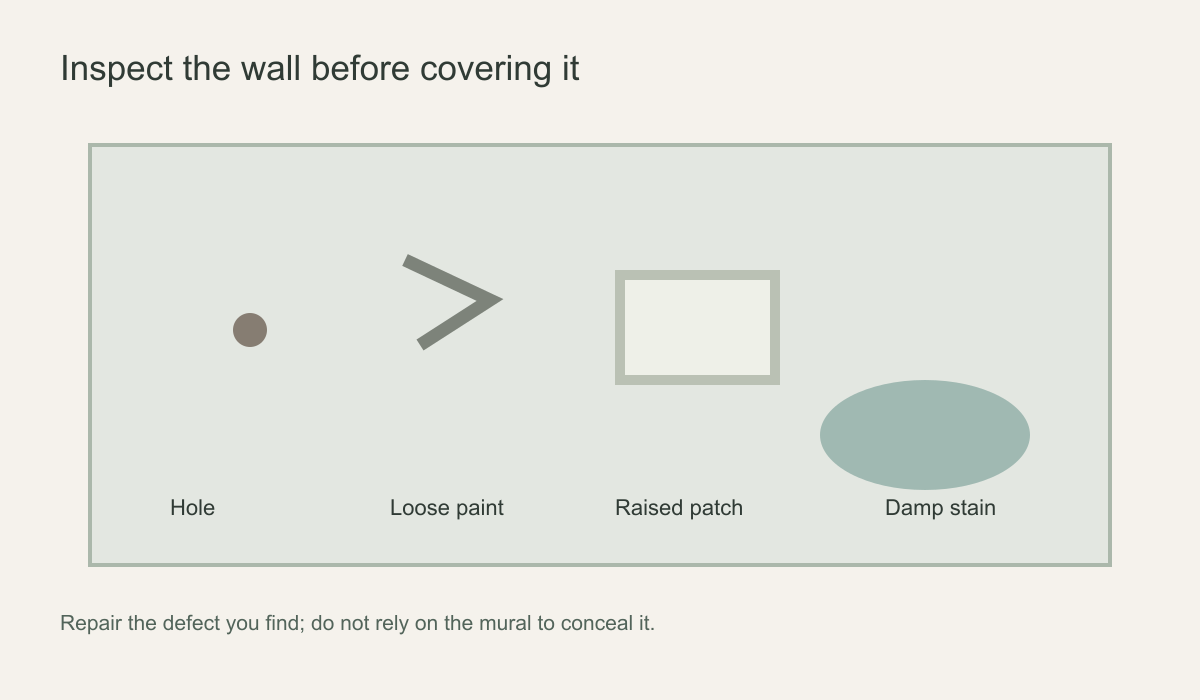 Different defects need different responses; one skim coat is not always the answer.
What should be repaired?
For an isolated, stable defect, fill it with a product suited to that wall and allow the repair to cure as directed. Level any raised filler, remove sanding dust and check the transition into the untouched surface. Loose paint must be removed rather than pasted over; grease and old adhesive also need appropriate cleaning. The Wallcoverings Association's preparation guidance calls for correcting irregularities and removing unsound paint before hanging.
Old wallpaper is a separate complication. If it is removed, inspect former seam lines for shiny paste tracks or raised residue and check for torn wallboard facing or lifted paint. Remove residue and repair the substrate as the remover and wallcovering makers direct; let it dry before the side-light check. If a supplier explicitly allows installation over a sound existing covering, follow its conditions rather than assuming that every pasted or self-adhesive mural will adhere to it.
A glossy painted wall may need different preparation from matte paint, and a fresh plaster repair may need curing and a suitable primer. The Wallcoverings Association gives different considerations for painted walls and new drywall. Confirm the wallcovering manufacturer's primer and substrate requirements before choosing products. A primer for ordinary paint is not necessarily the same as one specified for wallcovering.
Repair does not mean making the wall perfect by eye
A wall can look flat from the doorway while a patch rim casts a shadow in side light. Place a straightedge across each repair in several directions and look for a gap or high spot. A broad pale sky or quiet colour field can reveal relief more readily than a busy forest. More adhesive is not a levelling compound: smooth the substrate, let the repair cure and inspect again before installation.
Colour is a different issue from texture. A sound, smooth paint patch may be acceptable behind an opaque print, while a semi-transparent covering can show the darker area beneath it. The Wallcoverings Association notes that patching can show through some wallcoverings. If the mural has a thin or pale ground, compare a sample against the prepared wall in normal room light and ask the supplier about any specified pigmented primer or liner. Do not choose a coating by appearance alone if it conflicts with the mural's adhesive system.
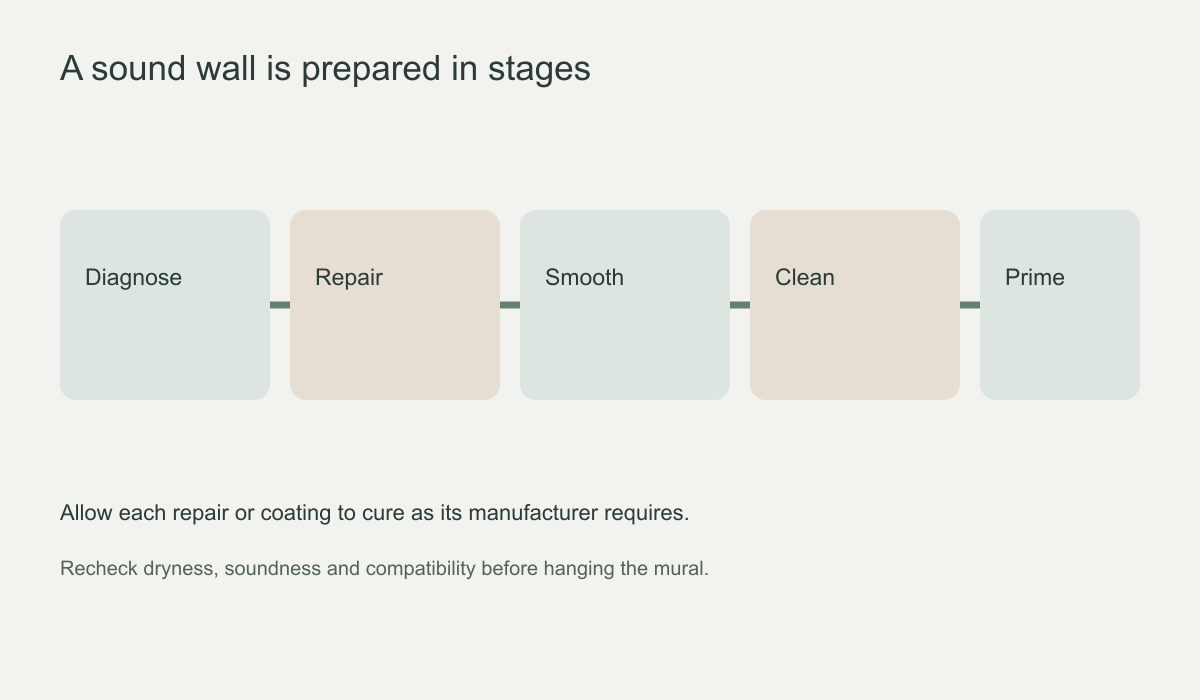 Use a primer only if the chosen wallcovering system calls for it; let repairs and coatings cure as instructed.
Moisture and mould require a different decision
Do not treat a damp patch as a hole to be filled. Water can weaken paint, plaster and wallpaper adhesive, and a leak or recurring condensation can continue behind a new wallcovering. The Wallcoverings Association says moisture sources that promote mildew growth must be eliminated. If the wall is wet, stained or musty, identify and resolve the source first. Consult a qualified local professional when the cause or extent is unclear.
After the source is resolved, the wall still needs to dry and be repaired with materials appropriate to the damage. Do not use an arbitrary number of days as proof of readiness. Tell the professional if earlier wallpaper lifted in the same place; that history is more useful than a fresh coat hiding the stain.
Match preparation to the mural type
A peel-and-stick mural may need a particular smooth, well-cured paint surface. A paste-the-wall mural may call for a suitable wallcovering primer and a compatible adhesive. A vinyl-faced product may have its own instructions. Those differences matter more than the generic claim that “wallpaper hides flaws”. Read the material sheet before priming or painting so you do not create a finish that the chosen adhesive rejects.
Inspect the whole route of the numbered panels, including corners, window reveals and the skirting edge. A loose strip of paint at the last panel can matter as much as a defect at the mural's centre. The feature photograph shows why: several small fixing holes and a bright repair patch sit above a landscape print waiting on the table. The holes need filling and the patch needs levelling and curing; moving the printed tree away from them would not prepare the wall.
Does every wall need a full skim coat?
No. A sound, suitably smooth wall with a few isolated holes may need local filling and preparation, not an entire new skim coat. Widespread texture, damaged plaster or many raised patches may justify a broader plan assessed by a competent decorator. A skim coat also needs its own curing, smoothing and compatible primer; it is not an instant shortcut. Painting over a ridge leaves the original relief in place.
Choose the repair route, then return to the installation checklist
Make the final decision in this order: first rule out active moisture or movement; next repair stable defects at the scale they require; then check that the cured surface is smooth, clean and sound. Keep the repair and coating product names and dates so the wallcovering supplier or installer can confirm primer and adhesive compatibility. A patch that still shrinks, powders or lifts is not ready, even if it looks good from across the room.
Use the separate pre-installation checklist for cleaning, final measurement, delivery inspection and first-panel planning. This repair guide stops at the decision about the substrate: local correction, wider preparation or further investigation. Do not open and cut a made-to-measure mural while any area still shows the underlying cause of failure.