What Type of Wall Is Suitable for Mural Wallpaper?
Identify suitable wall surfaces for mural wallpaper and learn how drywall, plaster, painted walls, texture, gloss, and moisture affect adhesion.
Article focus: pricing and measurement
The cost and measurement decision
Start with accurate wall measurements; the final custom mural price depends on area, material and any finishing options.
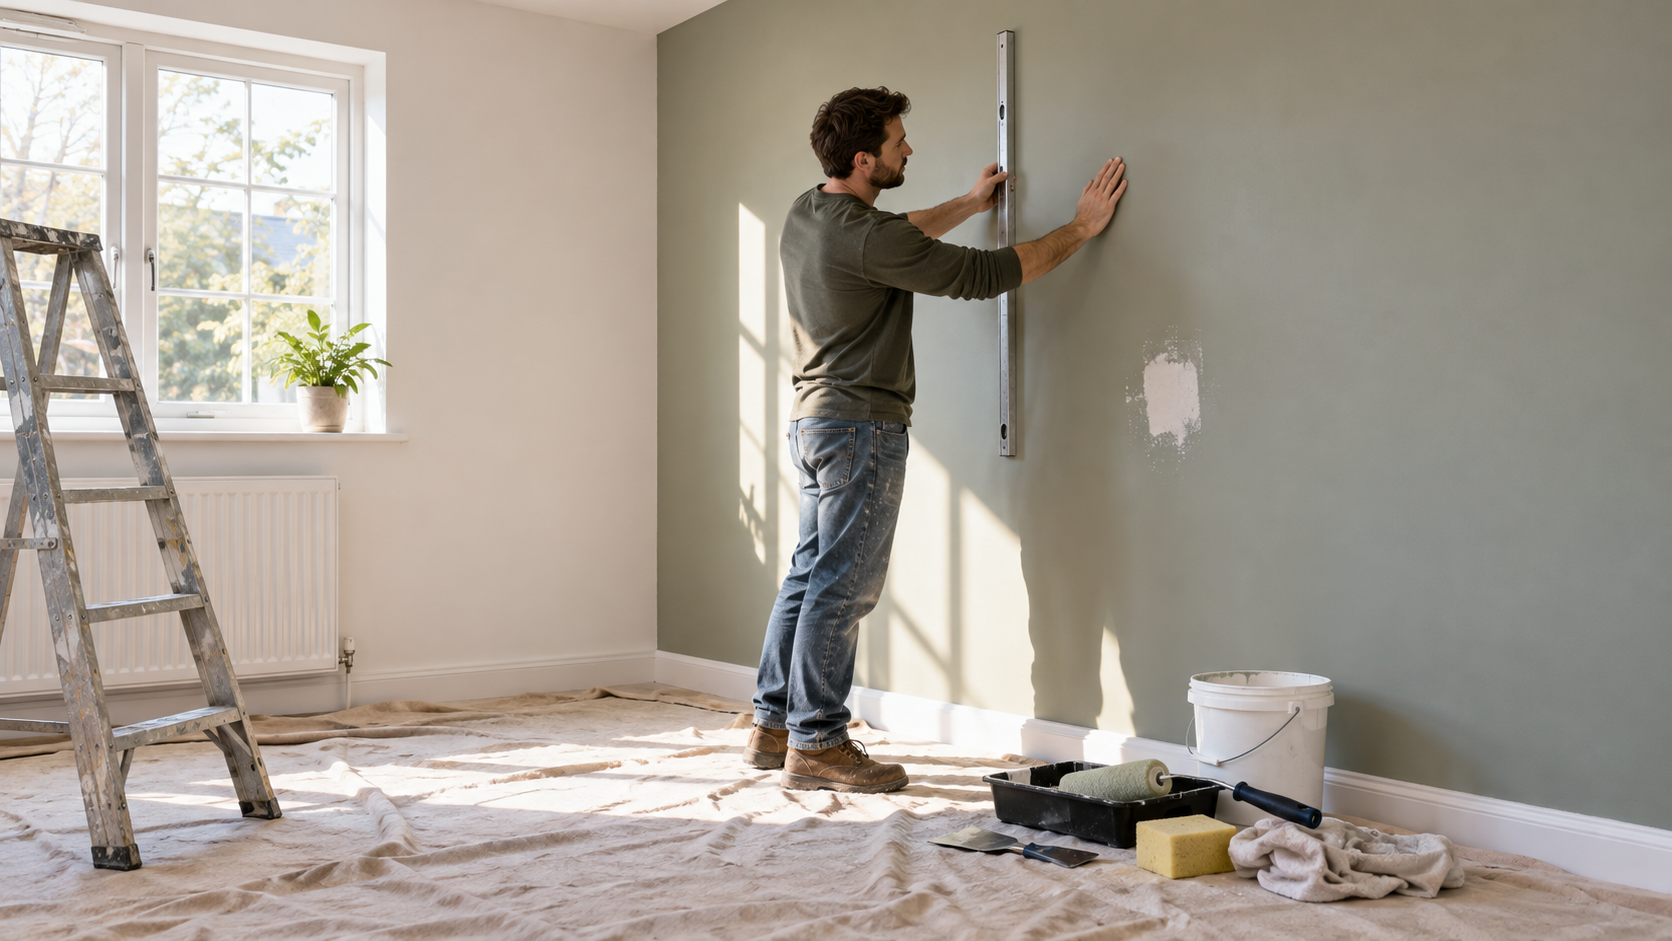
Example application: Bathroom or powder room · pricing and measurement
A smooth, clean, dry and sound painted plaster or plasterboard wall is the simplest starting point for most mural products. A brick joint, tile grout line, timber groove or old wallpaper seam is not merely a different colour of wall: each can interrupt contact or show through the print. Active dampness is a reason to stop. Assess the entire planned mural area, then compare it with the installation requirements of the exact finish you want to order.
Painted plaster or plasterboard: usually the straightforward case
A stable painted wall with a consistent finish is often the simplest place to hang a mural. Run your hand across it and look under side light for dents, filler ridges and flaking. Repair irregularities, allow materials to cure, and prime where the product instructions require it. A mural is a printed surface, not a skim coat: fine shadows and seams may reveal defects underneath rather than hiding them.
Fresh plasterboard needs more than a quick wipe. Joint compound should be cured and sanded, dust removed, and the surface treated with a primer compatible with the selected covering. Bare plaster or unsealed filler can absorb adhesive unevenly. The Wallcoverings Association's surface-preparation guide discusses new drywall, repaired walls and painted surfaces separately because each has a different route to a stable, dry finish.
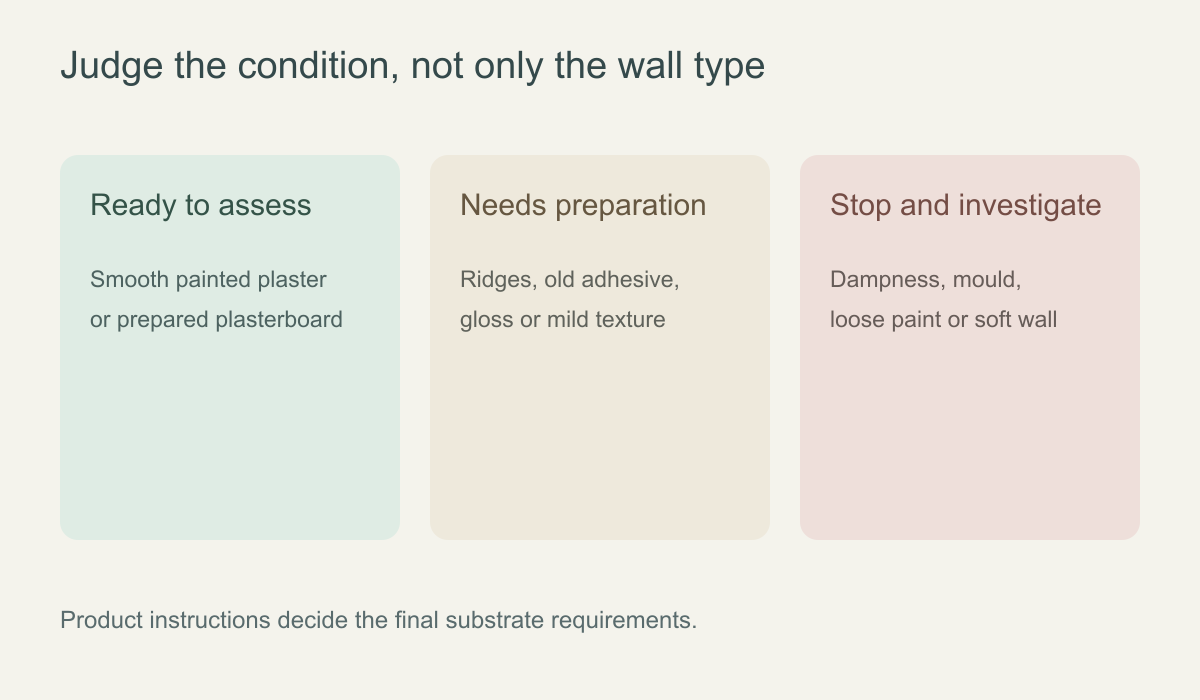 Suitability is a condition assessment, not just the name of the wall material.
Paint condition is as important as wall material
Paint should be firmly bonded, not merely attractive at a distance. Check around skirting boards, switches and earlier patch repairs for lifting. If gentle contact brings away flakes or powder, wallpaper adhesive may bond to the weak paint while the paint separates from the wall. Remove unsound coatings and repair the substrate before ordering or hanging a mural.
High-sheen paint deserves special attention because some adhesives do not grip it well. Preparation can include dulling the finish and using an appropriate adhesion-promoting primer, as the wallcovering maker directs. New paint must meet its cure requirement before adhesive contact; “dry to the touch” is not a reliable universal threshold. Record what paint or primer was used so you can ask a useful question if a test patch behaves unexpectedly.
Textured walls: assess the depth, do not guess
Orange-peel, knockdown, rough plaster and heavily embossed paint can interfere with full contact. Peaks may show through thin material while valleys leave voids or weak adhesive contact. A wall that feels only slightly uneven to a hand can look more pronounced under a large flat printed area and side light. Peel-and-stick in particular should not be assumed to bridge texture simply because its backing is sticky.
Some surfaces can be skimmed, filled or lined to create a suitable plane; others need substantial work. Ask the wallpaper supplier and an experienced decorator about the exact material and texture. A test piece can reveal whether it adheres and how much texture telegraphs, but it does not replace proper repair of cracks or active movement.
Brick, concrete, panelling and tile
Exposed brick and rough concrete have joints, pores and surface dust that make them unlike a prepared painted wall. They may need levelling, sealing or a suitable lining system before a mural can be considered. Concrete also needs to be dry and free of contaminants. Do not attach a printed mural directly to an uneven wall just because a particular adhesive feels strong on one brick.
Wood panelling can present grooves and moving joints. Filling, priming and sometimes lining may be needed to form a continuous print surface. Tile combines smooth glazed faces with recessed grout lines, plus possible moisture exposure. A splash-resistant-looking material name does not prove that a mural is appropriate over tile or near a wet area. Use the maker's explicit substrate guidance and consider an alternative wall if the required preparation is disproportionate.
The Wallcoverings Association notes different preparation for panelling and other special surfaces. Its advice is a reminder to assess the whole wall system, not permission to apply every wallpaper finish directly to every material.
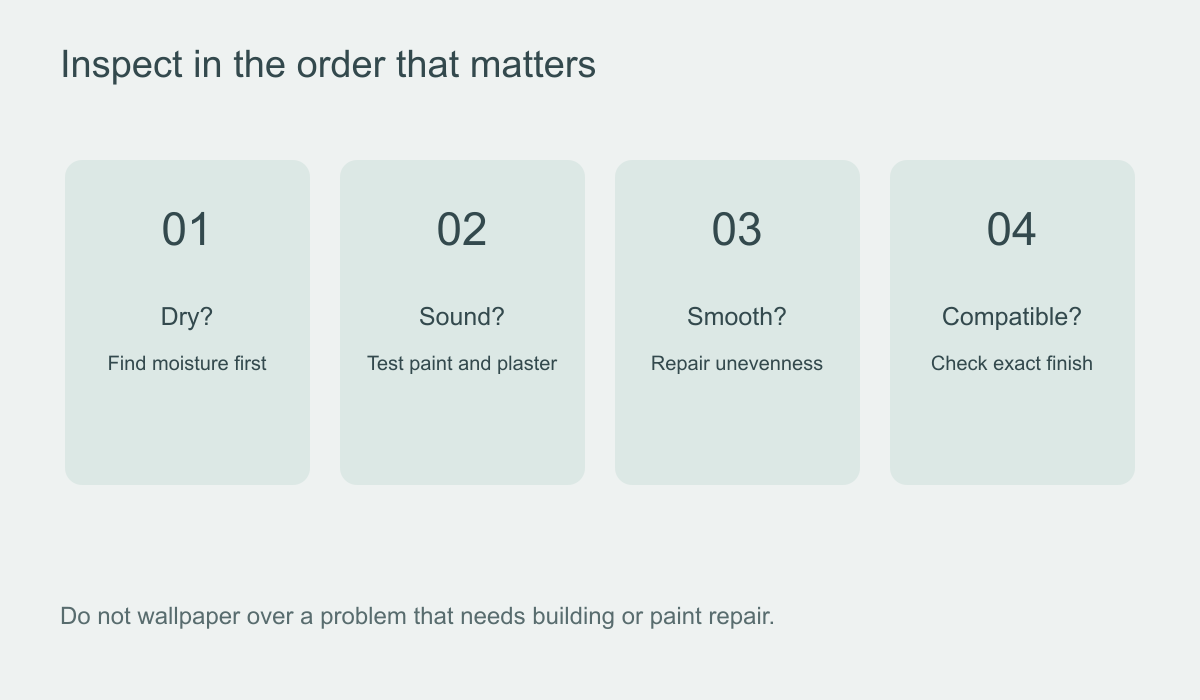 Check moisture and stability before spending time on cosmetic smoothing.
Existing wallpaper and old adhesive
Covering old wallpaper can trap its loose seams, raised texture and stains beneath the new mural. Old paste can interfere with a fresh bond or make the wall uneven. Removing the previous covering, cleaning residue, repairing the wall and priming as appropriate is usually the more predictable route. If an existing layer cannot be removed easily, ask a professional to assess it instead of assuming a new mural will hold it in place.
Different parts of an old wall may have different histories. One section may be sound paint; another may still carry a thin backing layer. A continuous mural crosses both and can expose changes in absorption or texture. Inspect the whole run, not just the area where the first panel will go.
Inspect the entire mural footprint
Mark the intended print area on a sketch before deciding that the wall is ready. Walk from left to right at the height of the skirting, through the middle and near the ceiling. Check behind movable furniture and beside openings, where a patch repair or a strip of old adhesive can be easy to miss. Record where the surface changes from original paint to filler, plasterboard, panelling or an earlier covering. A single panel can cross two of these areas, so its seam or adhesive may behave differently across its width even when the centre of the wall looks uniform.
If the mural spans several substrates, the aim is a continuous, level, compatible prepared surface—not simply one strong test patch. Ask the material supplier which primer or lining system suits the combined wall, and have extensive repairs assessed before ordering a made-to-measure print. A sample placed only on the soundest corner cannot validate the remaining panels. This footprint check is especially useful for older feature walls whose previous fittings have been filled and repainted in stages.
Moisture is a stop sign
Brown stains, persistent condensation, mould odour or soft plaster demand investigation. A mural is not waterproofing and should not be used to conceal an active leak. Fix the source, allow the wall to dry and obtain suitable repair advice. A bathroom or kitchen location also requires checking the specific material's stated limitations; room name alone does not settle suitability.
If a wall has recently been replastered or repaired after water damage, wait for the preparation system to reach the condition required by the plaster, paint, primer and mural suppliers. These stages do not share one universal waiting period. Rushing over residual moisture can undermine the finish even if the first panel initially looks flat.
Match the wall to the mural finish
Peel-and-stick and pasted wallcoverings rely on different adhesive systems. A surface that passes the test for one should not automatically be treated as approved for another. Request installation guidance for the specific material selected on the product page, and test that finish on the actual wall when uncertainty remains. Ask what primer is compatible, whether the paint must be fully cured and how the product should be removed later.